6 Steps to Build a Wooden Garden Boardwalk
The wet clay squelches under your boots every time you tend the far corner of your garden. Your harvest basket grows heavier. The path you've worn grows slicker after rain, and the struggle to reach your tomatoes or herb beds has become a twice-daily ordeal. Constructing a wooden garden boardwalk solves this problem permanently while protecting soil structure and root zones from compaction. The steps for building a garden boardwalk require deliberate material selection, proper foundation work, and an understanding of how wood interacts with soil moisture and microbial activity over multiple growing seasons.
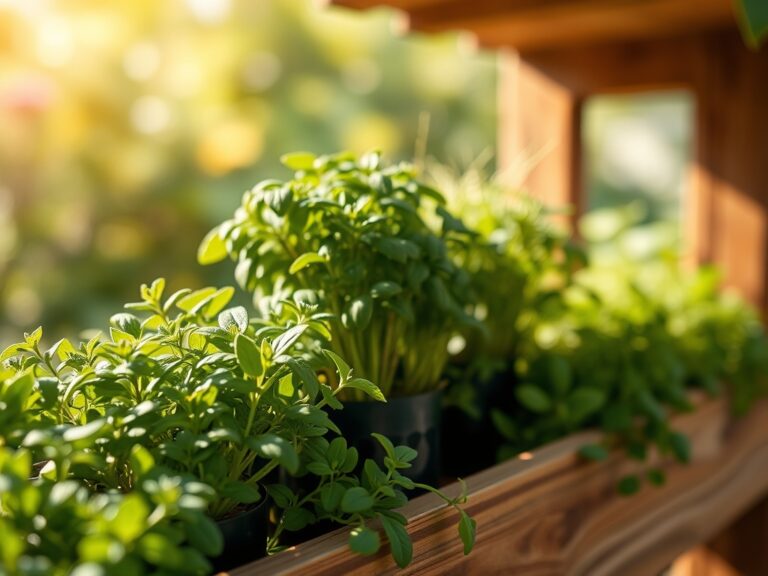
Materials
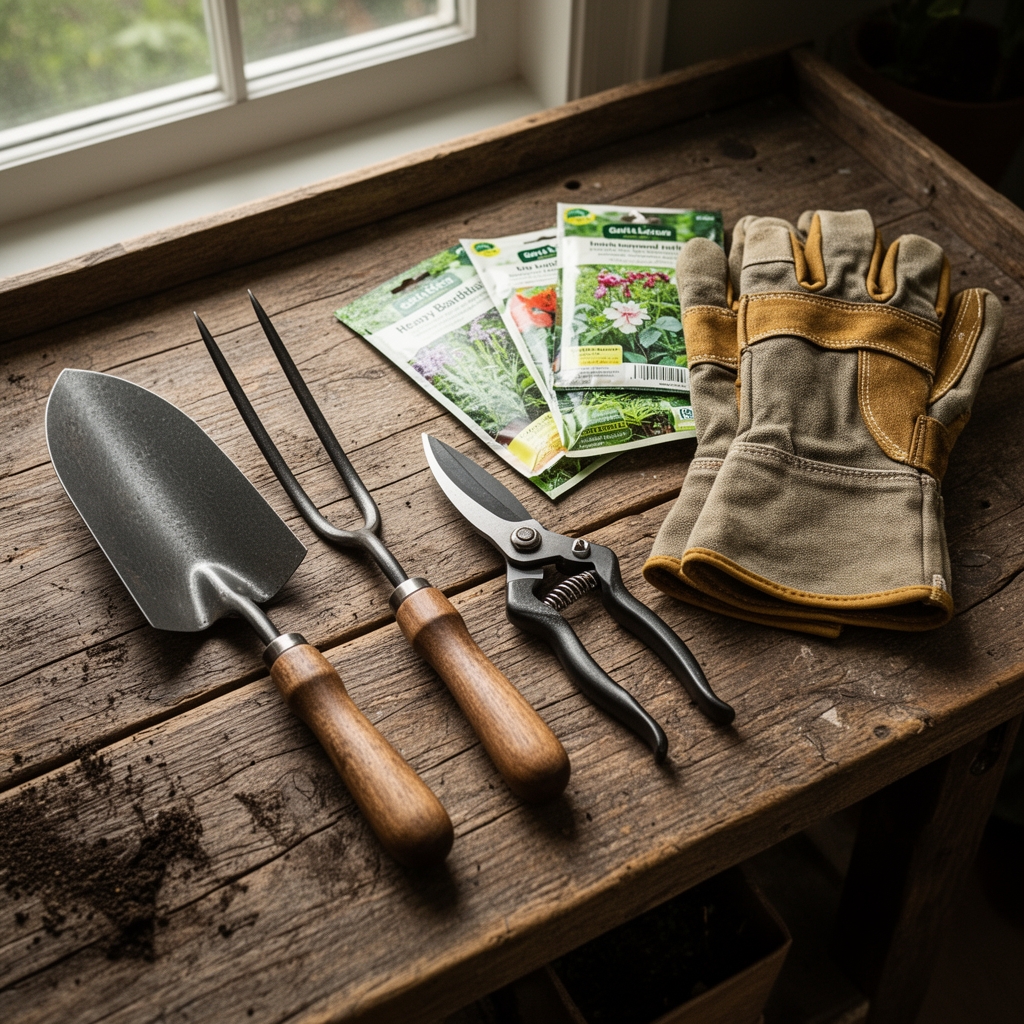
Cedar or black locust lumber forms the primary decking material. Both species contain natural oils and phenolic compounds that resist decay for 15 to 25 years without chemical treatment. Avoid pressure-treated pine near edible beds. Copper azole and alkaline copper quaternary leach into surrounding soil, raising copper concentrations to phytotoxic levels (above 20 ppm) within 18 inches of the boardwalk.
Galvanized deck screws (3-inch, #10 gauge) provide fastening without the brittleness of nails. Stainless steel offers superior longevity but costs three times as much. Joists require 2×6 lumber at 16-inch centers to support foot traffic without flexing. Use 4×4 posts of the same rot-resistant species as footings.
Gravel base material should be three-quarter-inch crushed stone with angular edges. This size maintains cation exchange capacity in the surrounding soil by allowing water and dissolved nutrients to percolate freely. Avoid limestone gravel near acid-loving plants. It raises soil pH by 0.5 to 1.2 units within a 24-inch radius over two seasons.
Landscape fabric (4-ounce woven polypropylene, not felt) separates gravel from native soil and prevents capillary rise of clay particles. Permeable fabric maintains gas exchange necessary for aerobic bacterial populations. An NPK rating does not apply to structural materials, but the wood's carbon-to-nitrogen ratio (typically 500:1 for cedar heartwood) means it will not rob soil nitrogen during decomposition for decades.
Timing
Execute foundation work during your region's dry season. In USDA Hardiness Zones 6 through 8, this falls between June 15 and September 30. Soil compaction from foot traffic and wheelbarrow loads causes the least damage when moisture content drops below 18 percent. A soil probe should penetrate with moderate resistance, not slide in effortlessly.
Avoid construction during active growth flushes. Spring installation (March through May) disrupts auxin distribution in nearby perennial root systems. Wait until soil temperature reaches 55 degrees F at a 4-inch depth. Mycorrhizal fungi networks require four to six weeks to re-establish hyphal connections after mechanical disturbance.
In Zone 9 and warmer, schedule construction between November and February when rainfall patterns provide natural moisture without waterlogging. Frozen ground in Zones 3 through 5 demands spring installation after the last frost date, typically May 1 through June 15.
Phases

Sowing (Foundation Phase)
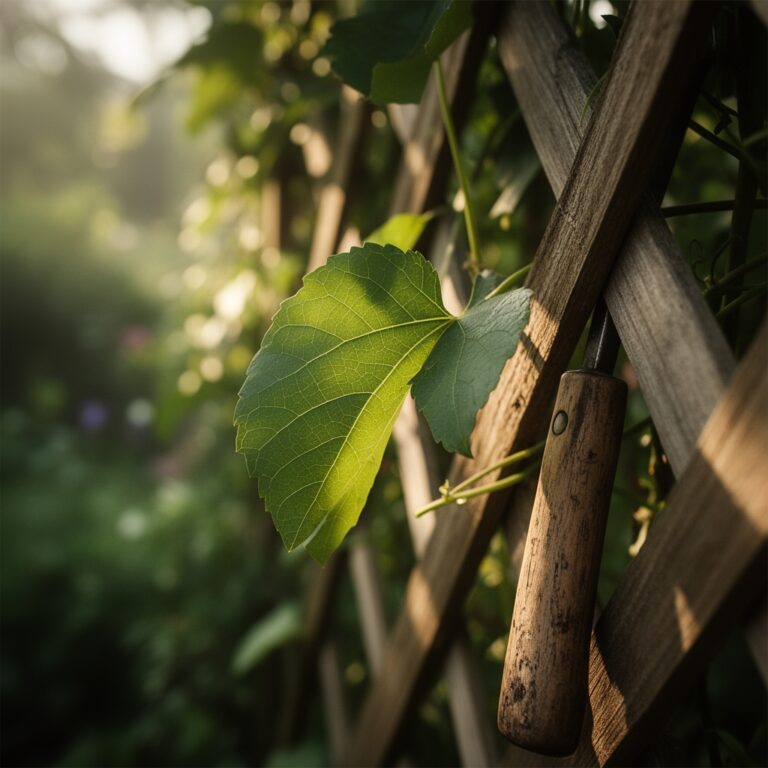
Mark the boardwalk route with stakes and mason's twine. Excavate to a depth of 4 inches along the entire path. Width should equal the finished boardwalk dimension plus 3 inches per side. Remove all organic matter, including roots larger than one-quarter inch in diameter. Severed roots left in place become vectors for Armillaria root rot.
Compact native soil with a hand tamper to 90 percent density. Spread landscape fabric across the excavated channel. Pour crushed stone to a depth of 3 inches. Rake level and compact again. Stone base distributes load and prevents frost heaving in cold climates.
Pro-Tip: Install 4×4 footer blocks directly on compacted stone at 4-foot intervals. These blocks eliminate the need for concrete piers while maintaining sufficient drainage. Soak cedar blocks in a 10 percent solution of agricultural lime (calcium carbonate) for 24 hours before installation to boost antifungal properties.
Transplanting (Framing Phase)
Position 2×6 joists lengthwise on footer blocks. Check level with a 4-foot spirit level. Variations exceeding one-quarter inch per 8 feet create drainage problems and tripping hazards. Fasten joists to footer blocks with two 3-inch deck screws per connection, driven at opposing 30-degree angles to prevent withdrawal.
Space joists 16 inches on center, measured from the inside edge of one joist to the inside edge of the next. This spacing supports decking boards without bounce and accommodates standard 5.5-inch-wide deck boards (nominal 1×6 lumber) with one-quarter-inch gaps for drainage and expansion.
Pro-Tip: Predrill all screw holes to 70 percent of the screw shank diameter. Cedar and locust split easily despite their decay resistance. A 7/64-inch bit works for #10 screws.
Establishing (Decking Phase)
Lay decking boards perpendicular to joists. Start at one end and work toward the other, maintaining consistent one-quarter-inch gaps using a finish nail as a spacer. Drive two screws per joist per board, positioned 3/4 inch from board edges and staggered to avoid splitting grain lines.
Allow board ends to run wild (extend past the final joist). After installing all decking, snap a chalk line and trim ends with a circular saw for a clean, uniform edge. This method produces tighter tolerances than cutting each board individually.
Install the boardwalk 2 inches above final grade. This elevation prevents mulch migration onto the walking surface while maintaining sufficient clearance for air circulation beneath the structure. Air movement reduces moisture retention and extends wood life by 40 percent compared to ground-contact installations.
Pro-Tip: Apply a single coat of raw linseed oil to all surfaces within 48 hours of completion. This treatment penetrates 1/16 inch into wood fiber, displacing moisture and inhibiting spore germination of basidiomycete fungi. Reapply annually in early spring.
Troubleshooting
Symptom: Green algae film on decking surface
Solution: Indicates excessive shade and moisture retention. Prune overhanging branches to increase solar exposure to a minimum of 4 hours of direct sun daily. Scrub surface with a stiff brush and a solution of 1 cup white vinegar per gallon of water. Increase air circulation by thinning adjacent plantings.
Symptom: Joist sag or bounce underfoot
Solution: Joist spacing exceeds load capacity. Install additional 4×4 footer blocks at 2-foot intervals beneath affected joists. Alternatively, sister a second 2×6 joist alongside the original, fastened with 3-inch screws every 16 inches in a staggered pattern.
Symptom: Carpenter ants trailing along boardwalk edges
Solution: These insects nest in decaying wood with moisture content above 25 percent. Remove and replace any soft or punky lumber immediately. Treat soil beneath the boardwalk with beneficial nematodes (Steinernema feltiae) at a rate of 50 million nematodes per 1,600 square feet. Apply in early morning when soil temperature reaches 55 degrees F.
Symptom: Boards cupping or warping
Solution: Wood was installed with moisture content above 15 percent. Replace affected boards during dry weather with properly seasoned lumber (12 to 14 percent moisture content). Always install bark-side up. Growth rings should arch upward. This orientation sheds water and minimizes cupping as the board shrinks.
Symptom: Gray weathering on cedar decking
Solution: Cosmetic only. UV radiation breaks down lignin on the surface, producing a silver-gray patina. This oxidation layer actually protects underlying wood. No treatment necessary unless appearance concerns override function. Restore original color with oxalic acid solution (1/2 pound per gallon), applied with a pump sprayer and scrubbed after 15 minutes.
Maintenance
Sweep debris weekly during leaf drop. Organic matter trapped between deck boards holds moisture against wood surfaces and elevates decay rates. A leaf blower works efficiently for this task.
Apply raw linseed oil annually in March or April. Use 1 quart per 100 square feet of decking. Application during this window allows oil to penetrate before summer heat polymerizes the surface. Avoid boiled linseed oil. Metal driers added to this formulation can leach into soil.
Inspect fasteners every 24 months. Retighten any screws that have backed out due to wood expansion and contraction. Replace corroded screws immediately. Check footer blocks for settlement or decay. Add crushed stone as needed to maintain level.
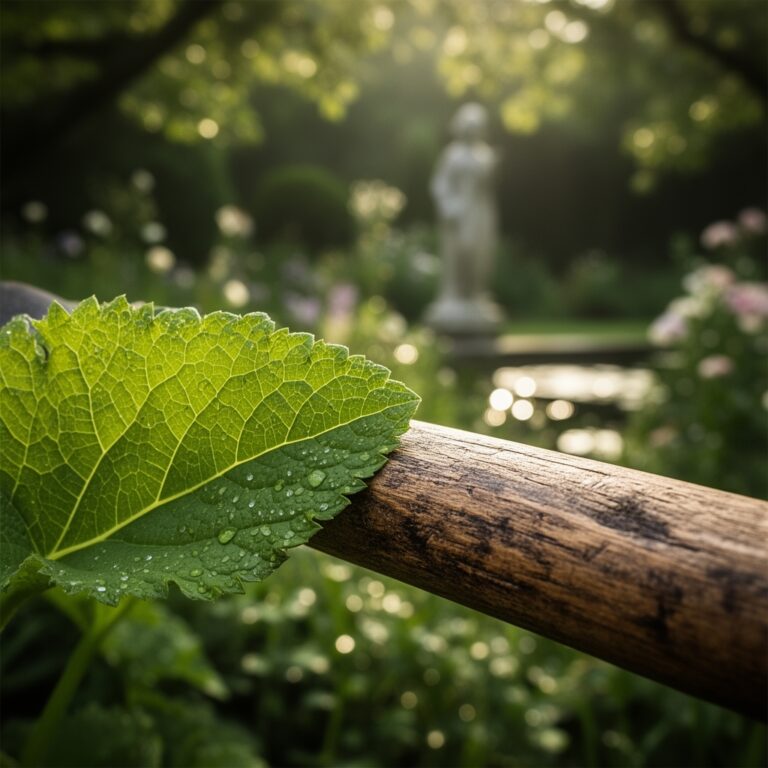
Trim vegetation to maintain 12 inches of clearance on both sides of the boardwalk. This buffer reduces humidity levels beneath the structure and improves air circulation. Monitor soil pH within 18 inches of the boardwalk annually. Cedar and locust shed slightly acidic tannins (pH 5.2 to 5.8) as they weather. Amend with dolomitic lime at 2 pounds per 100 square feet if soil pH drops below optimal ranges for your crops.
FAQ
How wide should a garden boardwalk be?
Build 24 inches wide for single-file foot traffic. Increase to 36 inches to accommodate wheelbarrows or garden carts. Wider structures require additional joists and footer blocks but eliminate the need to walk directly in beds.
Can I use reclaimed pallet wood?
No. Pallet lumber often contains heat-treated hardwoods impregnated with pesticides or fungicides. Species identification proves difficult, and rot resistance varies wildly. Inconsistent board dimensions complicate construction and create tripping hazards.
Do I need a permit to build a garden boardwalk?
Most municipalities exempt ground-level garden structures under 200 square feet from permitting requirements. Verify local codes before beginning construction. Setback requirements from property lines may apply.
How long does a cedar boardwalk last?
Expect 18 to 22 years with annual maintenance in Zones 5 through 8. Heartwood cedar (darker, denser boards) outlasts sapwood by 6 to 8 years. Black locust extends service life to 25 years but costs 40 percent more than cedar.
Should I stain or seal the wood?
Raw wood performs better than sealed surfaces in garden environments. Film-forming sealers trap moisture and accelerate decay. If aesthetic concerns require treatment, use penetrating oil finishes only. Reapply every 12 to 18 months.