6 Steps to Prepare a Space for Tool Organization
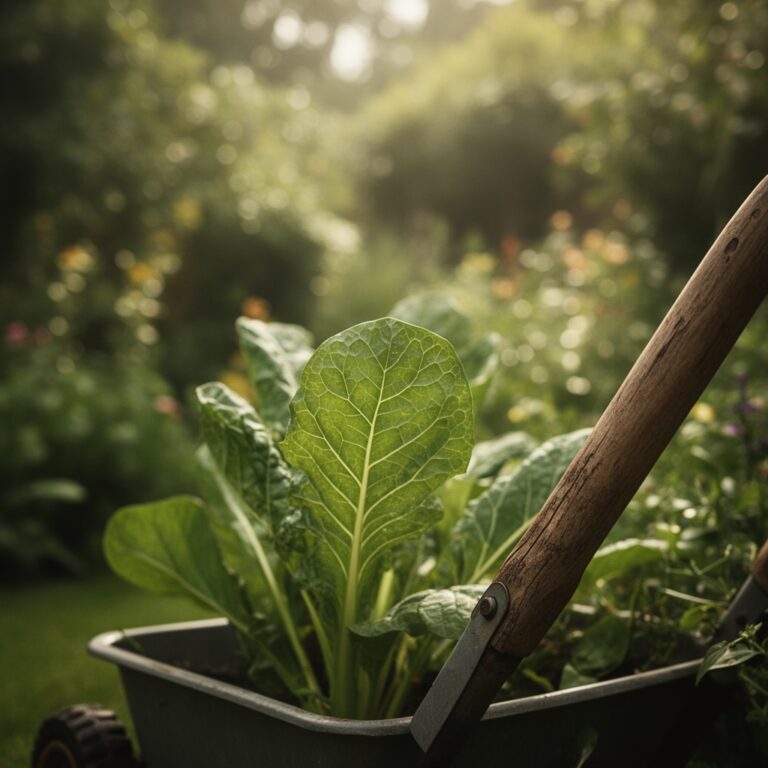
The sharp scent of wet humus and the high turgor pressure of a well-hydrated cell wall define a productive workspace. Efficiency in the field requires more than just physical labor; it demands a systematic reduction of friction. Understanding how to prepare a garden for a tool organization task begins with clearing the botanical path and stabilizing the soil surface. When your gear is accessible and maintained, you minimize the risk of pathogen transfer and physical fatigue. This preparation ensures that every movement in the rhizosphere is intentional and every cut is precise.
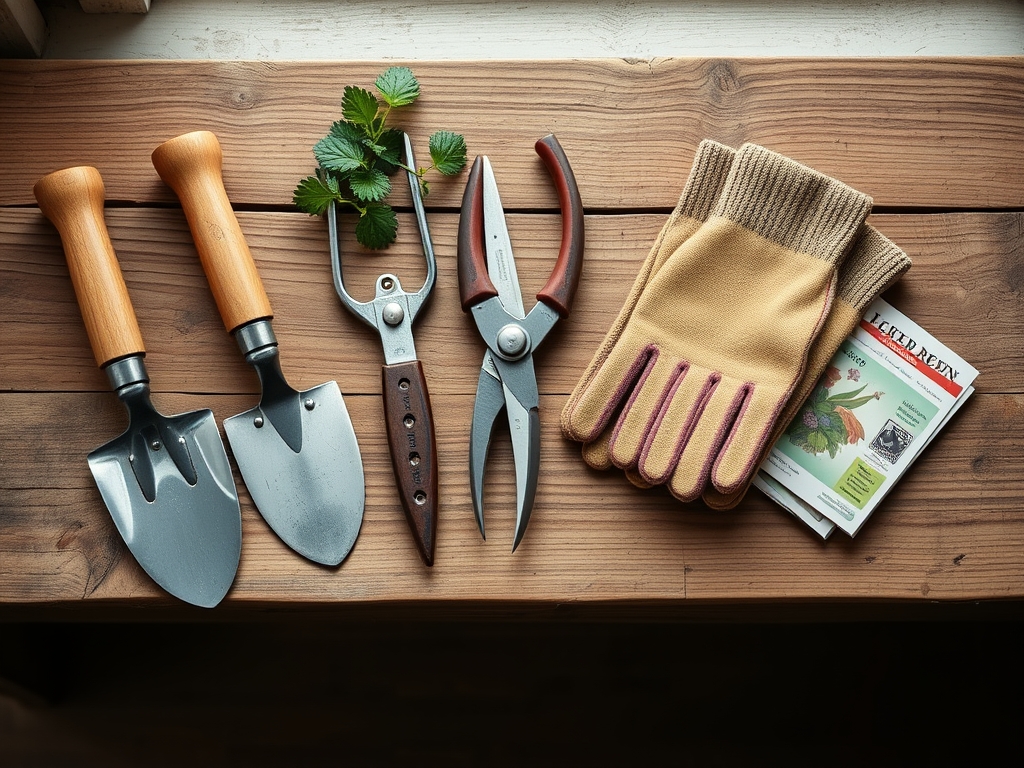
Materials:
Before organizing, evaluate the substrate where your heavy equipment will rest. The ideal surface is a **friable loam** with a high sand content to ensure rapid drainage. Soil with a high **Cation Exchange Capacity (CEC)**, typically above **20 meq/100g**, indicates a dense mineral structure that can support the weight of tool sheds or storage racks without excessive compaction.
For areas surrounding the tool zone, maintain a soil pH between 6.2 and 6.8 to prevent the corrosion of metal components by acidic runoff. If you are integrating container-grown specimens into the organization area, use a substrate with an NPK ratio of 5-10-5 to encourage root development without excessive vegetative growth. High nitrogen levels (above 15%) can lead to soft, succulent tissue that is easily damaged during the movement of heavy tools. Ensure the physical texture is granular; avoid silty clays that hold moisture and promote tool oxidation.
Timing:
In USDA Hardiness Zones 5 through 7, the optimal window for organizing your workspace is during the late dormant season or early spring, approximately three weeks before the last frost date. This timing aligns with the plant's biological clock as it transitions from dormancy to the vegetative stage. By organizing before the surge in auxin production, you avoid damaging new growth points.
Monitoring the photoperiod is essential. As day length exceeds 12 hours, plants increase their metabolic rate. Performing heavy organizational tasks during the heat of the day (11:00 AM to 3:00 PM) increases the rate of transpiration, leading to temporary wilting if the root zone is disturbed. Aim for overcast days with ambient temperatures between 50 and 65 degrees Fahrenheit to minimize stress on both the gardener and the surrounding flora.
Phases:

Sowing the Layout
Establish a perimeter using biodegradable stakes. Map out the location for each implement based on frequency of use. Place high-use items like the hori-hori knife and bypass pruners at waist height to reduce repetitive strain. Ensure the layout allows for at least 36 inches of clearance between tool racks and sensitive plant foliage.
Pro-Tip: Utilize the principle of phototropism when placing vertical storage. Ensure that tall tool racks do not cast a permanent shadow over sun-loving species; a lack of light will cause plants to become "leggy" as they stretch toward the sun, weakening their cellular integrity.
Transplanting Support Structures
If installing permanent hooks or benches, you may need to relocate existing perennials. Dig a root ball at least twice the width of the current container. Maintain the original soil line to prevent stem rot. Backfill with native soil to ensure consistent capillary action for water movement.
Pro-Tip: Inoculate the transplant site with mycorrhizal fungi. This symbiotic relationship extends the root system's reach; the fungi provide phosphorus and water in exchange for plant sugars, significantly reducing transplant shock in the new organizational zone.
Establishing the Workflow
Finalize the placement by testing the "reach" of every tool. Lubricate all moving parts with food-grade mineral oil to prevent the spread of chemical residues into the soil. Create a dedicated "clean station" where tools are disinfected with a 10% bleach solution or isopropyl alcohol after every use.
Pro-Tip: Practice auxin suppression by pruning back any encroaching lateral branches near the tool rack. Removing the terminal bud redirects growth energy to lateral buds, creating a bushier, more controlled plant shape that stays clear of your equipment.
The Clinic:
Physiological disorders often manifest when the environment is disrupted by heavy traffic or improper storage.
- Symptom: Interveinal chlorosis (yellowing between leaf veins).
- Solution: This indicates a Magnesium deficiency. Apply Epsom salts (magnesium sulfate) at a rate of 1 tablespoon per gallon of water.
- Symptom: Marginal leaf burn or necrosis.
- Solution: Often caused by Potassium deficiency or salt buildup. Flush the soil with 2 inches of water and adjust the NPK balance to a higher "K" value.
- Symptom: Stunted growth and dark green/purple foliage.
- Solution: This is a classic Phosphorus deficiency, common in cold soils. Increase soil temperature with organic mulch or apply a high-phosphorus starter fertilizer.
- Fix-It for Nitrogen Chlorosis: If the oldest leaves are turning uniformly yellow, the plant is scavenging nitrogen for new growth. Apply a fast-acting nitrate-based fertilizer to restore chlorophyll synthesis.
Maintenance:
A disciplined maintenance schedule preserves the longevity of both the garden and the tools. Deliver 1.5 inches of water per week directly at the drip line of plants surrounding the organization area. Use a soil moisture meter to ensure the root zone remains at 60% to 70% field capacity.
Inspect your bypass pruners weekly for blade tension. A loose blade causes "crush" injuries to plant tissue rather than clean cuts, leading to localized senescence and entry points for decay. Sharpen your hori-hori knife with a whetstone at a 20-degree angle to maintain surgical precision during weeding and planting.
The Yield:
When harvesting from the perimeter of your organized space, timing is critical. Harvest leafy greens and herbs in the early morning when turgor pressure is at its peak. This ensures the cells are fully distended with water, providing maximum crispness. Use a sharp, disinfected blade to make a clean diagonal cut.
Post-harvest, immediately submerge the cut ends in 40-degree Fahrenheit water. This "hydro-cooling" process slows down the metabolic rate and respiration of the plant tissue, extending the shelf life and preserving the nutrient density. For woody stems, sear the ends or use a floral preservative to maintain the vascular flow through the xylem.
FAQ:
How do I prevent rust on tools stored outdoors?
Maintain a low humidity environment and coat metal surfaces with a thin layer of mineral oil. Ensure the storage area has adequate airflow to prevent moisture accumulation on the steel surfaces.
What is the best soil for a high-traffic tool area?
Use a mix of 70% coarse sand and 30% organic compost. This combination provides the structural integrity to resist compaction while allowing for rapid drainage during heavy rain events.
How often should I calibrate my soil moisture meter?
Check the calibration every 30 days by testing it in a saturated soil sample. Accurate readings are vital to prevent over-irrigation, which can lead to anaerobic conditions and root rot.
Can I store fertilizers and tools in the same space?
Only if the fertilizers are in airtight, non-corrosive containers. Many fertilizers contain salts that can accelerate the oxidation of metal tools if they become airborne or leak.
Why are my plants wilting despite wet soil?
This often indicates root rot or anaerobic conditions. If the soil is compacted from tool organization tasks, the roots cannot access oxygen. Aerate the soil to restore gas exchange in the rhizosphere.