7 Steps to Clean a Garden Hoe After Daily Use
Damp earth clings to the carbon steel blade; its scent is a mix of geosmin and decomposing organic matter. This residue is a vector for pathogens that compromise the turgor of a healthy leaf. Neglecting your tools invites fungal spores into the rhizosphere. Implementing professional steps for cleaning a garden hoe after use ensures the longevity of the tool and the health of the soil. Precision in maintenance reflects the precision of your cultivation.
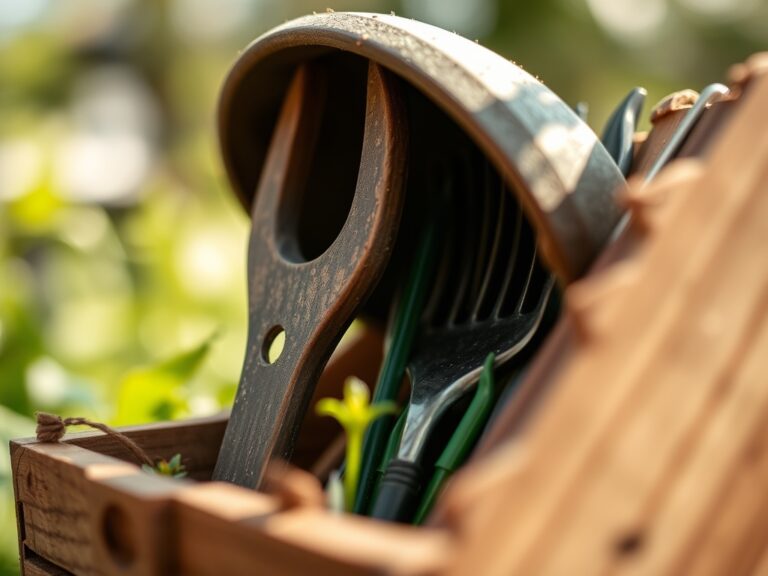
Materials:
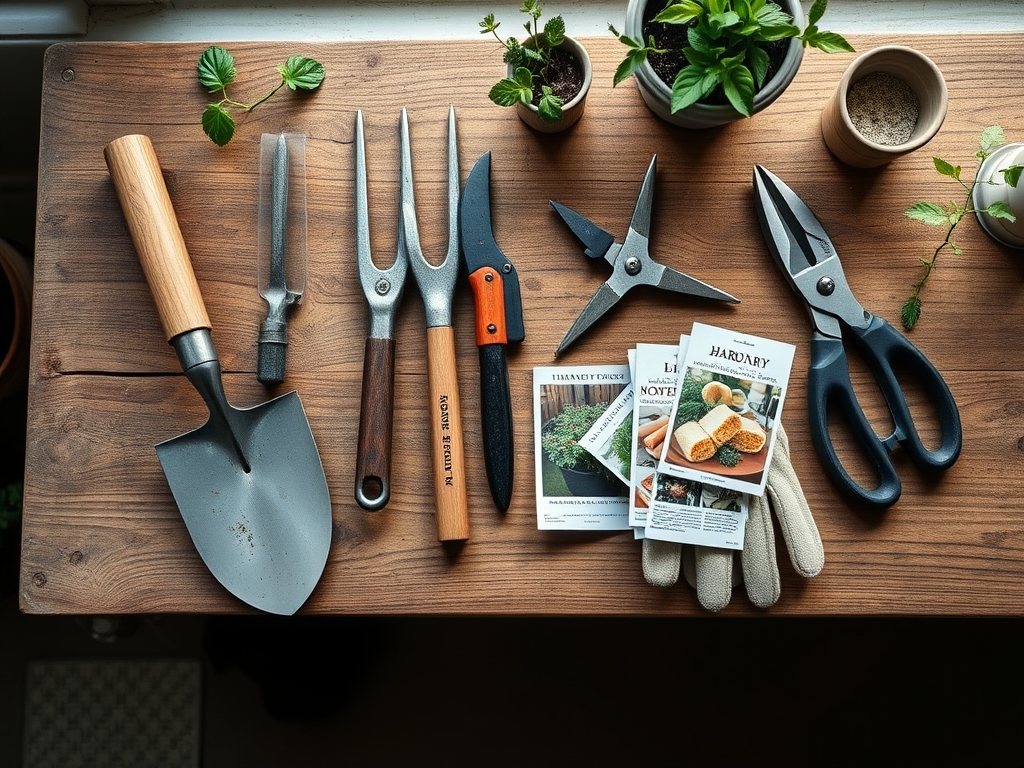
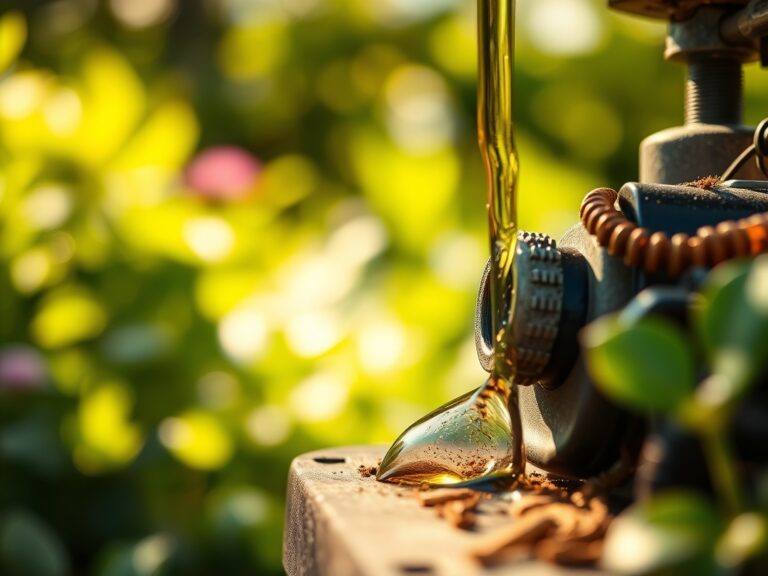
Effective maintenance requires an understanding of the environment where the tool operates. A garden hoe primarily interacts with the top 3 inches of the soil profile. In a high-quality friable loam, the soil pH should sit between 6.2 and 6.8 to optimize nutrient availability. When cleaning, consider the chemical residues from fertilizers with NPK ratios like 10-10-10 or 5-10-5. These salts are corrosive to high-carbon steel. You will need a stiff-bristled nylon brush, a bucket of coarse builder’s sand mixed with vegetable-based oil, 70 percent isopropyl alcohol for sterilization, and a clean rag. The goal is to remove all particulates that could interfere with the cation exchange capacity of the soil during the next use.
Timing:
Maintenance must align with the horticultural calendar. In Hardiness Zones 5 through 7, the primary window for hoeing begins after the last spring frost, typically between April 15 and May 15. As plants move through their biological clock from the vegetative stage to the reproductive stage, the frequency of soil disturbance decreases to protect shallow root systems. Perform your cleaning routine immediately after use, before the sap and clay minerals harden on the blade surface. This prevents the transfer of soil-borne diseases during the critical transition to flowering and fruit set.
Phases:

Sowing
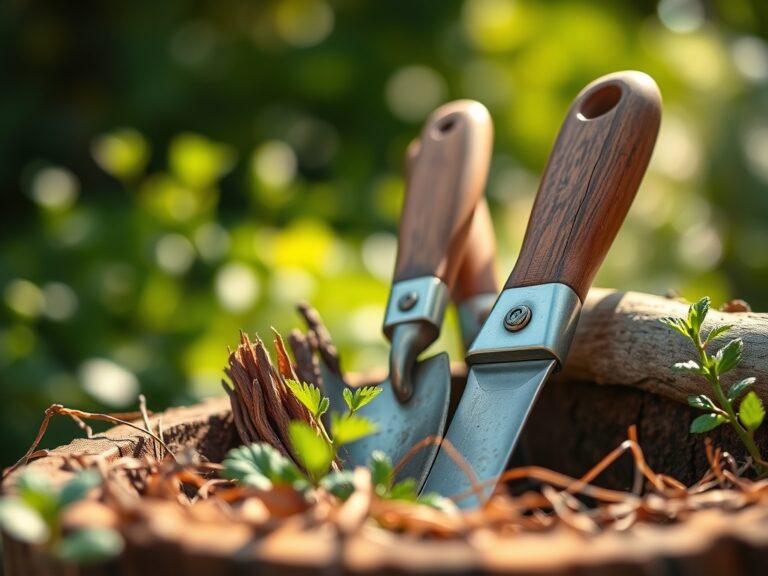
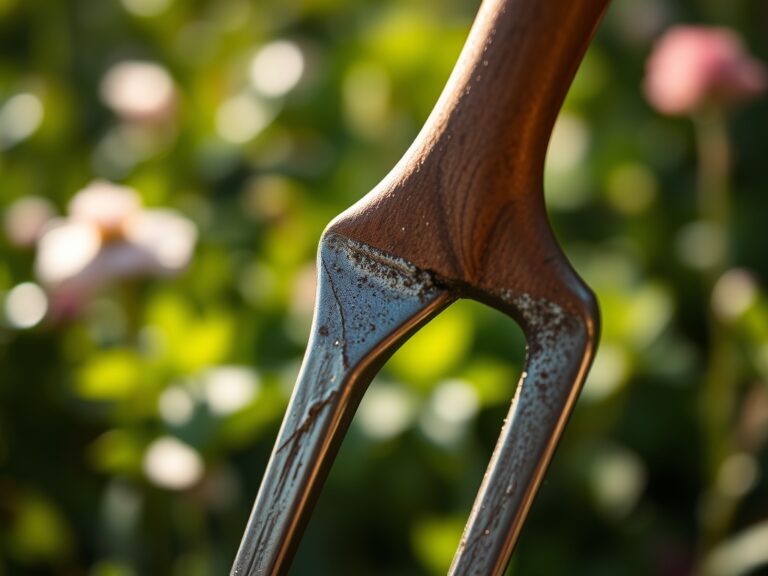
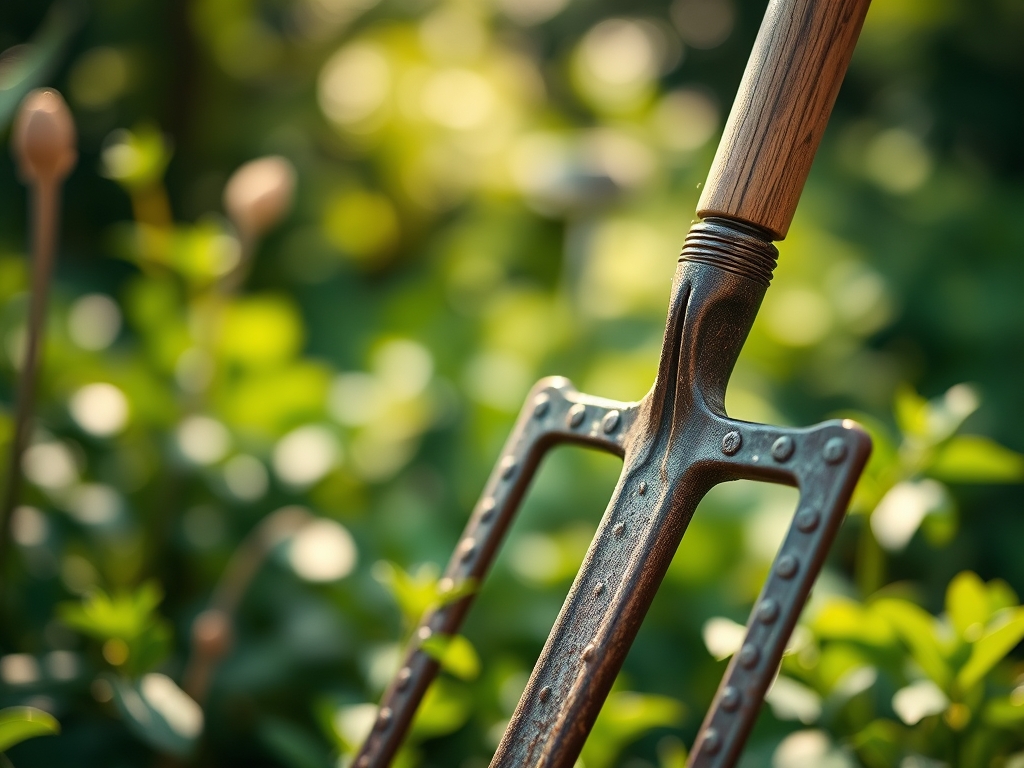
The first step is mechanical removal. Use a stiff brush or a wooden scraper to dislodge clumps of soil. Focus on the neck of the hoe where the blade meets the handle; this is a high-stress point where moisture collects and causes oxidation.
Pro-Tip: Removing organic debris prevents the unintended spread of weed seeds. This preserves the "Biological Why" of seedbed preparation; it ensures that the emerging seedlings do not face immediate competition for light, preventing premature auxin suppression which leads to leggy, weak stems.
Transplanting
Once the bulk of the soil is removed, wash the blade with a high-pressure stream of water. Dry the metal immediately with a microfiber cloth. Any residual moisture will lead to pitting on the steel surface.
Pro-Tip: Maintaining a smooth, clean surface reduces friction during soil penetration. This minimizes root disturbance for neighboring plants; preserving the integrity of the mycorrhizal symbiosis between fungal filaments and the plant root system is essential for phosphorus uptake.
Establishing
The final phase involves sterilization and lubrication. Wipe the blade with isopropyl alcohol to kill pathogens. Dip the blade into a bucket of oiled sand several times to apply a thin protective layer.
Pro-Tip: Sterilization prevents the mechanical transmission of tobacco mosaic virus or fusarium wilt. This respects the "Biological Why" of plant immunity; by not introducing external pathogens, the plant can allocate energy toward biomass production rather than activating systemic acquired resistance.
The Clinic:
Observe the tool and the plants for signs of failure.
Symptom: Pitting or orange oxidation on the hoe blade.
Solution: Use a 120-grit sandpaper to remove rust. Apply a light coat of linseed oil to the handle and blade to create a hydrophobic barrier.
Symptom: Plant leaves showing interveinal yellowing (Nitrogen chlorosis).
Fix-It: This is a nutrient deficiency, not a tool issue. Apply a high-nitrogen fertilizer (NPK 21-0-0) at a rate of 0.5 pounds per 100 square feet to restore chlorophyll production.
Symptom: Sudden wilting of healthy plants after hoeing.
Solution: You have likely damaged the vascular system or the root crown. Ensure the hoe blade is sharpened to a 45-degree angle to slice through weeds cleanly without pulling at the soil structure.
Maintenance:
Professional grade tools require specific care to function within a high-performance garden. Use a soil moisture meter to ensure the ground is at 25 to 30 percent moisture before hoeing; working in saturated clay will clog the tool and destroy soil structure. If you encounter woody perennial roots, switch to a hori-hori knife or bypass pruners rather than prying with the hoe. For wooden handles, apply boiled linseed oil twice a year to prevent splintering. Store the tool hanging vertically in a low-humidity environment to prevent the wood from swelling or the metal from reaching its dew point.
The Yield:
When your tools are maintained, your harvest reflects that precision. For leafy greens, harvest when turgor pressure is highest, typically before 8:00 AM. Use the sharpened edge of your hoe to sever heavy-stemmed crops like broccoli at a 45-degree angle to prevent water from pooling on the remaining stalk. For "day-one" freshness, immediately submerge the cut ends in 40-degree Fahrenheit water to slow the rate of senescence and cellular respiration.
FAQ:
Why use sand and oil for cleaning?
The sand provides mechanical abrasion to remove stubborn sap and rust. The oil creates a protective seal against oxygen and moisture. This prevents oxidation and ensures the blade glides through the soil without sticking.
How often should I sharpen my garden hoe?
Sharpen the blade every 8 to 10 hours of active use. Use a mill file to maintain a 45-degree bevel. A sharp blade requires less force, which protects the tool handle and reduces operator fatigue.
Can I use bleach to disinfect my garden tools?
Avoid bleach as it is highly corrosive to carbon steel and can pit the metal. Use 70 percent isopropyl alcohol or a specialized quaternary ammonium disinfectant. These options effectively kill pathogens without damaging the integrity of the tool.
What is the best way to store a hoe long-term?
Clean the tool thoroughly and apply a heavy coat of paste wax or fluid film to the metal. Store it in a dry shed or garage, hanging with the blade upward to prevent edge dulling and moisture accumulation.