8 Steps to Sharpen a Garden Pruner with a Metal File
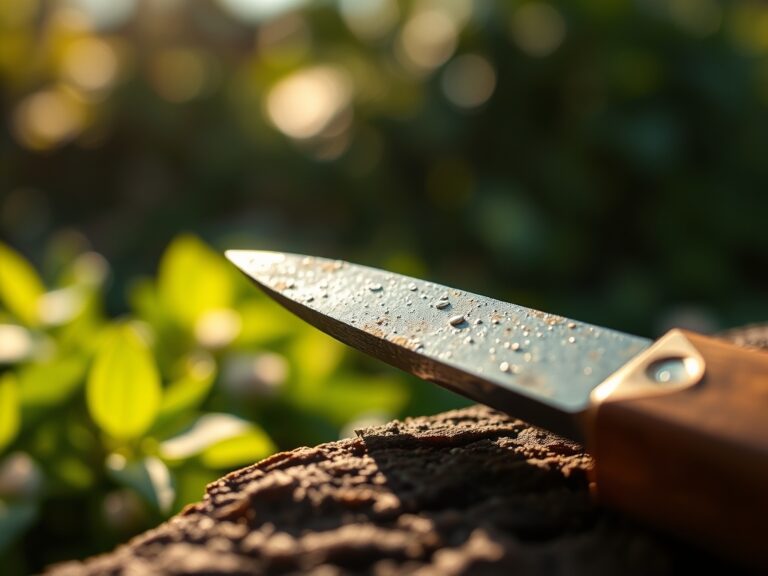
Crushing a succulent stem with a dull blade destroys the vascular tissue and collapses the xylem; this invites fungal pathogens to colonize the ragged wound. A clean cut preserves the turgor pressure of the plant and allows the specimen to seal the injury through rapid cell division. Mastering the steps for sharpening a garden pruner with a file ensures that every incision is surgical rather than traumatic. This maintenance routine prevents the jagged tearing of the epidermis that leads to localized necrosis and systemic infection. Proper tool geometry reduces the physical force required by the operator and minimizes the risk of crushing the cambium layer. By maintaining a razor edge, you facilitate quicker recovery for the plant and extend the life of your equipment. This process is not merely about convenience; it is a fundamental requirement for maintaining the structural integrity of your botanical collection.
Materials:

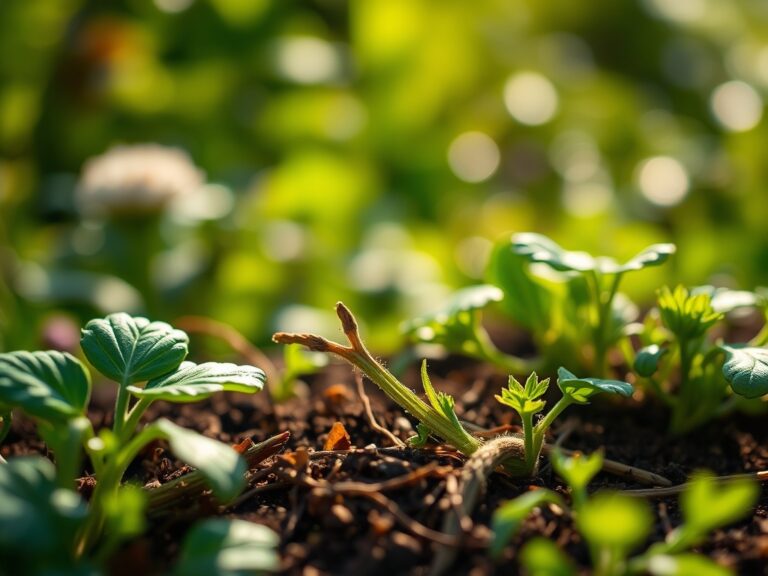
While tool maintenance focuses on metal, the health of the plants you prune depends on the substrate. An ideal growing medium is a **friable loam** with a **Soil Cation Exchange Capacity (CEC) between 15 and 25 milliequivalents per 100 grams**. This texture allows for optimal pore space and gas exchange within the **rhizosphere**. For general maintenance of woody perennials, ensure the soil has a **pH of 6.2 to 6.8**. During the vegetative stage, apply a fertilizer with an **NPK ratio of 10-5-5** to support nitrogen-rich leaf development. As the plant transitions to flowering or fruiting, shift to a **5-10-10 ratio** to provide the phosphorus and potassium necessary for reproductive success and cellular strength. High-quality steel files, such as a **10-inch mill bastard file** or a **diamond-coated flat file**, are required to reshape the bevel of the blade.
Timing:
Maintenance must align with the Biological Clock of your garden. In Hardiness Zones 5 through 8, sharpening should occur during the late dormant season, typically 4 to 6 weeks before the last frost date. This ensures tools are ready for the heavy pruning required before the transition from winter dormancy to the spring vegetative burst. Pruning during the senescence of late autumn can trigger new growth that is susceptible to frost damage; therefore, sharpen your tools in anticipation of late winter structural pruning. Monitoring the photoperiod is essential. As day length increases, plants move toward the "bud swell" phase. You must have your pruners sharpened and sterilized before this window closes to avoid disrupting the early spring sap flow.
Phases:
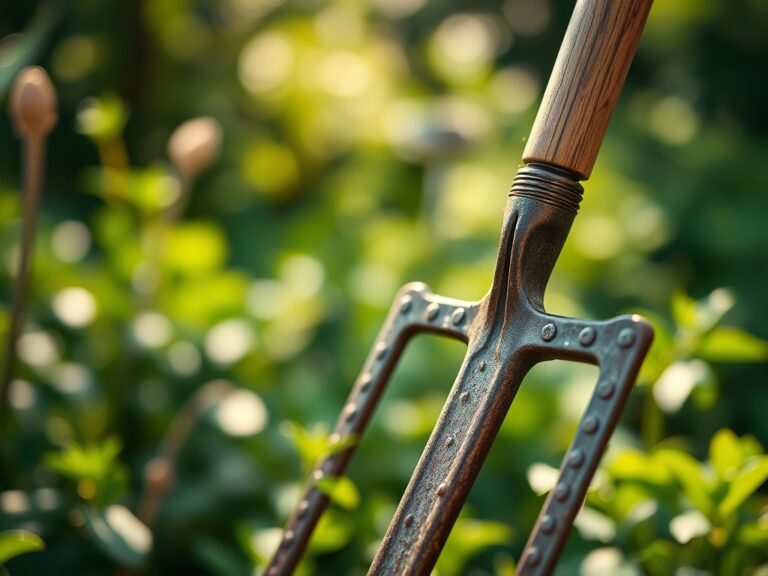
Sowing: Cleaning and Disassembly
The first step in the steps for sharpening a garden pruner with a file is removing organic debris. Use a stiff wire brush to scrub away dried sap and soil. If the tool has significant rust, soak the metal components in a 5 percent acetic acid solution for 12 hours. Wipe the blades with isopropyl alcohol to ensure no pathogens are transferred during the sharpening process.
Pro-Tip: Sterilization prevents the spread of mycorrhizal pathogens and viruses. Using a clean blade ensures that the auxin suppression in the apical meristem is managed precisely, directing growth to lateral buds without introducing disease.
Transplanting: Setting the Bevel
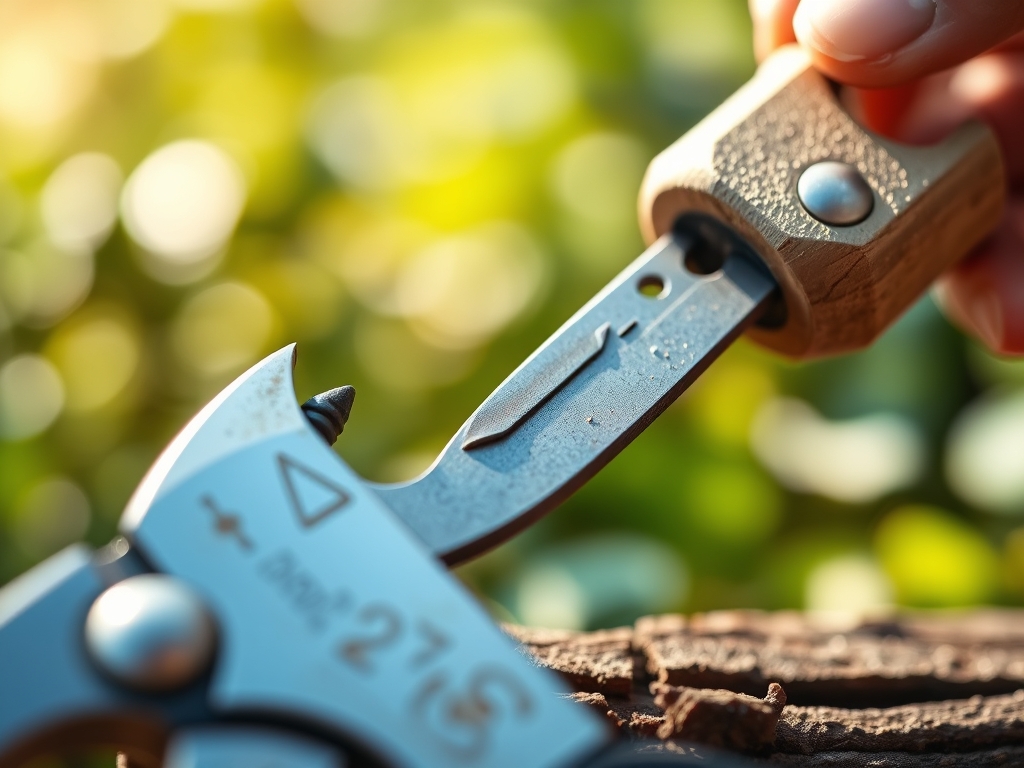
Secure the pruner in a bench vise with the beveled edge facing upward. Identify the factory angle, which is typically between 20 and 25 degrees. Place your file against the edge and push in a single, fluid motion away from your body. Follow the curve of the blade. Do not use a back and forth sawing motion; this creates heat that can draw the temper out of the steel and weaken the edge.
Pro-Tip: Maintaining a consistent angle is vital for turgor pressure management. A precise bevel ensures the blade slides through the cellulose and lignin of the plant wall rather than pinching the vascular bundles.
Establishing: Honing and Reassembly
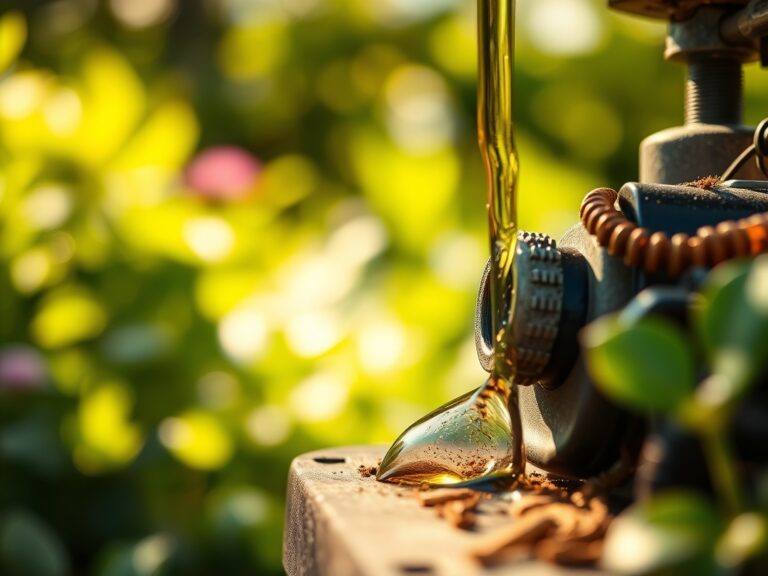
After 10 to 15 strokes with the file, a small metal "burr" will form on the flat side of the blade. Use a fine-grit whetstone or the file to lightly remove this burr with one flat pass. Reassemble the pruners and adjust the tension nut. The blades should pass each other with minimal friction but no visible gap. Apply a silicone-based lubricant or mineral oil to the pivot point to prevent oxidation.
Pro-Tip: Proper tension prevents the "chewing" effect on stems. This protects the phototropism response of the plant by ensuring the remaining buds are positioned to receive optimal light without being shaded by mangled tissue.
The Clinic:
Physiological disorders often stem from poor pruning or soil imbalances. Monitor your plants for these specific symptoms.
Symptom: Ragged, brown edges on pruning cuts.
Solution: This indicates a dull blade or improper tension. Re-sharpen the tool and ensure the bypass action is tight. The brown tissue is a sign of localized necrosis.
Symptom: Interveinal chlorosis (yellowing between green veins) on new growth.
Solution: This is a classic sign of Iron deficiency, often caused by a soil pH above 7.0. Lower the pH using elemental sulfur to increase the availability of micronutrients.
Symptom: Stunted growth and purple tinting on the underside of leaves.
Solution: This indicates Phosphorus deficiency. Apply a 0-20-0 superphosphate fertilizer to the root zone to support ATP production and cellular energy transfer.
Fix-It for Nitrogen Chlorosis: If older leaves turn uniformly pale yellow, the plant is scavenging nitrogen for new growth. Apply a quick-release ammonium nitrate solution at a rate of 0.5 pounds of actual nitrogen per 1,000 square feet.
Maintenance:
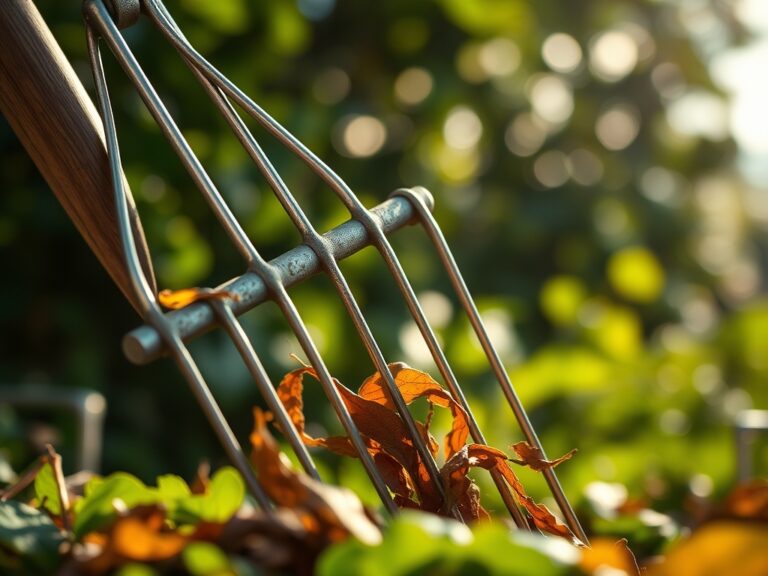
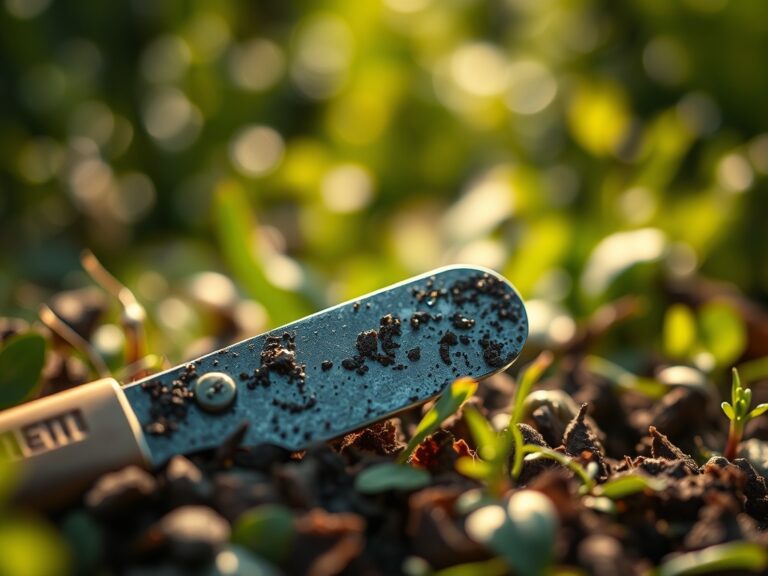
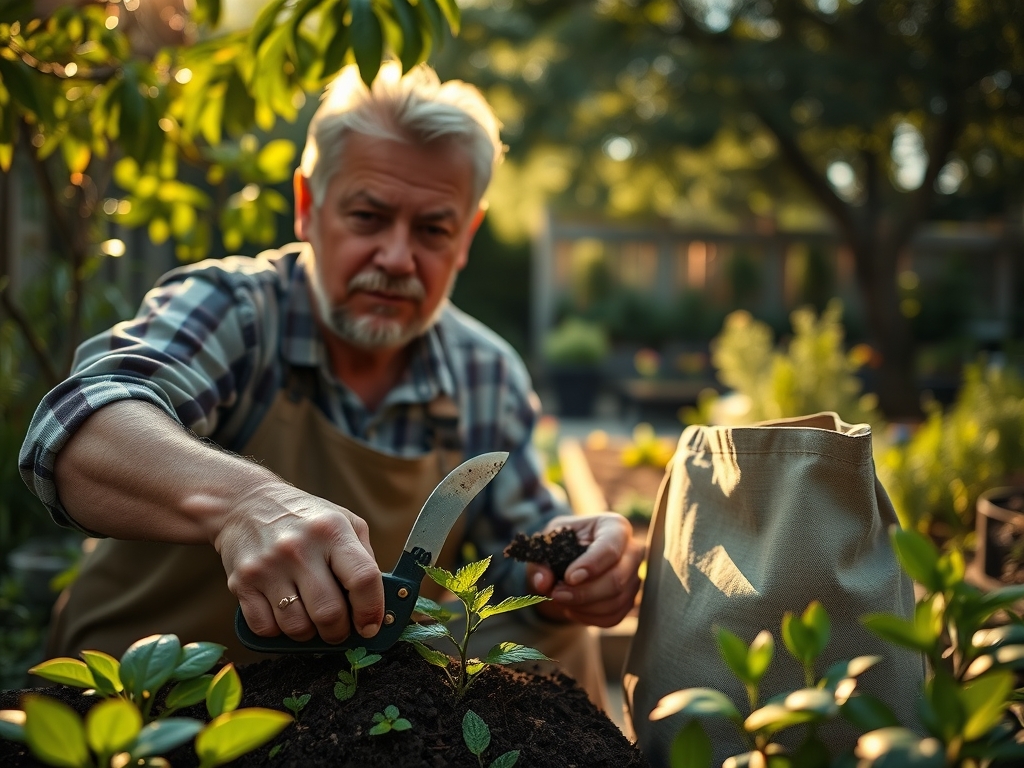
Precision in the garden requires high-quality instruments. Use a soil moisture meter to ensure the root zone receives 1.5 inches of water per week, delivered slowly at the drip line to encourage deep root penetration. When removing deadwood, use your sharpened bypass pruners for stems under 0.75 inches; for larger branches, use a pruning saw to avoid straining the pruner's pivot bolt. A hori-hori knife is the superior tool for weeding and transplanting within the rhizosphere, as its serrated edge cuts through compacted soil without destroying the delicate fungal networks of the soil.
The Yield:
Harvesting is the final stage of the horticultural cycle. For herbs and leafy greens, harvest in the early morning when turgor pressure is at its peak. Use your sharpened pruners to make a clean cut above a node to encourage lateral branching. For woody perennials or flowers, cut at a 45-degree angle to prevent water from pooling on the wound. Immediately submerge the cut ends in 40-degree Fahrenheit water to slow the rate of transpiration and preserve "day-one" freshness. This rapid cooling halts the metabolic processes that lead to wilting and senescence.
FAQ:
How do I know when to sharpen my pruners?
If the blade tears the bark or requires significant hand pressure to close, the edge is dull. Perform a "paper test" by attempting to slice a sheet of paper; a sharp blade will cut cleanly without snagging.
Can I use a power grinder instead of a file?
Avoid power grinders. The high RPMs generate excessive heat that destroys the steel's temper. A manual file allows for precision and preserves the hardness of the metal for a longer-lasting edge.
What is the best way to remove sap from the blade?
Apply a small amount of penetrating oil or specialized sap remover to the blade. Let it sit for two minutes, then scrub with a coarse cloth. Clean blades prevent friction and ensure a smoother sharpening process.
Why is my pruner leaving a "tail" of bark?
This occurs when the gap between the cutting blade and the anvil is too wide. Tighten the pivot bolt until the blades interface closely. If the problem persists, the blade may be bent and require professional realignment.