7 Herb-Gardening Steps to Prepare a Kitchen Herb Shelf
Crushing a fresh leaf of Ocimum basilicum between your thumb and forefinger releases volatile oils that signal a plant in peak physiological health. Achieving this level of turgor pressure and aromatic intensity requires more than just a sunny window; it demands a rigorous understanding of the rhizosphere and lighting physics. Learning how to prepare a plant shelf for herbs involves engineering a microclimate that mimics Mediterranean or temperate origins within a confined indoor footprint. Success is measured in grams of dry matter and the absence of necrotic tissue. You must manage gas exchange, nutrient availability, and spectral quality to prevent spindly growth or root senescence. This guide provides the technical framework to transform a standard shelving unit into a high-output botanical station.
Materials:
The foundation of any herb shelf is the substrate. Herbs like rosemary and thyme require a **soil pH between 6.0 and 7.0**, while mint can tolerate slightly more acidic conditions down to 5.5. Avoid standard “potting soil” which often lacks the necessary porosity. Instead, seek a **friable loam** composed of 40 percent peat moss or coconut coir, 30 percent perlite for aeration, and 30 percent composted organic matter.
Nutrient management is critical. For vegetative growth, use a fertilizer with an NPK ratio of 10-5-5. The high nitrogen content supports chlorophyll production and leaf expansion. Ensure your containers have a high Cation Exchange Capacity (CEC) by incorporating vermiculite, which allows the medium to hold onto positively charged nutrients like potassium and magnesium. The physical texture should be granular; it must crumble when squeezed, ensuring that oxygen can reach the root zone to prevent anaerobic pathogens.
Timing:
Indoor herb shelves bypass the traditional constraints of USDA Hardiness Zones, but they remain tethered to the biological clock of the species. Most culinary herbs are long-day plants, requiring a photoperiod of 12 to 16 hours to maintain vegetative vigor. If the light duration drops below 10 hours, many species will trigger senescence or attempt to flower, which degrades the flavor of the foliage.
Monitor the frost-date windows if you plan to move plants outdoors eventually. For a permanent indoor shelf, the "Biological Clock" is managed through artificial lighting. Start your seeds 6 to 8 weeks before the spring equinox to capitalize on the natural increase in ambient solar radiation. This timing ensures that by the time the plants reach their reproductive stage, they have sufficient biomass to sustain repeated harvests.
Phases:
Sowing
Place seeds at a depth exactly two times their diameter. For fine seeds like oregano, surface sowing is required as they are photoblastic and need light to trigger germination. Maintain a consistent soil temperature of 70 degrees Fahrenheit using a waterproof heat mat.
Pro-Tip: Utilize a humidity dome to maintain high vapor pressure deficit (VPD). This prevents the delicate radicle from desiccating during the initial breakthrough of the seed coat, a process known as imbibition.
Transplanting
Move seedlings to their permanent shelf containers once they develop two sets of true leaves. Ensure the new medium is pre-moistened to avoid "wicking" moisture away from the young root ball. Handle plants only by the cotyledons or root mass to avoid damaging the vascular cambium in the stem.
Pro-Tip: Dust the root zone with mycorrhizal fungi during transplanting. This creates a symbiotic relationship that effectively increases the root surface area, enhancing phosphorus uptake and drought resistance.
Establishing
Once on the shelf, position lights 3 to 6 inches above the canopy. Use a fan to provide constant airflow, which strengthens the stems through thigmomorphogenesis (the response of plants to mechanical sensation).
Pro-Tip: Rotate pots 180 degrees every 48 hours. This counters phototropism, where the plant hormone auxin concentrates on the shaded side of the stem, causing the plant to lean toward the light source.
The Clinic:
Physiological disorders often manifest as visual cues in the foliage. Use this diagnostic criteria to adjust your shelf parameters.
- Symptom: Yellowing of lower leaves while veins remain green (Interveinal Chlorosis).
- Solution: This indicates a Magnesium deficiency. Apply a solution of 1 tablespoon Epsom salts per gallon of water.
- Symptom: Elongated, weak stems and small leaves (Etiolation).
- Solution: Increase light intensity. Ensure your LEDs or T5 fluorescents provide at least 300 micromoles per square meter per second (umol/m2/s) at the canopy level.
- Symptom: White, powdery coating on leaves.
- Solution: Powdery mildew caused by high humidity and poor airflow. Increase the distance between pots and activate a mechanical fan to lower the ambient humidity below 50 percent.
Fix-It for Nitrogen Chlorosis: If the entire leaf turns pale green or yellow, the plant is scavenging nitrogen from old growth to support new leaves. Apply a high-nitrogen liquid seaweed extract to restore nitrogen levels immediately.
Maintenance:
Precision is the difference between a surviving plant and a thriving one. Use a soil moisture meter to ensure the substrate is dry to a depth of 1 inch before re-watering. Most herbs require approximately 1.5 inches of water per week, delivered directly to the soil surface to keep the foliage dry.
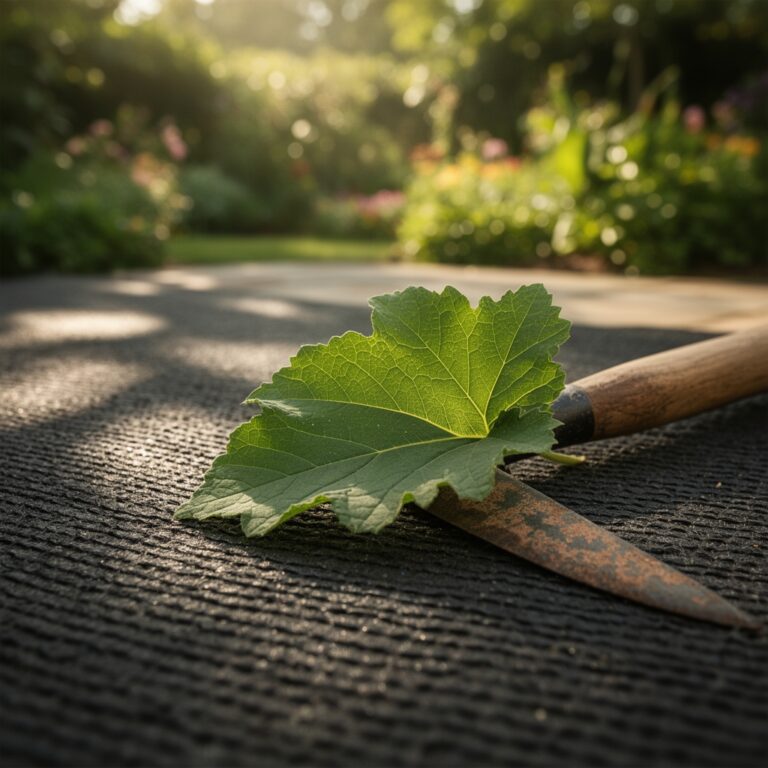
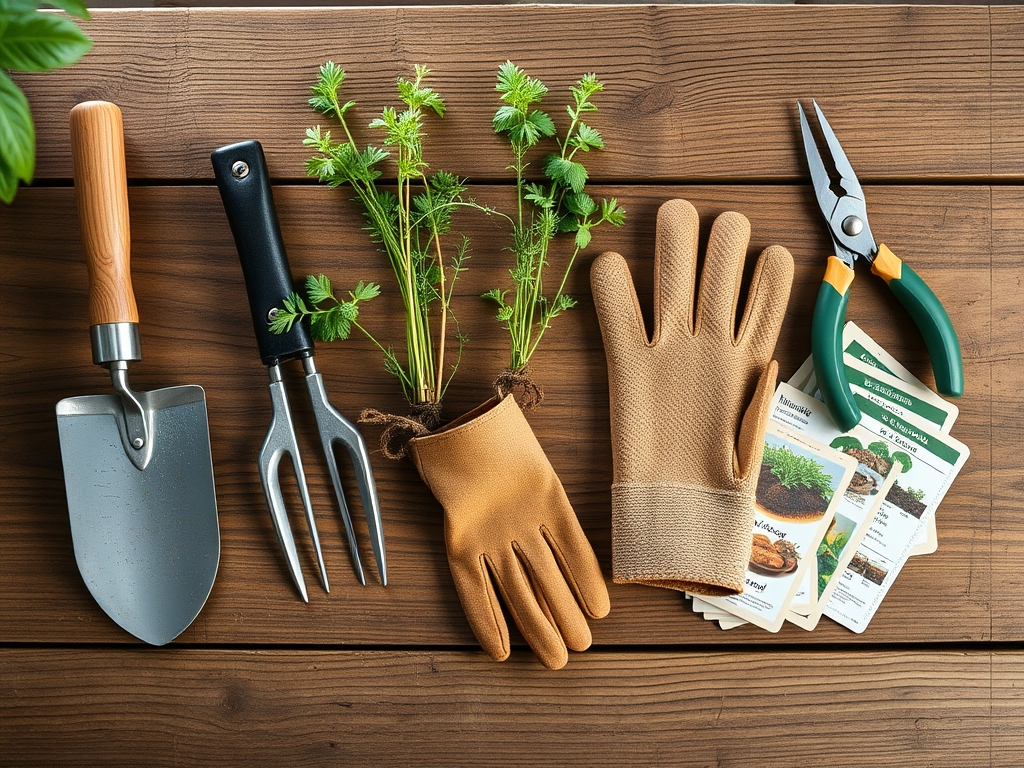
Keep a hori-hori knife for dividing overgrown clumps of chives or mint, and use bypass pruners for clean cuts that minimize tissue trauma. Sanitize tools with 70 percent isopropyl alcohol between plants to prevent the mechanical transmission of pathogens. Monitor the "drip line" of the pot; if water escapes too quickly, the soil may have become hydrophobic and requires bottom-watering to re-saturate the peat fibers.
The Yield:
Harvesting is a form of pruning that encourages lateral branching. For bushy herbs like basil, cut just above a node (the point where leaves emerge). This removes apical dominance, forcing the plant to redirect auxins to side buds. Never harvest more than 30 percent of the total leaf area at one time; exceeding this threshold can lead to metabolic shock and stunted growth.
For "day-one" freshness, harvest in the early morning when turgor pressure is at its highest. Place woody herbs like rosemary in a damp paper towel in the refrigerator. For soft herbs like parsley, treat them like a bouquet by placing the stems in a glass of cool water. This maintains the hydrostatic pressure within the cells, preventing wilting.
FAQ:
How much light do shelf herbs need?
Most herbs require 12 to 16 hours of light daily. Use full-spectrum LED grow lights positioned 4 to 6 inches above the plants to provide the necessary PAR (Photosynthetically Active Radiation) for glucose production and essential oil synthesis.
What is the best pot for a herb shelf?
Select terracotta or porous ceramic pots with drainage holes. These materials allow for lateral gas exchange and prevent "wet feet," which causes root rot. Ensure the pot size matches the root mass to prevent soil souring.
Can I use garden soil on my herb shelf?
No. Garden soil is too dense for containers and often contains pathogens and weed seeds. It lacks the necessary drainage and aeration. Use a sterile, soilless mix with a high cation exchange capacity for optimal nutrient delivery.
How often should I fertilize indoor herbs?
Apply a balanced, water-soluble fertilizer every 4 to 6 weeks during the active growing season. Reduce frequency in winter when metabolic rates slow. Over-fertilizing leads to salt buildup, which can burn sensitive root hairs and reduce aromatic potency.