7 Steps to Prepare a Professional Garden Shed Base
Crushing a handful of damp, friable loam reveals the structural integrity of your land; the earthy scent of geosmin indicates a healthy microbial population within the rhizosphere. Before the first structural timber arrives, the ground must be engineered to prevent subsidence and moisture wicking. Learning how to prepare a site for a garden shed requires more than a shovel; it demands an understanding of soil compaction and drainage kinetics. A poorly leveled base leads to door binding and structural fatigue as the wood loses turgor-like rigidity. You must strip the organic layer to reach the mineral subsoil, ensuring a stable Cation Exchange Capacity (CEC) that will not shift under the weight of the structure. By stabilizing the substrate now, you prevent the long-term senescence of your garden infrastructure.
Materials:
Selecting the correct materials depends on the chemical and physical composition of your local geology. For the sub-base, use **MOT Type 1 crushed limestone** or granite. This material provides a high load-bearing capacity while maintaining interstitial spaces for drainage. If your soil pH is below **6.0 (acidic)**, limestone aggregate can help neutralize runoff acidity, protecting metal fasteners from corrosion.
The ideal substrate for the surrounding perimeter should be a friable loam with a balanced NPK ratio of 10-10-10 to support immediate turf recovery. High-clay soils with low CEC require the addition of coarse grit to prevent "puddling" or anaerobic conditions around the foundation. You will also need non-woven geotextile fabric with a weight of at least 100gsm to separate the mineral soil from your aggregate. This prevents the "pumping" of fines into your gravel, which would otherwise compromise the structural drainage.
Timing:
Timing your installation is dictated by your USDA Hardiness Zone and local frost-date windows. In Zones 4 through 7, excavation should occur after the spring thaw but before the summer solstice. Working frozen ground is impossible; working saturated, post-thaw soil destroys the soil structure through macropore collapse.
The biological clock of your surrounding flora is critical. Aim for the "dormant window" or the very early vegetative stage. If you excavate during the peak reproductive stage (flowering), the mechanical stress and root pruning will trigger high levels of abscisic acid, causing nearby ornamental plants to drop foliage or abort blooms. Aim for a soil temperature of at least 55 degrees Fahrenheit to ensure that any displaced microbes can quickly recolonize the disturbed margins.
Phases:

Sowing the Perimeter
Once the site is excavated to a depth of 6 inches, the surrounding disturbed earth must be stabilized. Sow a heavy-duty fescue or rye blend at a rate of 1 pound per 250 square feet.
Pro-Tip: Ensure seed-to-soil contact to trigger imbibition, the process where the seed absorbs water to activate metabolic enzymes. Rapid germination prevents erosion around your new shed base.
Transplanting and Leveling
If the shed site encroaches on existing perennials, use a hori-hori knife to cut a clean root ball. Move these plants during the early morning to maintain high turgor pressure and minimize transpiration stress. For the base itself, use a laser level to ensure a slope of no more than 1/8 inch per foot for drainage.
Pro-Tip: When moving plants, keep the root ball shaded. Exposure to direct UV light can kill mycorrhizal fungi within minutes, breaking the symbiotic relationship that provides the plant with phosphorus.
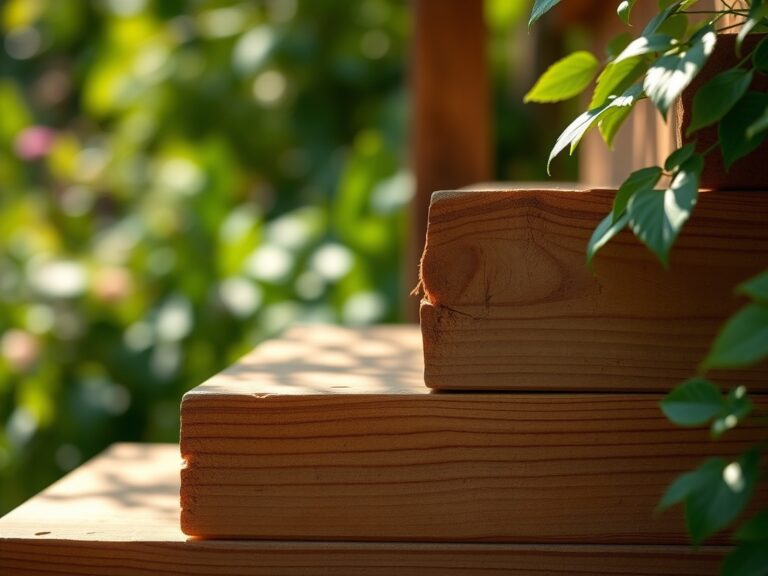
Establishing the Base
Infill the excavated area with 4 inches of compacted aggregate, followed by a 2-inch sand blinding layer or concrete slabs. Use a plate compactor to reach a compaction rate of 95% proctor density.
Pro-Tip: Leave a 12-inch gravel splash strip around the perimeter. This prevents "back-splash" of soil pathogens like Phytophthora onto the shed walls, which can lead to premature fungal decay of the timber.
The Clinic:
Physiological disorders in the surrounding landscape often follow a major construction project. Observe the vegetation for these specific symptoms:
- Symptom: Interveinal Chlorosis. New leaves are yellow while veins remain green.
Solution: This indicates Iron deficiency, often caused by high pH levels from concrete runoff. Apply chelated iron to the root zone. - Symptom: Marginal Leaf Burn. Edges of leaves appear scorched.
Solution: This is often "mechanical drought" caused by root severance during excavation. Increase irrigation to 2 inches per week to compensate for the lost root mass. - Symptom: Stunted Growth and Purpling.
Fix-It: This is Phosphorus deficiency (low P in the NPK balance). Add bone meal or a high-phosphate starter fertilizer to the rhizosphere to encourage ATP production and root repair.
Maintenance:
Post-installation maintenance requires precision. Use a soil moisture meter to monitor the "shadow zone" created by the shed; the structure will block natural rainfall, creating a localized rain shadow. Plants in this zone require 1.5 inches of water per week delivered directly at the drip line.
Keep a pair of bypass pruners sharp to remove any "suckers" or water sprouts that emerge from stressed trees nearby. If the shed is wooden, inspect the base monthly for signs of boring insects or fungal hyphae. Use your hori-hori knife to scrape away any encroaching moss or organic debris that builds up against the foundation, as this creates a bridge for moisture and pathogens.
The Yield:
While a shed base is a structural element, the "yield" is the health of the surrounding landscape. If you have integrated edible climbing plants like Actinidia arguta (Hardy Kiwi) against the structure, harvest when the fruit reaches 18 to 20 percent soluble solids (Brix).
To maintain "day-one" freshness, harvest in the pre-dawn hours when the plant is at maximum hydration. Immediately plunge the harvest into an ice-water bath to remove "field heat," which slows down the rate of senescence and preserves the cellular structure.
FAQ:
How deep should I dig for a shed base?
Excavate to a minimum depth of 6 inches. This allows for 4 inches of compacted sub-base and 2 inches of finishing material. Removing the organic "O" soil horizon prevents biological decomposition from causing future structural settling.
Can I build a shed base over tree roots?
Avoid cutting roots larger than 2 inches in diameter. Severing major lateral roots destabilizes the tree and disrupts the transport of water and nutrients. Use a floating deck base if you must build within the tree's critical root zone.
What is the best way to prevent weeds under a shed?
Install a heavy-duty non-woven geotextile membrane beneath the aggregate. This creates a physical barrier that prevents weed seeds in the subsoil from receiving light, effectively suppressing photosynthesis and preventing the emergence of competitive vegetation.
How do I stop water from pooling around the base?
Grade the surrounding soil to a 2% slope away from the structure. Ensure the shed base sits 2 inches above the natural grade. This uses gravity to move hydrostatic pressure away from the foundation and prevents anaerobic soil conditions.