7 Steps to Prepare a Routine Tool Maintenance Schedule
Damp earth releases a sharp, geosmin-heavy scent when the soil profile is disturbed. This aroma indicates a healthy microbial population within the rhizosphere. A plant with high turgor pressure stands rigid; its cell walls are fully distended by water. Maintaining this physiological state requires precision. To ensure your implements do not introduce pathogens or ragged tears, you must learn how to prepare a garden for a tool maintenance task. Sharp, sterile steel prevents the jagged wounds that lead to systemic infection.
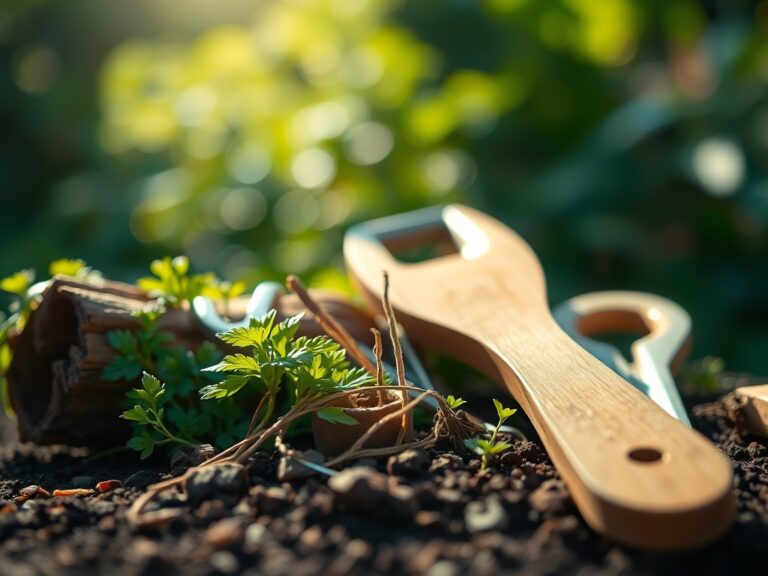
Efficiency in the field depends on the mechanical integrity of your equipment. A dull bypass pruner crushes vascular tissue instead of slicing it; this inhibits the flow of xylem and phloem. This guide details the rigorous protocols required to synchronize tool care with the biological needs of the landscape. We prioritize the structural health of the plant over aesthetic preference. Proper maintenance begins with understanding the chemical and physical environment where these tools operate.
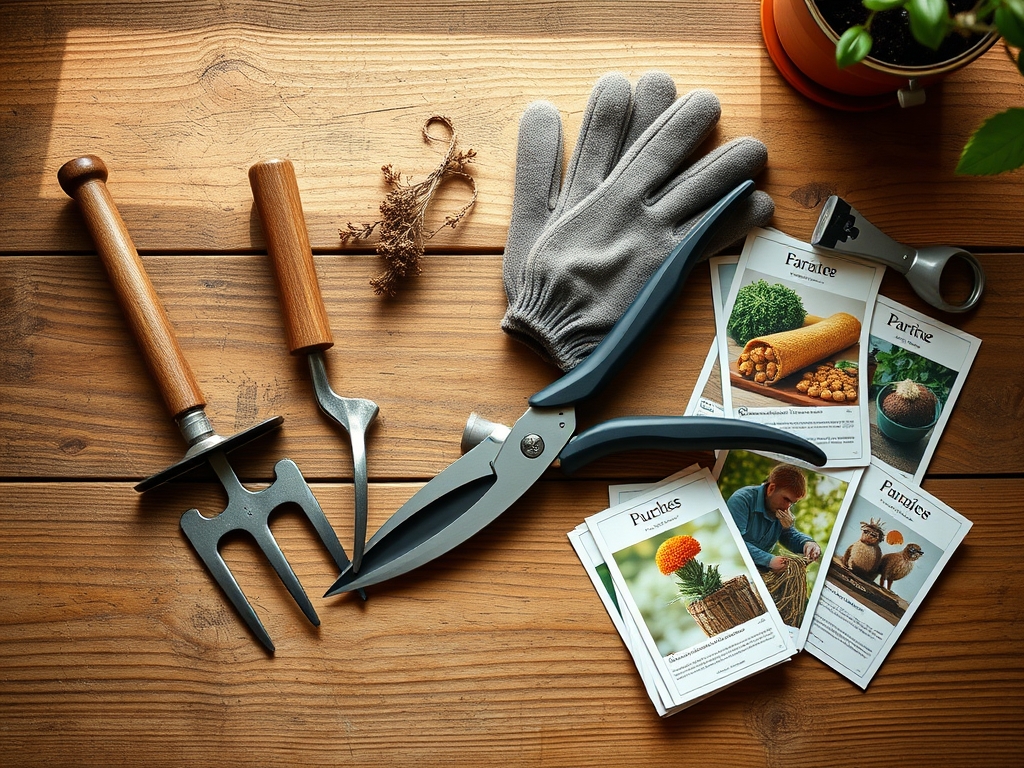
Materials:
The substrate serves as the primary environment for your tools. A friable loam is the ideal standard; it consists of roughly 40 percent sand, 40 percent silt, and 20 percent clay. This balance ensures a high Cation Exchange Capacity (CEC), typically ranging between 15 and 25 meq/100g. When soil pH sits between 6.2 and 6.8, nutrient availability is maximized.
To maintain this balance, you must manage NPK ratios based on the specific growth stage. During the vegetative phase, a ratio of 10-5-5 supports leaf development. Transitioning to the reproductive phase requires a shift to 5-10-10 to encourage bloom and fruit set without over-stimulating soft, green growth that attracts aphids. High-carbon organic matter should be incorporated to maintain a bulk density of approximately 1.33 g/cm3, allowing for adequate gas exchange in the root zone.
Timing:
Successful maintenance is governed by the frost-date windows of your specific USDA Hardiness Zone. In Zone 6, for example, the last frost typically occurs in late April. Your tool maintenance must be completed before the "Biological Clock" triggers the transition from dormancy to the vegetative stage.
As the photoperiod increases, plants experience a surge in auxin production. Pruning must occur while the plant is dormant to prevent the loss of these vital growth hormones. Once the soil temperature reaches a consistent 55 degrees Fahrenheit, root activity accelerates. Performing heavy tool maintenance after this window risks disrupting the plant during its most vulnerable period of rapid cellular expansion.
Phases:

Sowing
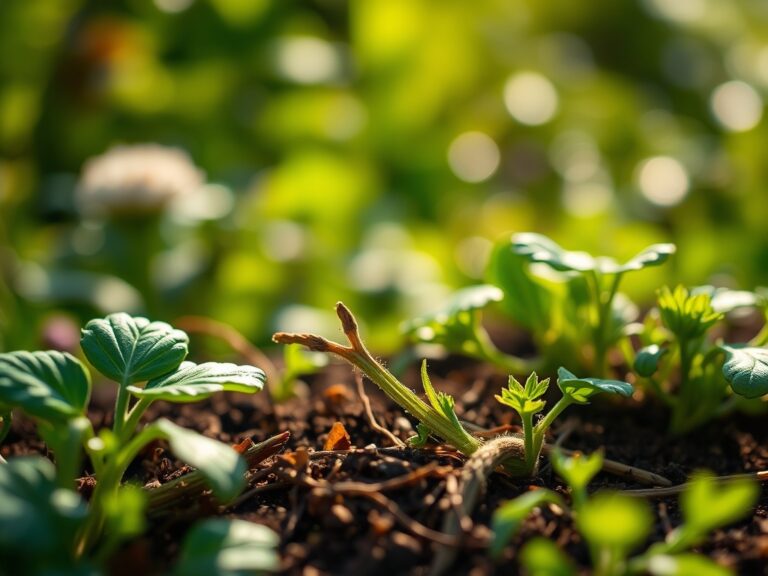
Prepare the seedbed by achieving a fine tilth. Use a sharpened hoe to create furrows at a depth exactly three times the diameter of the seed. This ensures the embryo has enough stored energy to reach the surface before photosynthesis begins.
Pro-Tip: Proper seed-to-soil contact facilitates imbibition. This is the physical process where the dry seed absorbs water, triggering the metabolic changes necessary for germination.
Transplanting
When moving a seedling, maintain the integrity of the root ball. Use a hori-hori knife to slice through any circling roots. This mechanical intervention encourages lateral branching of the root system.
Pro-Tip: Minimizing root exposure prevents transplant shock by protecting the delicate root hairs. These microscopic structures are responsible for the bulk of water and mineral absorption via mycorrhizal symbiosis.
Establishing
Once the plant is in the ground, focus on structural development. Monitor the apical meristem to ensure the primary growth point is undamaged. If the plant becomes leggy, a clean snip with sterilized bypass pruners can redirect energy to lateral buds.
Pro-Tip: This process, known as apical dominance suppression, redirects auxins to lower nodes. It results in a bushier, more structurally sound plant capable of supporting a heavier yield.
The Clinic:
Physiological disorders often mimic infectious diseases. Accurate diagnosis is required before any chemical or mechanical intervention.
Symptom: Interveinal chlorosis on young leaves.
Solution: This indicates an Iron (Fe) deficiency, often caused by a soil pH above 7.0. Lower the pH using elemental sulfur to unlock the iron.
Symptom: Necrosis at the leaf margins of older growth.
Solution: This is a classic sign of Potassium (K) deficiency. Potassium regulates stomatal opening; a lack of it leads to poor water management and tissue death.
Symptom: Blossom end rot in Solanaceous crops.
Solution: This is a Calcium (Ca) transport issue, not necessarily a soil deficiency. Ensure consistent moisture levels to allow for steady calcium uptake through the transpiration stream.
Fix-It for Nitrogen Chlorosis: If the entire leaf turns pale yellow, apply a quick-release nitrogen source with a 4-1-1 ratio. Nitrogen is highly mobile in the plant; you should see a reversal of symptoms within 7 to 10 days.
Maintenance:
Precision irrigation is the backbone of plant health. Deliver 1.5 inches of water per week directly at the drip line. Use a soil moisture meter to verify that the moisture has penetrated at least 6 inches deep. Surface watering encourages shallow root systems that fail during drought.
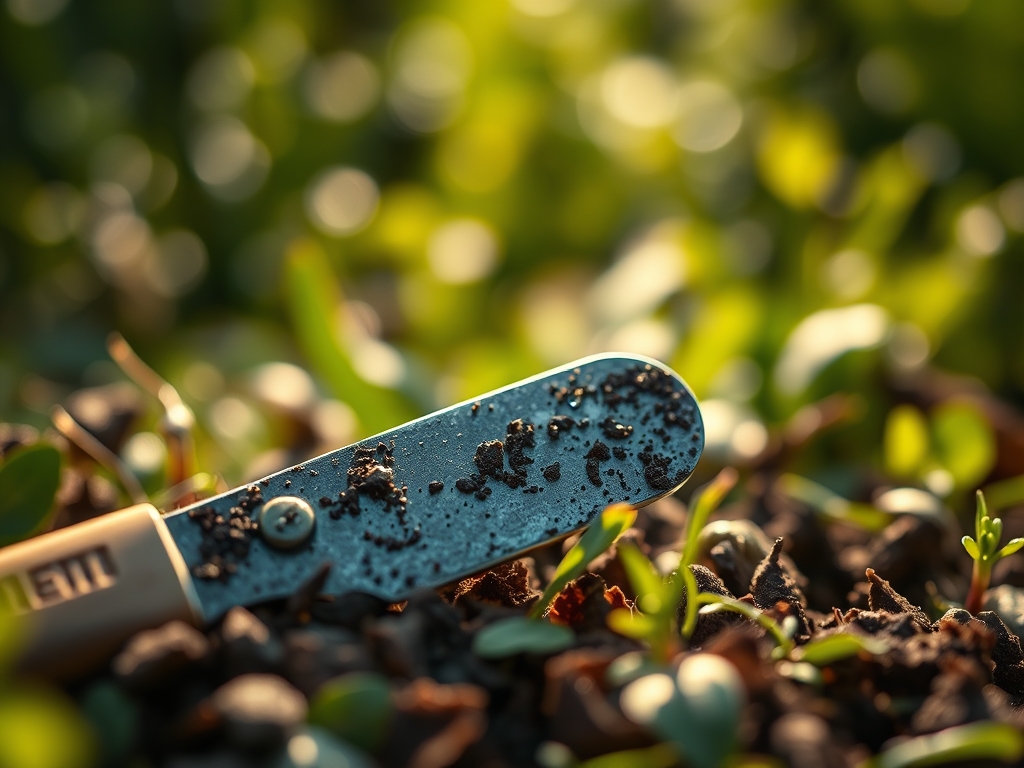
Your tools require the same level of data-driven care. Wipe blades with 70 percent isopropyl alcohol between every cut to prevent the spread of tobacco mosaic virus or fungal spores. Sharpen blades at a 20-degree angle using a diamond whetstone. A clean cut allows the plant to form a callus quickly, sealing the wound against pathogens.
The Yield:
Harvesting is the final mechanical task. For leafy greens, harvest before the heat of the day to ensure maximum turgor. Use a sharp knife to avoid tearing the vascular bundles. For fruiting crops, monitor the "ground spot" or color change that signals physiological maturity.
Post-harvest, submerge produce in 40-degree Fahrenheit water to remove field heat. This slows the rate of respiration and prevents rapid senescence. By reducing the metabolic rate, you preserve the sugars and acids that define quality.
FAQ:
How do I clean rusted garden tools?
Scrub the metal with a wire brush and a solution of 50 percent white vinegar. Once the oxidation is removed, neutralize the acid with baking soda. Dry the tool thoroughly and apply a thin coat of mineral oil to prevent further corrosion.
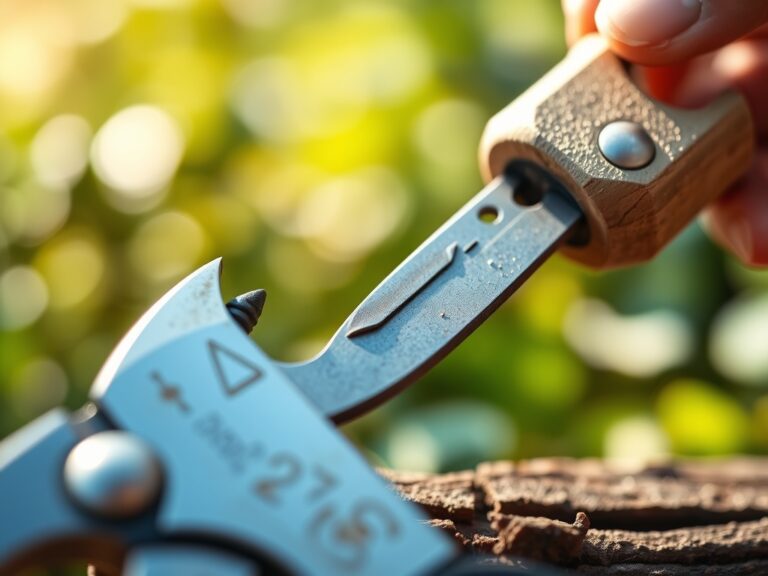
What is the best way to sharpen bypass pruners?
Disassemble the tool and use a medium-grit whetstone. Follow the factory bevel, usually between 20 and 25 degrees. Move the stone in a single direction away from the blade edge. Reassemble and lubricate the pivot point with lithium grease.
Why should I use a hori-hori knife?
The hori-hori knife is a multipurpose tool for weeding, planting, and cutting. Its heavy steel blade can pry through compacted soil and slice through thick root mats. It replaces the trowel, saw, and knife in one implement.
How does soil pH affect my tools?
Acidic soils (pH below 5.5) accelerate the corrosion of carbon steel tools. Always wipe tools clean after working in low-pH environments. Applying a protective wax or oil barrier prevents the chemical reaction between the soil ions and the metal surface.