6 Steps to Prepare a Professional Garden Statue Base
The scent of damp, anaerobic clay indicates a site with poor drainage that will inevitably cause a heavy stone plinth to settle unevenly. To maintain the structural integrity of your landscape, you must understand how to prepare a site for a garden statue by managing soil compaction and hydrostatic pressure. A successful installation requires more than aesthetic placement; it demands an engineering approach to the rhizosphere to prevent the heavy weight of the sculpture from crushing the delicate macropores necessary for root respiration in surrounding flora. You are not merely placing an object; you are managing the load-bearing capacity of the earth while ensuring the local soil chemistry remains balanced for the perennials that will frame the piece. Proper site preparation prevents the freeze-thaw cycles from heaving the base and ensures that the turgor pressure of nearby plants is not compromised by restricted water infiltration caused by an improperly compacted sub-base.
Materials:
The foundation begins with a friable loam characterized by a balanced distribution of sand, silt, and clay. For the surrounding planting area, aim for a soil pH between 6.2 and 6.8 to ensure maximum nutrient availability. High Cation Exchange Capacity (CEC) is vital for the plants flanking the statue; look for values between 15 and 25 meq/100g.
When amending the site, utilize specific NPK ratios based on the growth stage of your framing plants. Use a 5-10-10 fertilizer for establishing root systems without over-stimulating succulent top growth that may lean against the statue. For the base itself, you require Grade 2 crushed limestone and washed concrete sand. The limestone provides a stable, alkaline-neutral foundation that will not leach acidic runoff into the surrounding soil, which could drop the pH below the tolerance level of your turf or ornamentals.
Timing:
The biological clock of your garden dictates the installation window. In Hardiness Zones 4 through 7, the ideal time to prepare the site is during the late dormant season or early spring, at least three weeks before the last frost date. This timing allows the soil to settle before the transition from vegetative to reproductive stages in your plants.
Avoid excavation when the soil is saturated; working wet soil collapses the soil structure and destroys the peds, leading to long-term compaction. Monitor the soil temperature with a probe; once the earth reaches a consistent 55 degrees Fahrenheit, microbial activity increases, and the soil becomes workable. This window ensures that any plants moved during the installation can re-establish their root hairs before the high transpiration demands of the summer solstice.
Phases:

Sowing the Foundation
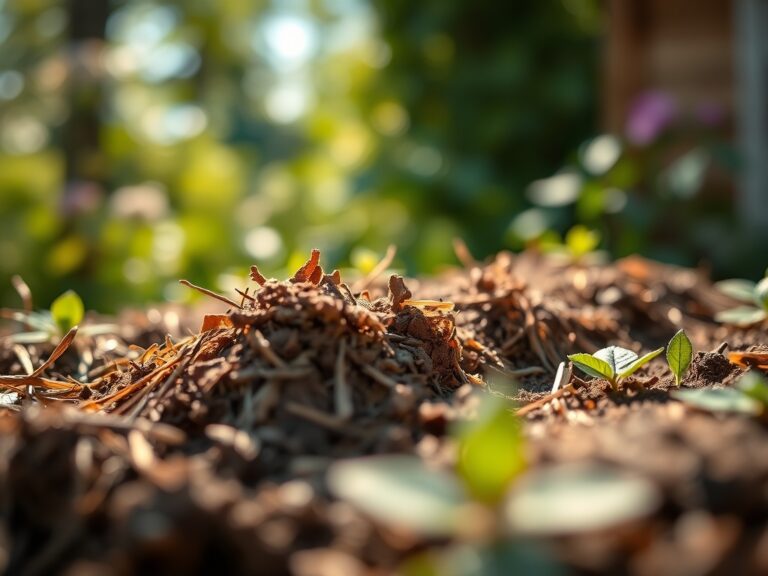
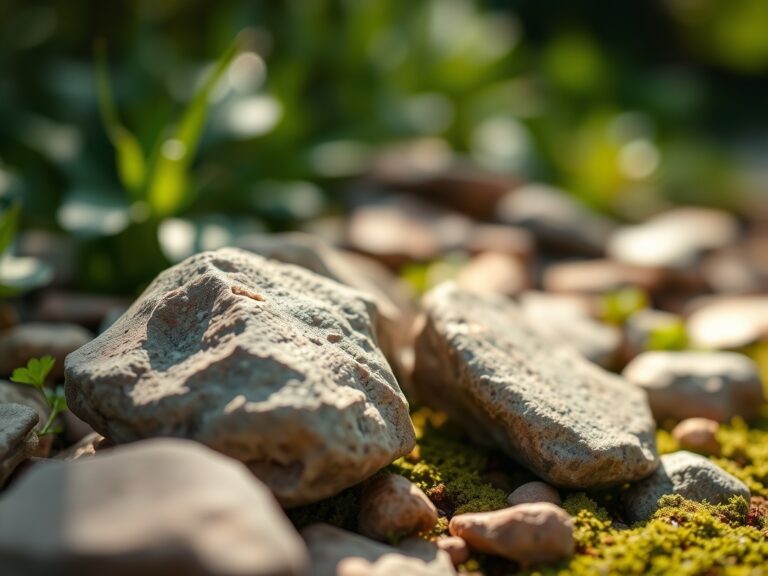
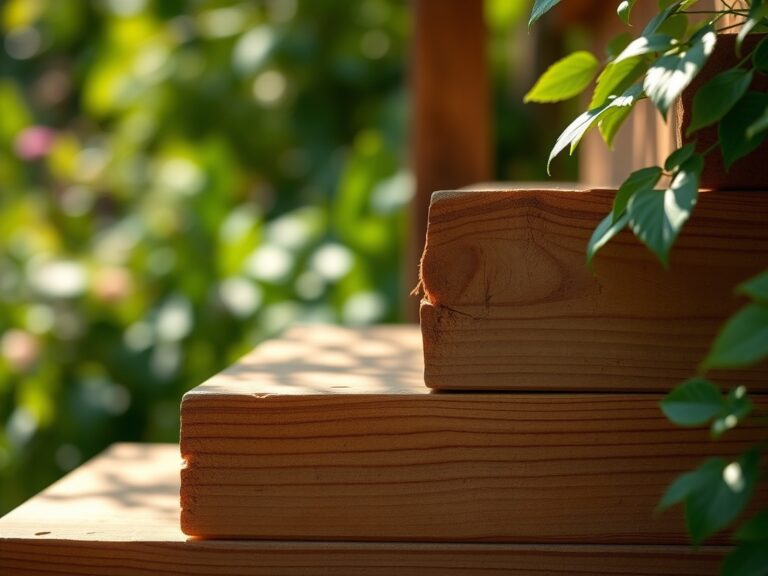
Excavate the area to a depth of 8 to 12 inches, depending on the weight of the statue. The hole should be twice the width of the statue base to distribute the load. Line the bottom with a geotextile fabric to prevent the mixing of the subsoil with your structural aggregate. Fill with 4 inches of compacted crushed stone, followed by 2 inches of leveled sand.
Pro-Tip: Proper compaction prevents the creation of "perched water tables." If the base is not porous, water will collect at the interface of the soil and the stone, leading to root rot in nearby plants due to hypoxia, where oxygen is displaced by standing water.
Transplanting Surrounding Flora
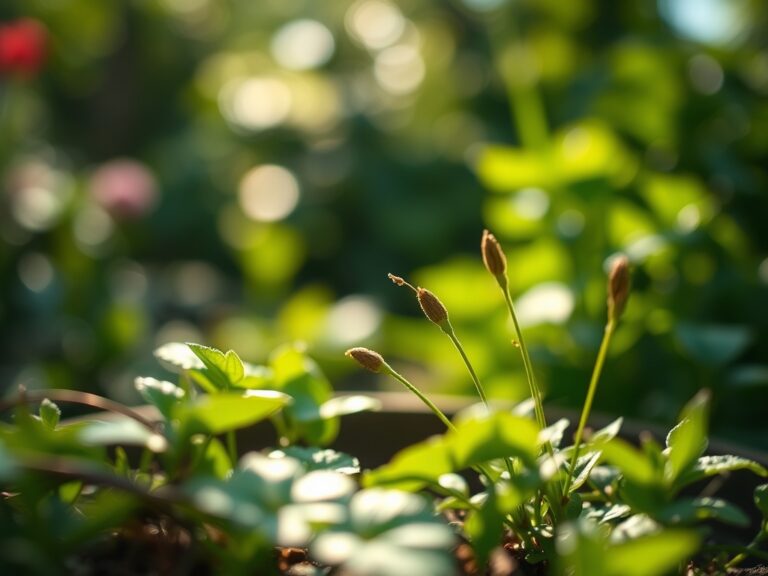
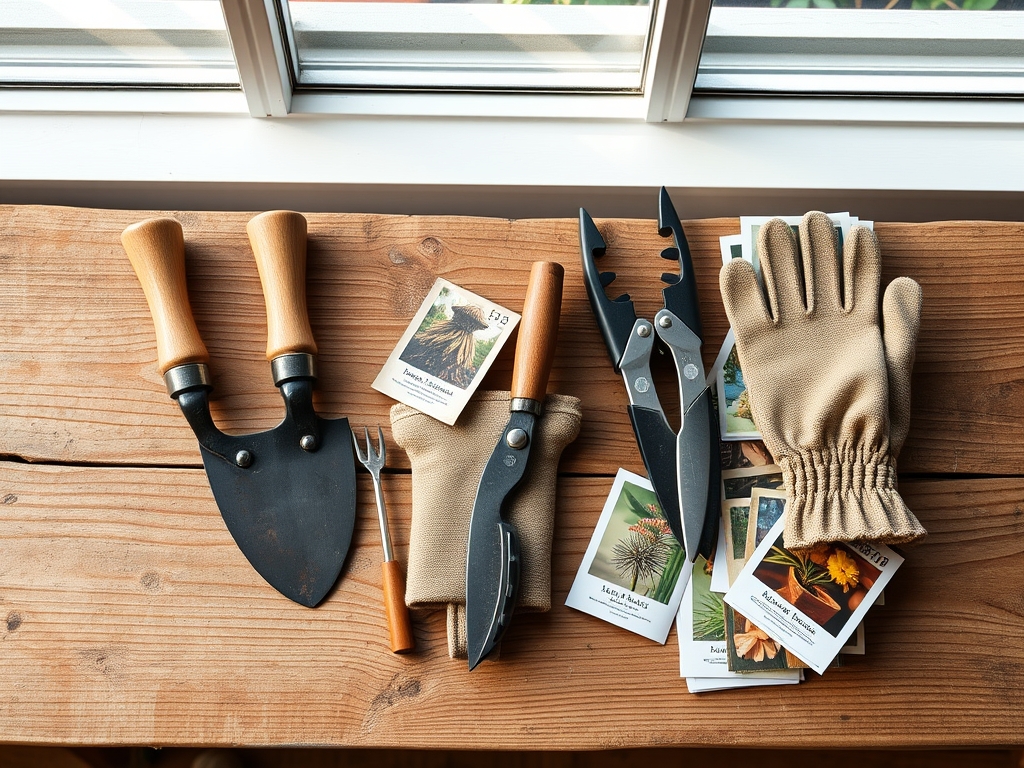
When reintroducing plants around the base, ensure the root flares are visible. Use a hori-hori knife to tease out circling roots. This prevents "girdling," which can kill a plant as it matures against the hard edge of a statue base. Space plants according to their mature width to avoid crowding and poor air circulation.
Pro-Tip: Utilize mycorrhizal symbiosis by dusting the planting hole with endomycorrhizal fungi. These fungi extend the root system's reach, allowing plants to scavenge phosphorus more efficiently in the disturbed soil surrounding the new installation.
Establishing the Microclimate
Once the statue is set, mulch the surrounding area with 2 inches of organic arborist chips. Keep the mulch 3 inches away from the statue base and plant stems to prevent fungal pathogens from migrating into the stone or the plant tissue.
Pro-Tip: Be mindful of phototropism. A large statue can create a "rain shadow" and a light block. Plants on the north side of the statue may exhibit "etiolation," where stems stretch and weaken as they seek light, caused by the redistribution of auxins to the shaded side of the stem.
The Clinic:
Physiological disorders often arise after the soil is disturbed during installation. Monitor your plants for these specific symptoms:
- Nitrogen Chlorosis: If the older leaves turn a uniform pale yellow, the soil microbes are likely consuming nitrogen to break down fresh mulch or disturbed organic matter. Solution: Apply a liquid 10-0-0 fertilizer to provide an immediate nitrogen boost.
- Iron Chlorosis: Interveinal yellowing on new growth indicates a pH imbalance, often caused by lime leaching from a concrete base. Solution: Apply chelated iron and check if the soil pH has risen above 7.5.
- Leaf Scorch: Brown, crispy edges on leaves suggest the statue is reflecting too much thermal energy or the roots cannot keep up with transpiration. Solution: Increase irrigation frequency and ensure the soil remains moist at a 4-inch depth.
- Edema: Small bumps on the underside of leaves indicate the plant is taking up more water than it can transpire, common in compacted, poorly drained sites. Solution: Aerate the soil around the statue base using a garden fork to improve gas exchange.
Maintenance:
A professional garden site requires calibrated care. Provide 1.5 inches of water per week delivered at the drip line of the surrounding plants. Use a soil moisture meter to verify that the moisture has penetrated 6 inches deep; surface wetting encourages shallow root systems that fail during droughts.
Twice a year, use bypass pruners to remove any "suckers" or water sprouts that may obscure the statue or compete for nutrients. Check the level of the statue base every spring after the ground thaws. If the base has tilted, use a pry bar and additional sand to re-level the surface. Inspect the stone for lichen or moss; while often aesthetic, these organisms can trap moisture against the stone, leading to "spalling" or surface degradation in freezing temperatures.
The Yield:
If your statue is placed within a cutting garden or an edible landscape, timing the harvest is critical for "day-one" freshness. Harvest flowers like peonies or roses in the "marshmallow stage" when the buds are soft but not fully open. For herbs, harvest in the early morning after the dew has evaporated but before the sun hits the leaves to ensure the highest concentration of essential oils.
Use a sharp hori-hori knife for clean cuts that minimize tissue damage. Immediately plunge the stems into 110-degree Fahrenheit water to break air bubbles in the xylem, then move them to a cool, dark location. This process, known as "conditioning," ensures the vascular system remains open, maintaining turgor pressure for a longer vase life.
FAQ:
How deep should the base be for a heavy statue?
For statues over 200 pounds, excavate 10 to 12 inches. Fill with 6 inches of compacted gravel and 2 inches of leveling sand to prevent settling and ensure proper drainage away from the rhizosphere.
Can I place a statue directly on the grass?
No. Placing a statue on turf leads to soil compaction and anaerobic conditions. The weight will kill the grass and cause the statue to sink unevenly as the organic matter decomposes under the base.
What is the best material for a level base?
Use washed concrete sand over a compacted gravel sub-base. Sand allows for micro-adjustments during leveling and provides excellent drainage, preventing the "wicking" of moisture into the statue material which causes winter cracking.
How do I prevent weeds from growing around the base?
Install a professional-grade geotextile fabric beneath the aggregate layers. Extend the fabric 2 inches beyond the base and cover with a thin layer of decorative stone or mulch to suppress weed seed germination.