9 Best Natural Stones for Custom Hardscaping
The smell of damp earth and the cool, heavy weight of a chisel against granite define the tactile reality of high-end hardscaping. When the turgor pressure of your surrounding flora is at its peak, the structural integrity of the ground plane must match that biological vigor. Selecting the best stones for custom landscaping requires more than an aesthetic eye; it demands an understanding of mineral density, porosity, and the chemical interaction between rock and the rhizosphere. A poorly chosen sedimentary stone can leach carbonates into the soil, spiking the pH and locking out essential micronutrients from your specimen plantings. True mastery of the landscape involves balancing the permanence of geological features with the fluid requirements of the botanical life they support. We prioritize stones that offer thermal mass to buffer root zones against diurnal temperature swings while ensuring the structural load does not compact the friable loam necessary for gas exchange. Every placement is a calculation of drainage, slope stability, and the long-term health of the soil microbiome.
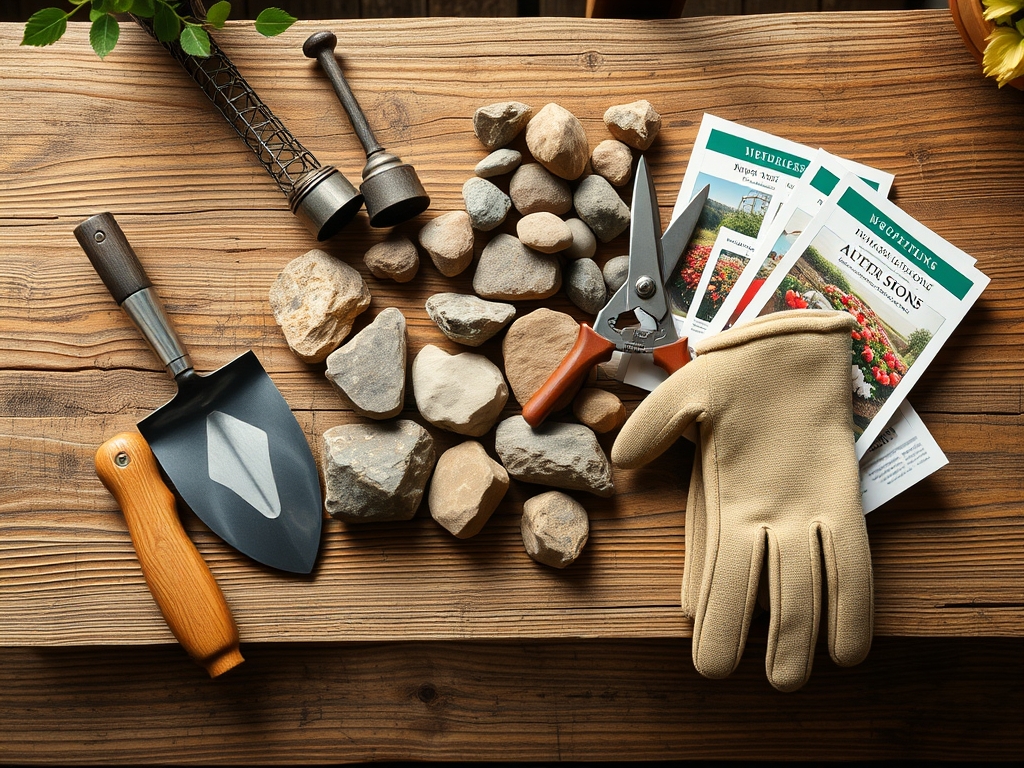
Materials:
The success of a hardscape installation is tethered to the substrate. For high-performance gardens, the ideal substrate is a **friable loam** with a **Cation Exchange Capacity (CEC) of 15 to 25 meq/100g**. This ensures the soil can hold and release nutrients effectively. When integrating heavy stone elements, the soil pH should be stabilized between **6.2 and 6.8** to prevent nutrient lockout.
Before placing stone, amend the surrounding soil with a precise NPK ratio based on your seasonal goals. For structural root development near stone edges, a 5-10-10 ratio provides the phosphorus necessary for cellular division without overstimulating succulent top growth that may be crushed during construction. If the hardscape borders heavy feeders, a 10-10-10 balanced application ensures the rhizosphere remains nutrient-dense. Avoid high-nitrogen fertilizers near stone paths as the resulting rapid growth can lead to cell wall weakness and increased susceptibility to environmental stress.
Timing:
Hardscaping and the subsequent planting must align with your specific USDA Hardiness Zone. In Zones 5 through 7, major stone work should be completed at least 30 days before the first hard frost to allow the soil to settle and prevent heaving. The "Biological Clock" of your landscape dictates that heavy installation occurs during the plant's dormancy phase to minimize transplant shock and root disturbance.
The transition from the vegetative stage to the reproductive stage is a critical window. For custom landscaping, install structural elements during the late winter or early spring when the photoperiod is increasing but before the sap flow reaches its peak. This timing ensures that any accidental root pruning during stone placement occurs while the plant has maximum carbohydrate reserves stored in its root system, allowing for rapid recovery as the soil warms above 50 degrees Fahrenheit.
Phases:
Sowing and Site Prep
Clear all organic debris and excavate to a depth of 6 to 8 inches for a stable base. Ensure the subgrade has a 2 percent slope away from structures to prevent anaerobic conditions in the soil.
Pro-Tip: Maintaining soil porosity is essential for mycorrhizal symbiosis. If you compact the soil too tightly under the stones, you eliminate the macropores required for fungal hyphae to transport water and phosphorus to your plants.
Transplanting and Stone Placement
When placing the best stones for custom landscaping, such as Blue Ridge Flagstone or Pennsylvania Bluestone, ensure the "face" is level. If planting between stones, use a crevice-planting technique with a mix of 70 percent grit and 30 percent organic matter.
Pro-Tip: Use a hori-hori knife to slice through circling roots before planting near stone edges. This disrupts auxin suppression at the root tips, stimulating lateral branching and deeper soil penetration.
Establishing
Monitor the turgor pressure of plants adjacent to new stone. Stones act as heat sinks, increasing the evaporation rate of the surrounding soil. Provide deep irrigation to reach a depth of 12 inches twice weekly during the first growing season.
Pro-Tip: Stones can influence phototropism. Light reflecting off light-colored stones like limestone can increase the light intensity on the underside of leaves, potentially causing "sunscald" in shade-loving species.
The Clinic:
Physiological disorders often manifest when stone chemistry interferes with biology.
Symptom: Interveinal chlorosis (yellowing leaves with green veins) in acid-loving plants near limestone.
Solution: This indicates Iron Deficiency caused by a pH spike. Limestone is calcium carbonate; it raises pH and makes iron insoluble.
Fix-It: Apply chelated iron and mulch with pine needles to lower the local pH to 5.5.
Symptom: Leaf margins turning brown and "crispy" near dark granite pavers.
Solution: This is Thermal Scorch. Dark stones can reach temperatures over 120 degrees Fahrenheit, radiating heat that desiccates plant tissue.
Fix-It: Increase irrigation frequency and select heat-tolerant species like Sedum for these microclimates.
Symptom: Stunted growth and purplish leaves in early spring.
Solution: Phosphorus Deficiency often caused by cold, wet soil trapped against non-porous stone.
Fix-It: Improve drainage with a 1-inch layer of pea gravel beneath the stone and apply a high-phosphorus "starter" fertilizer.
Maintenance:
Precision is the hallmark of a professional. Use a soil moisture meter daily to ensure the root zone maintains a moisture level of 20 to 30 percent. Provide exactly 1.5 inches of water per week at the drip line, delivered via drip irrigation to avoid wetting the stone surfaces, which can lead to algae growth.
Keep your bypass pruners sharp to make clean cuts on any foliage that overgrows the stone paths. Ragged cuts lead to senescence and pathogen entry. Use a hori-hori knife to remove weeds from stone joints manually; avoid chemical herbicides that can leach into the rhizosphere and damage the delicate balance of soil microbes. Every three years, check the stone levels; if shifting occurs, use a pry bar to reset the stone and backfill with sharp sand to maintain structural integrity.
The Yield:
For those integrating edible herbs or "steppable" aromatics like Creeping Thyme into their hardscape, harvest timing is paramount. Harvest during the pre-anthesis stage (before flowering) when essential oil concentration is highest. Use sharp shears to take no more than one-third of the plant's biomass at a time. To maintain "day-one" freshness, harvest in the early morning when turgor pressure is at its maximum and immediately place the stems in a cool, shaded environment to reduce the rate of respiration.
FAQ:
Which stone is best for acidic soil?
Granite and Slate are ideal. They are chemically inert and will not leach minerals that alter the soil pH. This maintains the cation exchange capacity for acid-loving plants like Azaleas and Blueberries.
How do I prevent stones from sinking?
Excavate to subsoil and install a 4-inch compacted base of crushed aggregate. Use a plate compactor to achieve 95 percent density. This prevents the stone from crushing the macropores in the surrounding planting soil.
Can I use limestone for a retaining wall?
Yes, but monitor the pH of the soil behind the wall. Limestone is alkaline. If the pH rises above 7.5, you may see nitrogen chlorosis or manganese deficiency in your plantings.
What is the most durable stone for high-traffic paths?
Quartzite and Sandstone offer high compressive strength. Ensure they are at least 2 inches thick to withstand the mechanical stress without fracturing, which protects the underlying root systems from sudden compaction.