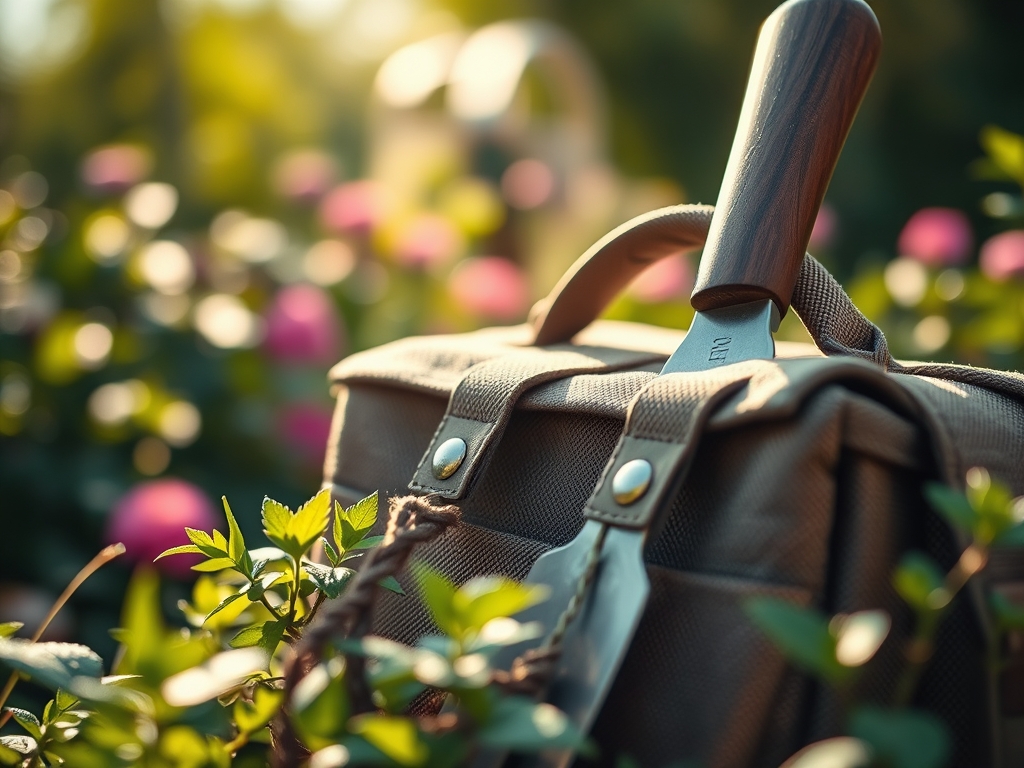
7 Best Weatherproof Tool Bags for Large-Scale Care
The scent of damp, anaerobic soil often signals a drainage failure, yet the crisp turgor of a leaf hydrated to full cellular capacity proves the value of precision. Large scale horticulture demands more than basic effort; it requires an organized deployment of high quality implements. Finding the best tool bags for garden care is a necessity for those managing expansive acreage where a forgotten bypass pruner results in lost labor hours. A professional grade bag must withstand UV degradation and hydrostatic pressure while protecting sensitive instruments like digital pH probes. When the air carries the metallic tang of freshly cut xylem, your equipment must be accessible and shielded from the abrasive grit of sandy loam. Efficiency in the field depends on the structural integrity of your kit. Without a weatherproof barrier, moisture ingress leads to rapid oxidation of carbon steel blades and the degradation of wooden handles.
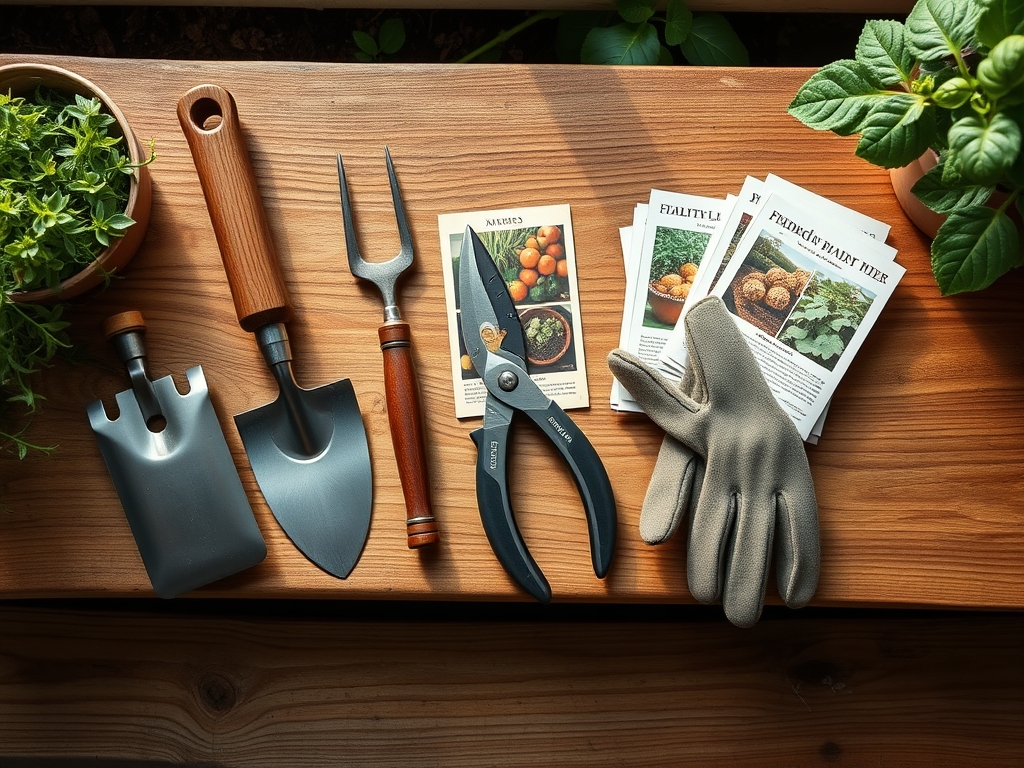
Materials:
Success begins in the rhizosphere. For large scale care, your substrate must maintain a **pH range of 6.2 to 6.8** to ensure optimal nutrient bioavailability. The ideal physical texture is a friable loam, consisting of roughly **40 percent sand, 40 percent silt, and 20 percent clay**. This balance provides a high Cation Exchange Capacity (CEC), allowing the soil to hold onto positively charged ions like Calcium (Ca2+) and Magnesium (Mg2+). When prepping large beds, incorporate a balanced **10-10-10 NPK ratio** for general establishment. However, if focusing on vegetative growth, shift to a **21-0-0 Ammonium Sulfate** to drive nitrogen uptake. Phosphorus (P) is critical for root development; ensure at least **50 parts per million (ppm)** are available in the top six inches of the soil profile. Heavy clay soils with low porosity require the addition of expanded shale or coarse organic matter to prevent root suffocation and pythium outbreaks.
Timing:
Agricultural success is dictated by the United States Department of Agriculture (USDA) Hardiness Zones. In Zones 5 through 7, the spring planting window opens when soil temperatures consistently reach 55 degrees Fahrenheit. The biological clock of a plant is governed by the photoperiod; the transition from vegetative to reproductive stages occurs as day length shifts. For short day plants, this trigger happens when darkness exceeds 12 hours. You must track the last frost date with precision. Planting 14 days after the mean last frost ensures that tender apical meristems do not suffer from ice crystal formation within the extracellular spaces. Conversely, senescence in the fall is accelerated by the drop in soil temperature, which slows the metabolic rate and signals the plant to withdraw carbohydrates into the root system or woody tissue for dormancy.
Phases:

Sowing
Direct sow seeds at a depth exactly three times the diameter of the seed. This ensures adequate moisture contact while allowing the hypocotyl to reach the surface before endosperm energy reserves are exhausted. Maintain a consistent soil moisture level of 70 percent field capacity.
Pro-Tip: Seed germination relies on phytochrome signaling. Some seeds require light exposure to break dormancy; covering them too deeply prevents the red light spectrum from activating the growth response.
Transplanting
When moving starts from greenhouse to field, ensure the root ball is thoroughly hydrated to maintain turgor pressure. Dig a hole twice the width of the container but no deeper than the original soil line to avoid stem rot.
Pro-Tip: Mycorrhizal symbiosis is established during this phase. Inoculating the transplant hole with fungal spores increases the root surface area by up to 1,000 times, enhancing phosphorus and water uptake.
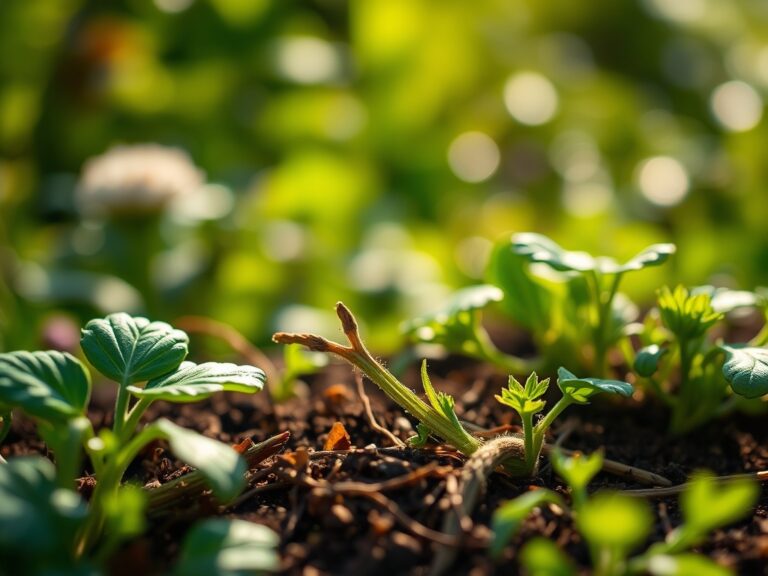
Establishing
During the first 21 days, the plant focuses on root expansion. Avoid high nitrogen fertilizers during this window to prevent excessive top growth that the immature root system cannot support. Monitor for wilting during peak solar radiation.
Pro-Tip: Auxin suppression occurs when you prune the terminal bud. This process, known as apical dominance removal, forces the plant to redirect energy to lateral buds, resulting in a bushier and more structurally sound specimen.
The Clinic:
Physiological disorders often mimic pathogen attacks but result from environmental or nutritional stress.
- Symptom: Interveinal chlorosis on young leaves.
- Solution: This indicates an Iron (Fe) deficiency, often caused by a pH above 7.0. Apply chelated iron and sulfur to lower the pH.
- Symptom: Blossom end rot on fruit.
- Solution: This is a Calcium deficiency. It is rarely a lack of soil Calcium but rather inconsistent soil moisture preventing the transpiration stream from moving Calcium to the fruit.
- Symptom: Purpling of older foliage.
- Solution: Phosphorus deficiency. This often occurs in cold soils below 50 degrees Fahrenheit where microbial activity is too low to mineralize phosphorus.
Fix-It Section: For Nitrogen chlorosis (general yellowing of older leaves), apply a quick release Urea-based fertilizer (46-0-0) at a rate of 0.5 pounds of nitrogen per 1,000 square feet. Follow immediately with irrigation to prevent volatilization.
Maintenance:
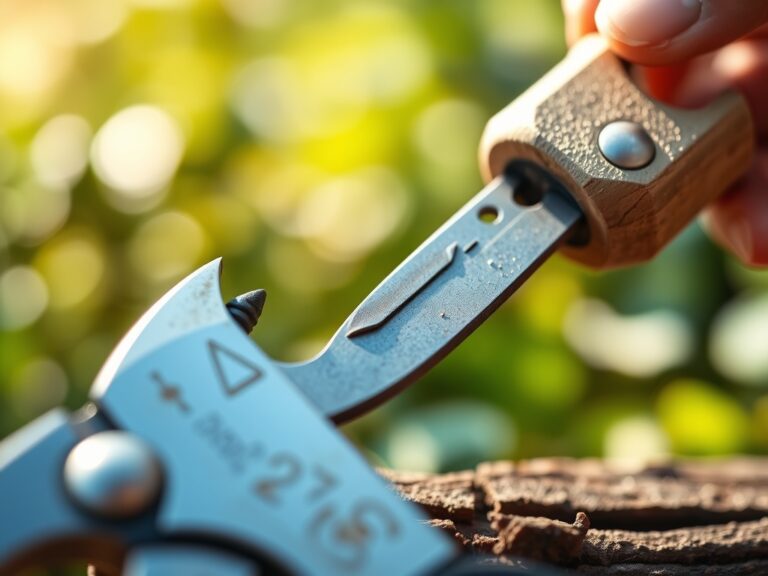
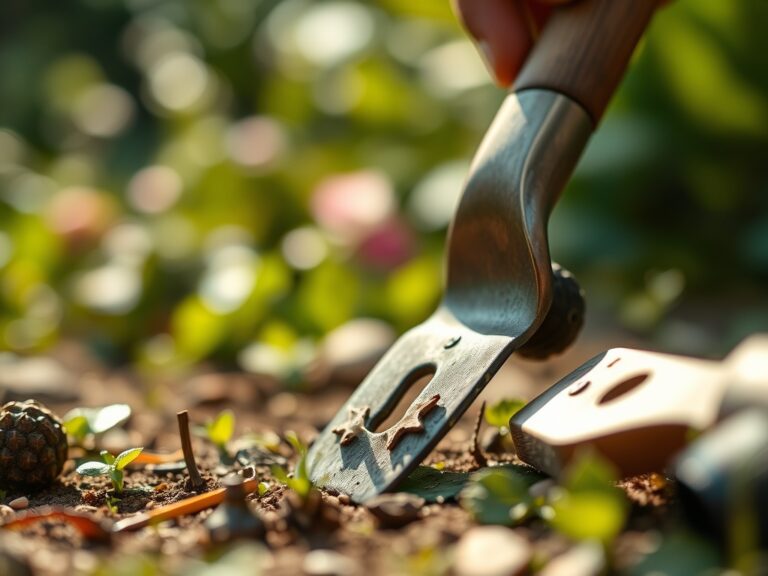
Precision maintenance prevents plant decline. Apply 1.5 inches of water per week directly at the drip line to ensure deep root penetration. Shallow watering leads to a weak, surface level root system susceptible to drought. Use a soil moisture meter to verify that water has reached a depth of 6 to 8 inches. For pruning, utilize a hori-hori knife for weeding and light digging; use bypass pruners for clean cuts on living tissue to prevent crushing the vascular cambium. Always disinfect blades with 70 percent isopropyl alcohol between plants to prevent the mechanical transmission of viral pathogens. If the soil feels compacted, use a broadfork to aerate without inverting the soil horizons, preserving the delicate microbial ecology of the topsoil.
The Yield:
Harvesting must occur when the plant reaches peak secondary metabolite concentration. For most crops, this is in the early morning after the dew has evaporated but before the heat of the day triggers transpiration stress. Use a sharp blade to make a clean abscission. Post harvest, rapidly reduce the "field heat" of the produce by placing it in a shaded, cool environment. This slows the rate of respiration and prevents the rapid breakdown of sugars and vitamins. For woody perennials, harvesting should be done with an eye toward next year's buds; never remove more than 30 percent of the canopy in a single season to avoid exhausting the plant's carbohydrate reserves.
FAQ:
How do I clean a weatherproof tool bag?
Use a stiff brush to remove dry particulates. For stubborn grime, apply a solution of mild soap and water. Ensure the bag is 100 percent dry before storage to prevent fungal spores from colonizing the interior fabric or tool handles.
What is the best material for a garden tool bag?
Look for 600D to 1200D polyester with a Polyurethane (PU) or Polyvinyl Chloride (PVC) coating. These materials provide high denier strength and superior resistance to water penetration, ensuring your carbon steel tools remain free of oxidation and rust.
Why does my soil pH matter for tool care?
Acidic soils with a pH below 5.5 are highly corrosive to metal. If your tool bag rests on acidic ground, the moisture wicked into the fabric will accelerate the degradation of metal components, zippers, and your primary gardening implements.
How many pockets should a professional tool bag have?
A minimum of 10 to 15 external pockets is ideal for large scale care. This allows for the separation of sharp blades from sensitive electronic meters, preventing mechanical damage to screens and ensuring rapid access during high intensity field work.