8 Steps to Prepare a Tool Shed for Long-Term Storage
The smell of wet clay and the sound of a sharp blade slicing through a turgid stem define the final days of the growing season. As cellular respiration slows and the photoperiod shortens, the focus shifts from biomass production to infrastructure preservation. Learning how to prepare a garden for a tool storage project requires an understanding of both structural engineering and soil mechanics. You must clear the site without compromising the local rhizosphere or inducing unnecessary soil compaction.
A successful installation depends on a stable, dry foundation that prevents moisture from wicking into the wooden or metal components of your shed. This process begins by assessing the soil density and drainage capacity of the chosen site. If the earth remains saturated for more than 48 hours after a rain event, the structural integrity of your storage unit will fail within three seasons. You are not merely clearing a patch of dirt; you are creating a controlled environment to protect high-carbon steel and ergonomic handles from the corrosive effects of oxidation and fungal decay.
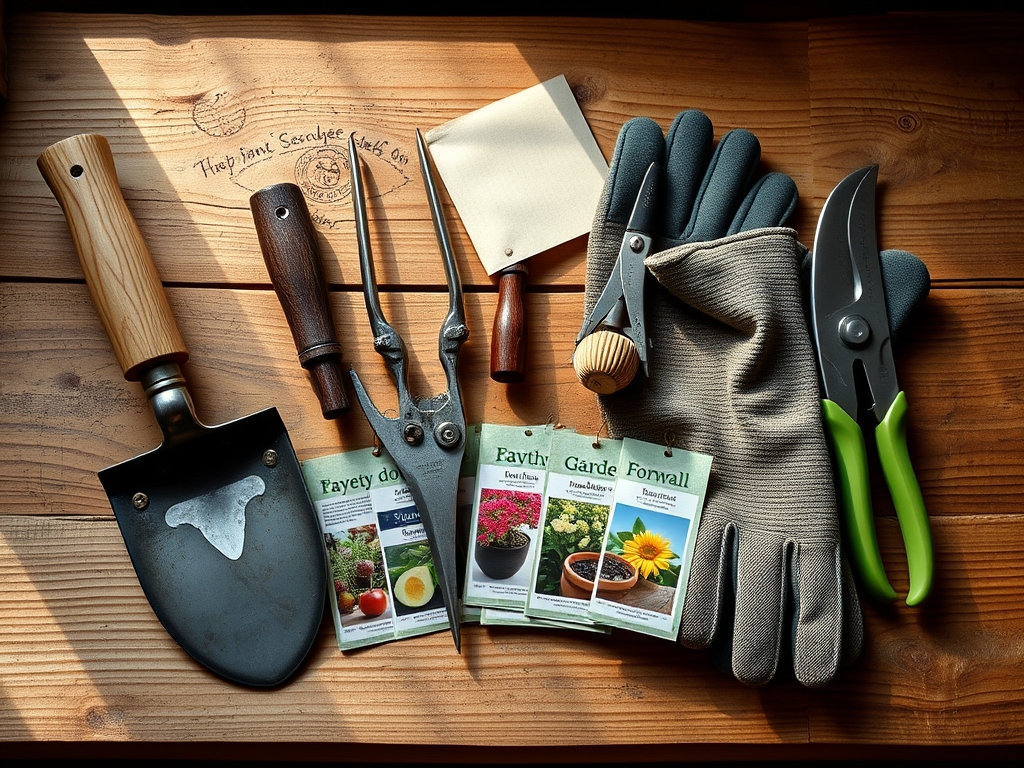
Materials:
Site preparation requires a substrate with high structural stability. The ideal soil for the surrounding perimeter is a friable loam with a pH between 6.0 and 7.0. This acidity range prevents the rapid degradation of galvanized anchors and prevents mineral lockout for perimeter plantings.
For the footprint of the storage project, you must remove organic matter that contributes to "frost heave." Use a base layer of 3/4-inch crushed limestone. This material provides a high Cation Exchange Capacity (CEC) for neutralizing acidic runoff. If you are planting around the storage unit, incorporate a 5-10-10 NPK ratio fertilizer. The lower nitrogen content prevents excessive vegetative growth that could trap humidity against the shed walls, while the higher phosphorus and potassium levels encourage lignification and root strength.
Timing:
The execution of this project must align with your local USDA Hardiness Zone. In Zones 4 through 6, site excavation must conclude at least 21 days before the first projected frost. This window allows the soil to settle before the freeze-thaw cycle begins. In warmer Zones 8 through 10, the "Biological Clock" of the garden dictates that you build during the period of plant senescence, typically late autumn, when sap flow is minimal and root disturbance is less likely to cause fatal transplant shock.
Monitor the soil temperature at a 4-inch depth. Work should only commence when the soil is below 55 degrees Fahrenheit. At this temperature, microbial activity slows, reducing the rate of organic decomposition under your foundation.
Phases:

Sowing the Perimeter
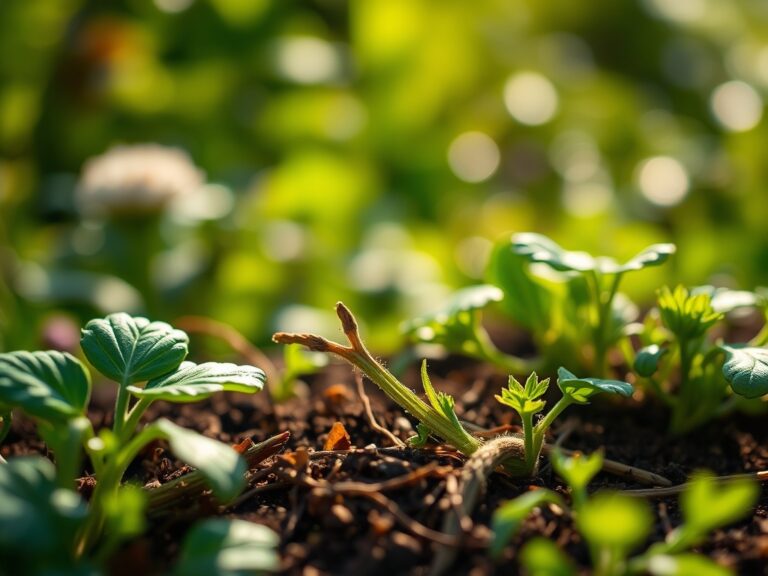
Once the storage site is leveled, sow a low-profile groundcover like Trifolium repens. This prevents erosion around the new structure. Ensure the seed is in direct contact with the mineral soil.
Pro-Tip: Utilize mycorrhizal symbiosis by inoculating seeds with Glomus intraradices. This fungus extends the root reach, improving water uptake and stabilizing the soil particles around the shed foundation.
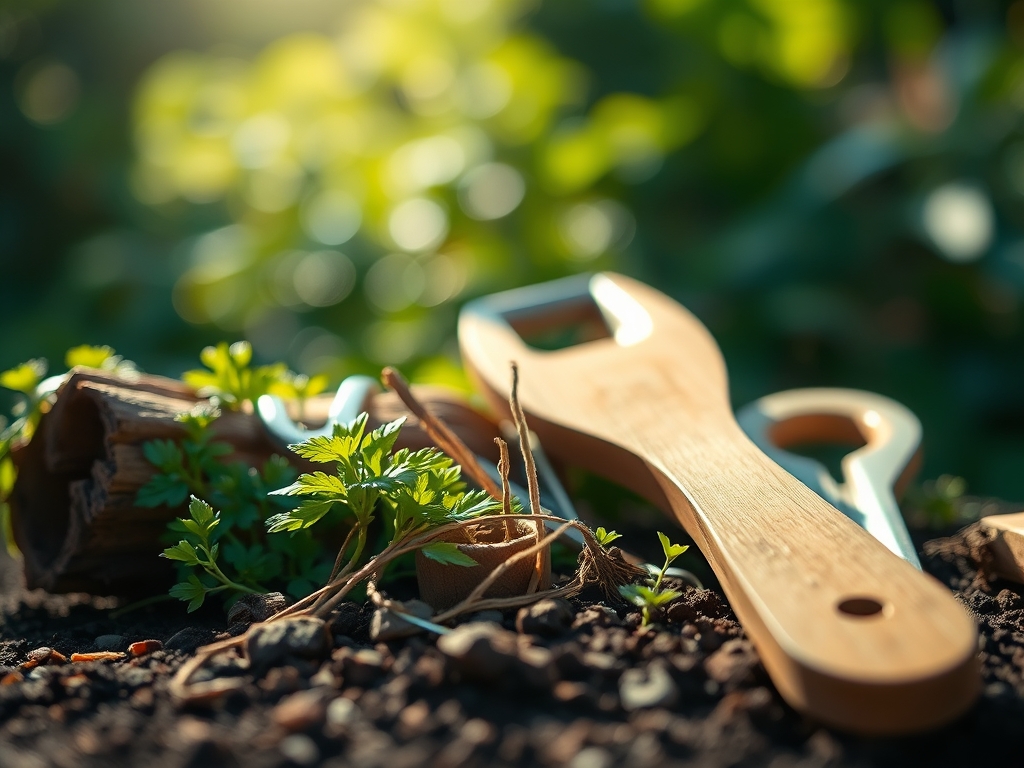
Transplanting Established Flora
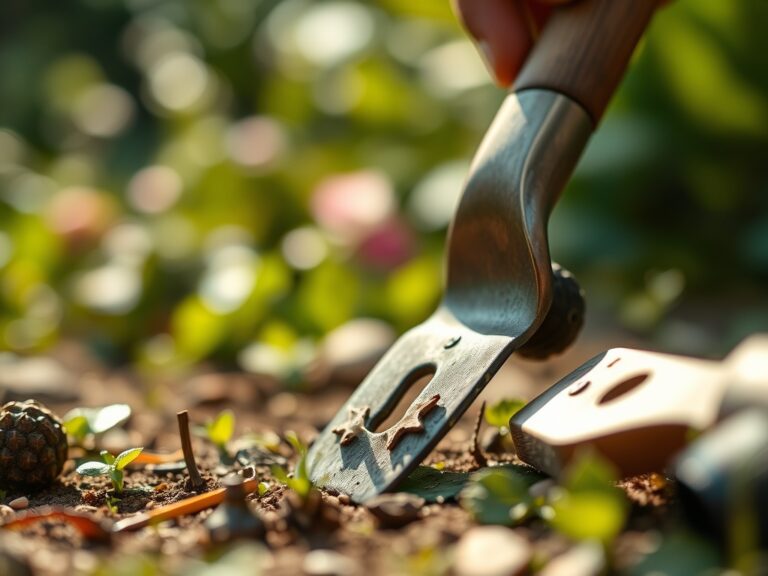
Any perennials in the footprint must be moved using a hori-hori knife to preserve the root ball. Cut a circle twice the diameter of the plant's drip line to ensure maximum root retention.
Pro-Tip: When transplanting, maintain the original turgor pressure by hydrating the plant 24 hours prior. This prevents cellular collapse during the transition to a new location.
Establishing the Foundation
Excavate to a depth of 6 inches. Backfill with compacted gravel to ensure a level surface. Check the level every 2 feet to prevent structural torque on the shed frame.
Pro-Tip: Avoid heavy machinery within 5 feet of existing trees to prevent root zone compaction. Compacted soil lacks the macropores necessary for oxygen to reach the roots, leading to anaerobic decline.
The Clinic:
Physiological disorders often arise when the garden environment is altered by a new structure. Monitor the surrounding plants for these specific symptoms.
Symptom: Interveinal chlorosis (yellowing leaves with green veins).
Solution: This indicates a Manganese or Iron deficiency, often caused by high pH runoff from concrete pads. Apply elemental sulfur to lower the pH to 6.5.
Symptom: Leaf scorch or marginal necrosis.
Solution: This suggests Potassium deficiency. The plant cannot regulate its stomata, leading to excessive transpiration. Supplement with 0-0-60 potash at a rate of 1 pound per 100 square feet.
Symptom: Stunted growth and dark purple foliage.
Solution: This is a classic Phosphorus deficiency, common in cold, compacted soils. Use a liquid bone meal application to provide immediate bioavailability to the rhizosphere.
Fix-It: For general Nitrogen chlorosis (uniform paling of older leaves), apply a slow-release blood meal to restore chlorophyll production without causing a surge in soft, pest-vulnerable growth.
Maintenance:
Post-project maintenance is critical to ensure the garden adapts to the new footprint. Use a soil moisture meter twice weekly to check the "rain shadow" created by the shed roof. Plants located under the eaves may receive zero natural irrigation.
Provide exactly 1.5 inches of water per week at the drip line of any affected shrubs. Use bypass pruners to maintain a 12-inch air gap between the shed siding and any foliage. This prevents the "micro-climate" effect where trapped moisture facilitates the growth of powdery mildew and wood rot. Annually inspect the foundation for settling; a shift of even 0.5 inches can cause doors to bind and seals to break.
The Yield:
If your storage project involves a potting bench or seed-starting station, the "yield" is the health of your future transplants. Harvest seeds from the surrounding garden once the pods are desiccated and the embryo has reached full maturity. Store these in a cool, dark environment within the new shed, maintaining a humidity level below 35 percent. For floral harvests, cut stems at a 45-degree angle in the early morning when turgor is at its peak. Immediately plunge the stems into 110-degree Fahrenheit water to remove air bubbles from the xylem, ensuring "day-one" freshness for several days.
FAQ:
How deep should I excavate for a tool shed base?
Excavate to a minimum depth of 6 inches. This allows for a 4-inch compacted gravel sub-base and a 2-inch leveling layer. Removing the organic topsoil prevents the structure from shifting during the natural decomposition of buried plant matter.
What is the best NPK ratio for plants near a shed?
Use a 5-10-10 NPK ratio. High phosphorus and potassium promote strong root systems and woody stems. Low nitrogen prevents excessive, soft foliage that traps moisture against the shed walls, reducing the risk of fungal infections and wood rot.
How do I prevent soil compaction during construction?
Lay down 3/4-inch plywood sheets over the work area to distribute weight. This protects the soil macropores and prevents the destruction of the rhizosphere. Avoid working when soil moisture is high, as wet soil is most susceptible to permanent compaction.
When is the best time to move plants for a shed project?
Transplant during the dormant season or late autumn when the plant enters senescence. This minimizes transpiration stress. Ensure the soil temperature is below 55 degrees Fahrenheit to protect the root system from heat shock during the relocation process.