8 Tips to Use a Digging Shovel for Accurate Excavation
The scent of damp, disturbed earth signals the beginning of any serious horticultural undertaking. When the spade slices through a friable loam, it releases geosmin, a metabolic byproduct of Actinobacteria that indicates a healthy, living soil ecosystem. Achieving precision in the landscape requires more than brute force; it demands an understanding of soil physics and root architecture. Using a shovel for professional design means treating the tool as a surgical instrument rather than a blunt lever. A clean cut through the organic layer preserves the integrity of the rhizosphere, ensuring that the delicate balance of gas exchange and moisture retention remains intact for future plantings. Every strike must be intentional to avoid compacting the soil sidewalls, which can create a restrictive "pot effect" that inhibits lateral root expansion. By mastering the mechanics of the shovel, the practitioner ensures that the structural foundation of the garden supports the long term physiological needs of the botanical collection.
Materials:
Successful excavation begins with an assessment of the substrate. The ideal growing medium is a **friable loam** consisting of approximately 40 percent sand, 40 percent silt, and 20 percent clay. This balance provides a high **Cation Exchange Capacity (CEC)**, typically ranging from **15 to 25 meq/100g**, allowing the soil to retain essential nutrients like potassium and magnesium. Before digging, verify the soil pH; most ornamental and edible species thrive in a range of **6.0 to 7.0**.
If the soil tests low for primary macronutrients, incorporate a slow release fertilizer with an NPK ratio of 10-10-10 into the backfill. For phosphorus-heavy requirements during root establishment, a 5-10-5 ratio is preferred. Ensure the shovel blade is sharpened to a 45 degree angle to slice through woody roots without crushing the vascular tissue, which prevents the entry of opportunistic pathogens.
Timing:
Excavation schedules must align with local USDA Hardiness Zones and specific frost-date windows. In Zones 5 through 7, the primary window for structural digging opens in early spring once the soil temperature reaches a consistent 45 degrees Fahrenheit. Digging in frozen or waterlogged soil destroys soil structure by collapsing macropores, leading to anaerobic conditions that suffocate aerobic microbes.
The biological clock of the plant dictates the urgency of the work. For deciduous species, the ideal time for transplanting and significant soil movement is during dormancy, before the transition from the vegetative stage to the reproductive stage. This timing ensures that turgor pressure is maintained within the plant cells, as the transpiration rate is at its lowest. Once the photoperiod lengthens and sap begins to flow, the risk of transplant shock increases significantly.
Phases:

Sowing and Site Preparation
Using a shovel for professional design starts with the removal of the O-horizon. Clear the surface vegetation and use the shovel to turn the soil to a depth of 12 inches. This aerates the root zone and breaks up any restrictive hardpan layers.
Pro-Tip: Avoid over-tilling the soil. Excessive agitation disrupts mycorrhizal symbiosis, the fungal network that extends the root system's reach for phosphorus and water.
Transplanting
When moving a specimen, the excavation hole must be two to three times wider than the root ball but no deeper. Use the shovel to scarify the sides of the hole. This prevents "glazing," a condition where the soil surface becomes too smooth for fine root hairs to penetrate.
Pro-Tip: Keep the root flare visible at the soil surface. Deep planting causes auxin suppression in the lower stem, leading to stunted growth and potential crown rot.
Establishing
After placing the plant, use the shovel to backfill with original site soil. Lightly tamp the earth with the flat of the blade to remove large air pockets without inducing compaction. Establish a "well" or berm around the perimeter to direct water toward the root zone.
Pro-Tip: Proper backfilling encourages positive phototropism in the canopy by providing a stable mechanical anchor, allowing the plant to orient its leaves toward the light source efficiently.
The Clinic:
Physiological disorders often manifest when excavation and planting are handled poorly.
- Symptom: Interveinal chlorosis (yellowing leaves with green veins).
Solution: This often indicates an alkaline pH preventing iron uptake. Test soil and apply chelated iron or elemental sulfur to lower pH to 6.5.
- Symptom: Marginal leaf burn or necrosis.
Solution: This suggests high salinity or "fertilizer burn." Flush the root zone with 2 inches of water to leach excess salts from the rhizosphere.
- Symptom: Wilting despite moist soil.
Solution: This is a sign of root rot or anaerobic conditions. Use a shovel to check for "sour" smelling soil and improve drainage by incorporating organic matter to increase porosity.
Fix-It for Nitrogen Chlorosis: If older leaves turn a uniform pale yellow, the plant lacks nitrogen. Apply a high nitrogen source like blood meal or a 20-10-10 liquid fertilizer to restore chlorophyll production.
Maintenance:
Precision excavation is only the first step; post-digging care is vital for recovery. Maintain a consistent moisture regimen of 1.5 inches of water per week, delivered at the drip line where active root uptake occurs. Use a soil moisture meter to verify that the water is penetrating to a depth of 8 inches.
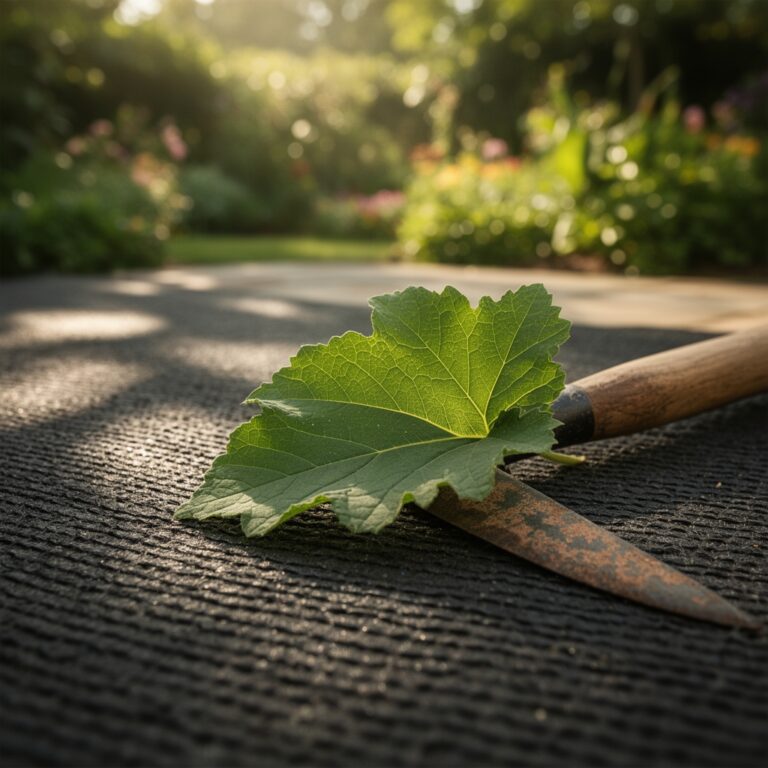
For refined work around existing root systems, supplement your shovel with a hori-hori knife for precise root pruning. Use bypass pruners to make clean cuts on any damaged roots larger than 0.5 inches in diameter. Monitoring the site for settling is essential; if the soil sinks, add topsoil to maintain the proper grade and prevent water pooling at the stem.
The Yield:
When using a shovel for professional design in a kitchen garden, harvesting root crops requires a "lifting" technique rather than a "pulling" motion. Insert the shovel 6 inches away from the base of the plant and pry upward to loosen the soil. This prevents mechanical damage to the epidermis of carrots, beets, or potatoes.
For maximum "day-one" freshness, harvest during the cool of the morning when turgor pressure is at its peak. Immediately move the harvest to a shaded, well-ventilated area to reduce field heat and slow the rate of senescence, preserving the sugars and nutrients within the plant tissues.
FAQ:
How deep should I dig for a standard shrub?
Dig a hole only as deep as the root ball. The depth should allow the root flare to remain exactly at or slightly above the finished soil grade to ensure proper oxygen exchange for the root system.
What is the best shovel for heavy clay?
A round-point shovel with a high-gauge steel blade is best. The sharpened point concentrates force to penetrate the dense clay particles, while the curved blade helps lift the heavy material without excessive strain on the tool.
How do I prevent soil compaction while digging?
Work from a piece of plywood to distribute your body weight. This prevents the compression of soil macropores, maintaining the essential balance of 50 percent solids, 25 percent water, and 25 percent air required for healthy roots.
Can I use a shovel to edge a garden bed?
Yes. A flat-edged spade is superior for creating a vertical "V" trench. This mechanical barrier prevents rhizomatous grasses from encroaching into the cultivated area while providing a professional, clean-line finish to the landscape design.