9 Steps to Prepare a Professional-Grade Garden Pond
The scent of damp, anaerobic mud mixed with the sharp ozone of freshly turned earth signals the start of a serious aquatic installation. Success depends on the structural integrity of the surrounding landscape and the turgor pressure of the riparian plants flanking the water. When learning how to prepare a garden for a pond, you must view the site as a hydraulic system rather than a decorative feature. This requires assessing the topography to prevent runoff from contaminating the water with high-nitrogen fertilizers. A professional installation demands a clear understanding of the local water table and the soil's load-bearing capacity. You are not just digging a hole; you are engineering a self-sustaining ecosystem that balances nutrient loads and biological filtration. Every cubic foot of soil removed alters the drainage patterns of the entire plot. Failure to account for these variables leads to stagnant water and structural collapse. Precision at the excavation stage ensures the long-term health of the rhizosphere and the stability of the aquatic margin.
Materials:
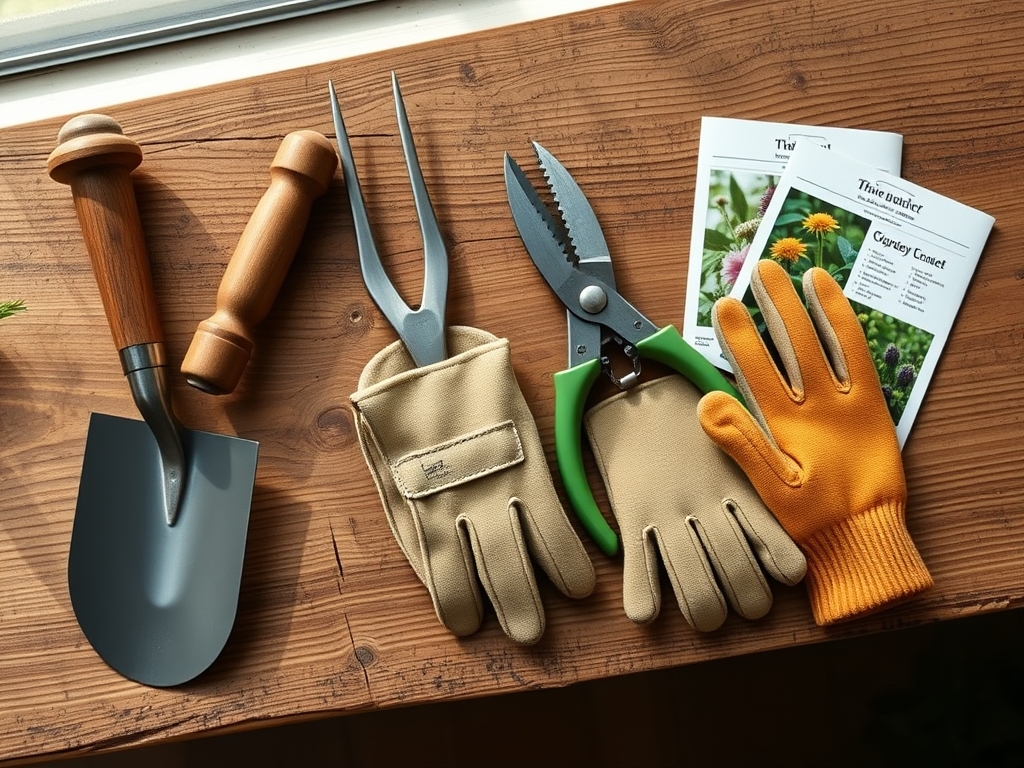
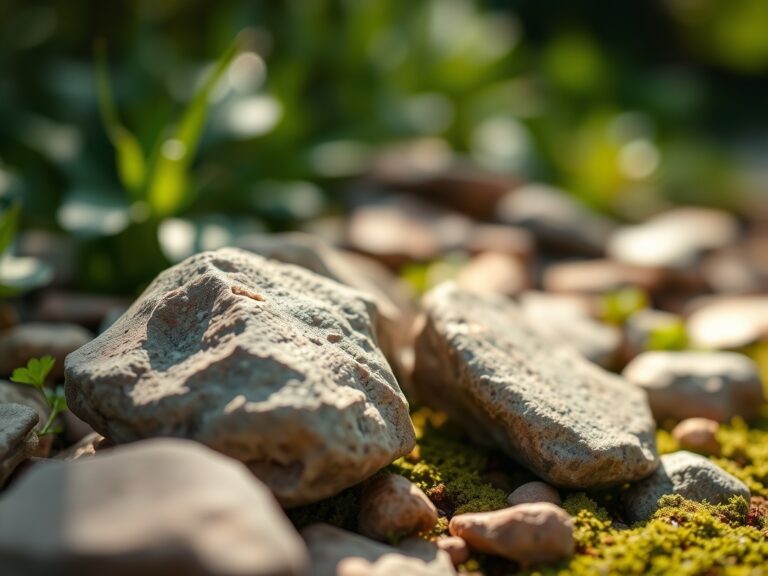
The success of the surrounding vegetation depends on a **friable loam** with a **pH range of 6.0 to 7.0**. For the terrestrial margins, the soil must have a high Cation Exchange Capacity (CEC) to retain nutrients without leaching them into the pond. Use a base substrate with an **NPK ratio of 5-10-5** to encourage root development over excessive foliage growth. High nitrogen levels (above 10) trigger algal blooms if the runoff enters the water. You will need a **45-mil EPDM rubber liner**, which offers superior flexibility and UV resistance compared to PVC. Geotextile underlayment is mandatory to protect the liner from punctures. For the biological filter, select crushed lava rock or expanded clay pebbles to provide maximum surface area for nitrifying bacteria. Ensure you have a **soil moisture meter** and a **refractometer** to monitor water quality and terrestrial hydration levels accurately.
Timing:
Installation should occur during the dormant season or early spring, specifically within USDA Hardiness Zones 4 through 8 when the ground is workable but the biological clock of local flora is in a state of low metabolic activity. Aim for a window at least three weeks before the average last frost date. This timing allows the soil to settle and the microbial communities in the filter to establish before the summer heat increases the rate of decomposition. In warmer zones like 9 and 10, late autumn is preferable to avoid the physiological stress of high evaporation rates. Monitoring the photoperiod is essential; as day length increases, aquatic plants will transition from vegetative growth to reproductive stages. You must have the pond filled and dechlorinated before the water temperature consistently reaches 55 degrees Fahrenheit, as this is the threshold where biological activity accelerates.
Phases:
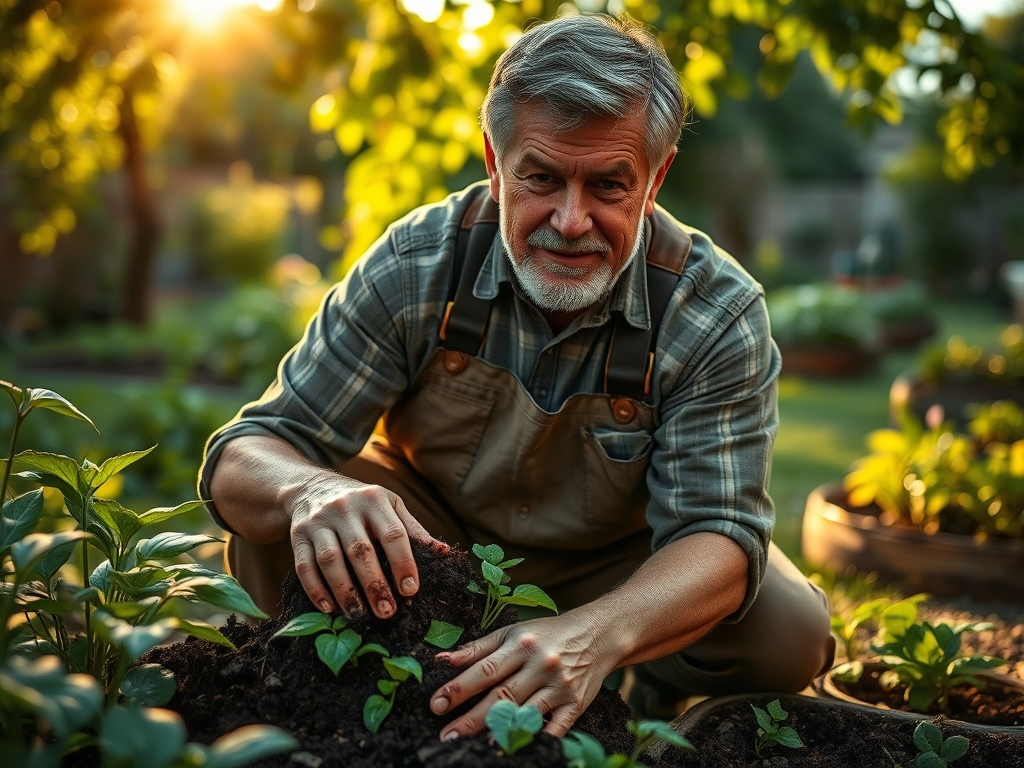
Sowing the Perimeter
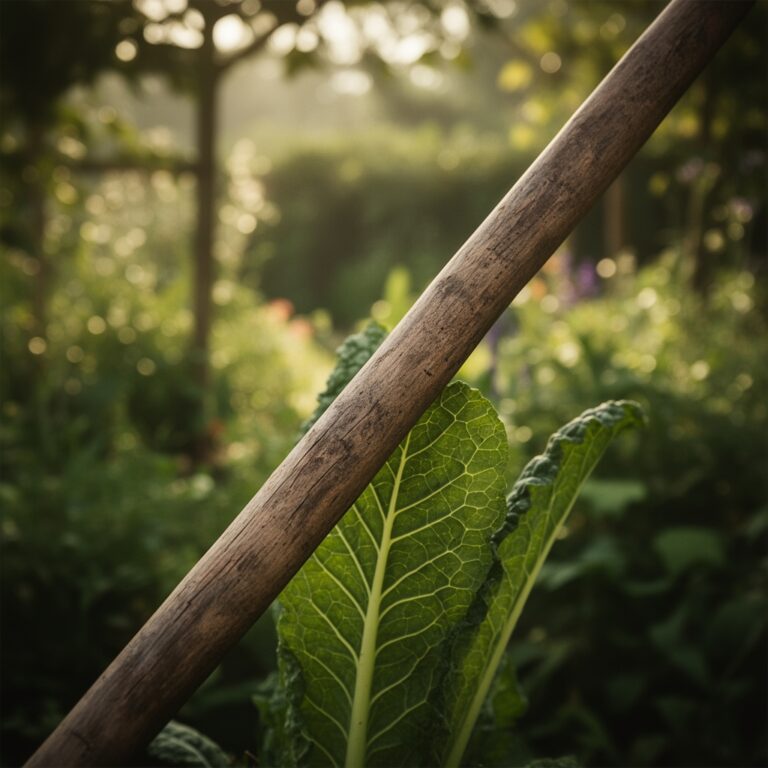
Direct sow native sedges and grasses around the pond margin to stabilize the soil. Maintain a depth of 0.25 inches for most riparian seeds. The soil must remain consistently moist to ensure the radical can penetrate the substrate without desiccation.
Pro-Tip: Mycorrhizal fungi inoculation during sowing enhances nutrient uptake through a symbiotic relationship. This mycorrhizal symbiosis extends the root system's reach, allowing plants to access phosphorus that is otherwise chemically bound in the soil.
Transplanting Aquatic Flora
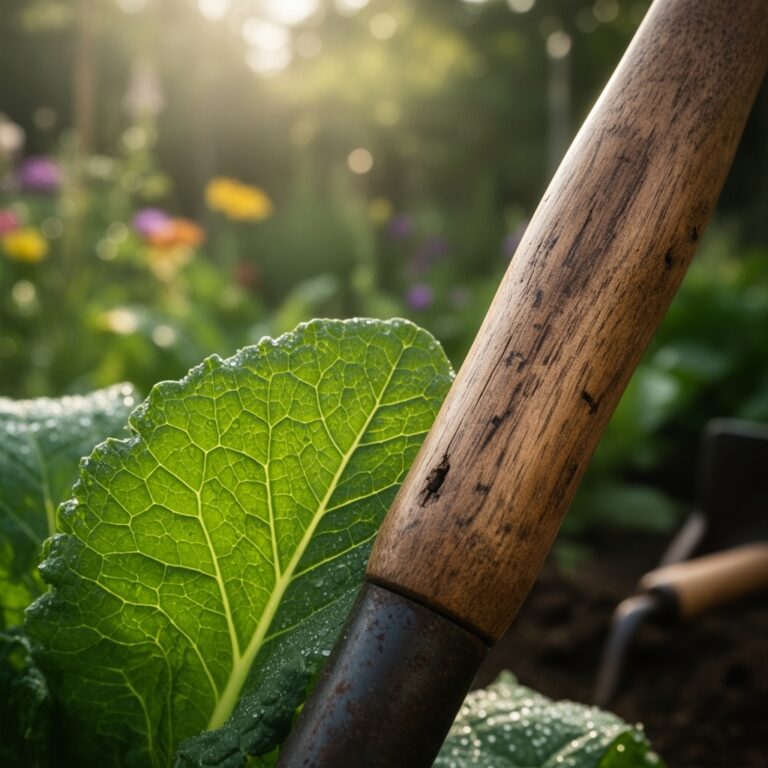
When placing marginal plants like Iris pseudacorus, ensure the crown is at the specific depth recommended for the species, typically 2 to 4 inches below the water surface. Use heavy clay loam in planting baskets to prevent the media from floating away.
Pro-Tip: Proper depth placement regulates auxin suppression. If a plant is buried too deep, the lack of oxygen in the root zone triggers ethylene production, leading to rapid senescence and tissue decay.
Establishing the Bio-Filter
Once the pump is active, introduce beneficial bacteria strains. The water must circulate at a rate that turns over the entire pond volume every two hours. Monitor the ammonia and nitrite levels daily using a liquid drop test kit.
Pro-Tip: Maintaining high dissolved oxygen levels supports aerobic respiration in nitrifying bacteria. These microbes convert toxic ammonia into nitrates, which are then sequestered by the plants as a primary nitrogen source.
The Clinic:
Physiological disorders in a pond environment often stem from water chemistry imbalances or poor soil preparation.
-
Symptom: Interveinal chlorosis (yellowing leaves with green veins) in marginal plants.
-
Solution: This indicates an Iron deficiency, often caused by a pH level above 7.5. Lower the pH using elemental sulfur or peat moss to increase iron bioavailability.
-
Symptom: Rapid wilting of perimeter plants despite wet soil.
-
Solution: Root rot caused by anaerobic conditions. Improve drainage by incorporating coarse sand or perlite to increase the macropore space in the soil.
-
Symptom: Stunted growth and purple tinting on the undersides of leaves.
-
Solution: Phosphorus deficiency. Apply a targeted 0-20-0 superphosphate fertilizer directly to the root zone, ensuring no granules enter the water column.
-
Fix-It for Nitrogen Chlorosis: If older leaves turn uniform pale yellow, the plant is scavenging nitrogen for new growth. Apply a slow-release organic fertilizer with a 10-5-5 ratio at the drip line, away from the pond edge.
Maintenance:
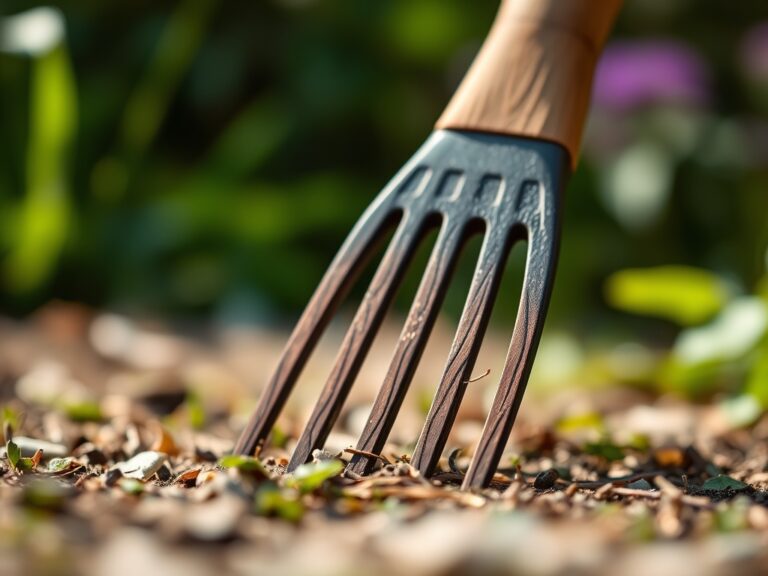
A professional-grade pond requires rigorous maintenance to prevent ecological collapse. Use a soil moisture meter to ensure the perimeter receives 1.5 inches of water per week at the drip line. Use a hori-hori knife to remove invasive weeds by the root, preventing them from competing for nutrients. Prune dead aquatic foliage with bypass pruners before the material falls into the water; decomposing organic matter increases the biological oxygen demand (BOD) and can suffocate fish. Check the pump intake daily for debris. Every six months, test the water for hardness and alkalinity; ideal carbonate hardness (KH) should be between 125 and 200 ppm to buffer against pH swings.
The Yield:
For those growing aquatic edibles like watercress or lotus, harvest timing is critical for peak nutrient density. Harvest watercress when the stems are 4 to 6 inches long but before the plant flowers. Use sharp shears to make a clean cut above the node to encourage lateral branching. For lotus tubers, harvest in late autumn after the foliage has turned brown and entered senescence. To maintain "day-one" freshness, immediately submerge the roots or stems in 40-degree Fahrenheit water. This rapid cooling slows the metabolic rate and preserves the turgor pressure within the plant cells.
FAQ:
How deep should a professional garden pond be?
A minimum depth of 24 inches is required to provide a thermal buffer. In colder climates, 36 to 48 inches prevents the entire water column from freezing, protecting the dormant biological life at the bottom.
What is the best liner for a garden pond?
Use a 45-mil EPDM liner. It is highly durable, resists punctures from roots, and remains flexible in temperatures as low as minus 40 degrees Fahrenheit, unlike cheaper PVC or polyethylene options.
How do I stop my pond from leaking?
Ensure the liner has at least 12 inches of overlap at the edges. Use a laser level during excavation to ensure the entire perimeter is perfectly level; even a 1-inch deviation can cause significant water loss.
Can I use tap water to fill my pond?
Yes, but you must use a dechlorinator to neutralize chlorine and chloramines. These chemicals are toxic to fish and will kill the beneficial nitrifying bacteria necessary for the pond's nitrogen cycle.
How do I prevent algae growth naturally?
Achieve a 70 percent surface coverage using floating plants like lilies. This limits the sunlight reaching the water, reducing photosynthesis in algae, while simultaneously absorbing excess nitrates and phosphates from the water.