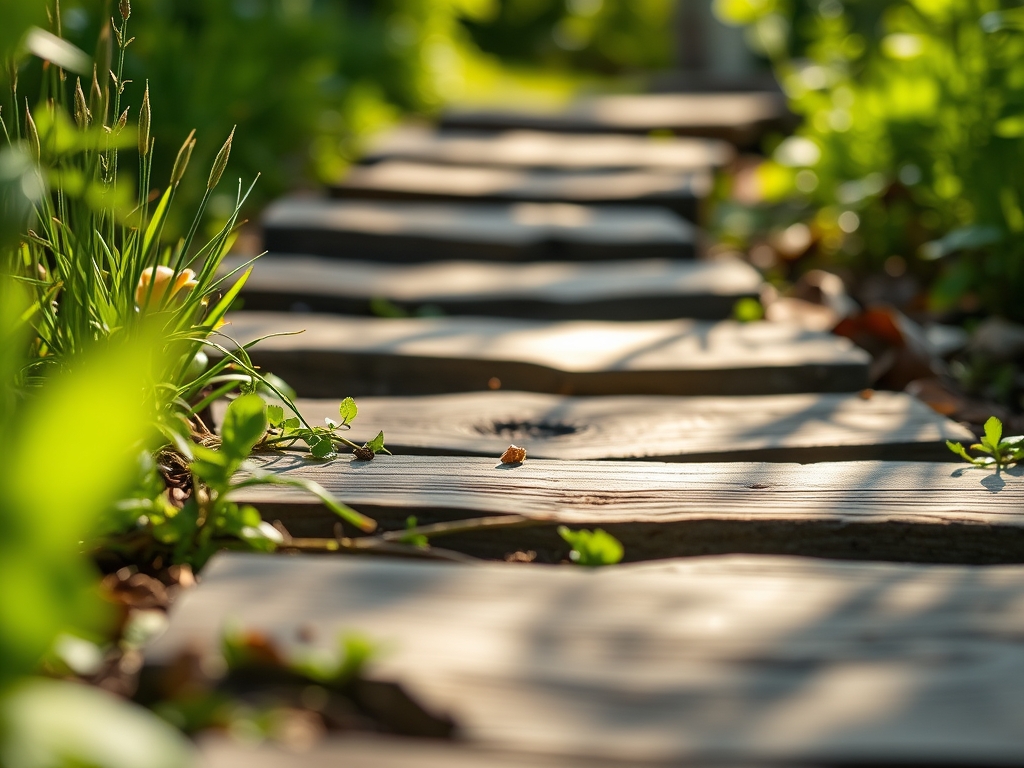
7 Steps to Build a Professional Garden Path
The scent of damp, disturbed earth signals a fundamental shift in the landscape as the blade of a sharp spade breaks the soil surface. Establishing a permanent walkway requires more than aesthetic placement; it demands an understanding of soil compaction and drainage kinetics. Following the correct steps for building a garden path ensures that the surrounding flora maintains high turgor pressure despite heavy foot traffic. A poorly planned path leads to localized flooding and anaerobic conditions in the rhizosphere. By managing the structural integrity of the substrate, you protect the delicate balance of the garden ecosystem while providing a stable conduit for maintenance. This process begins with a rigorous assessment of the site topography and the physical properties of the underlying soil profile. Success depends on the transition from raw earth to a multi-layered foundation that supports both human weight and microbial health. Every measurement must be precise to prevent the lateral migration of aggregates into the planting beds. Professional results stem from a commitment to geological and botanical principles rather than mere decoration.
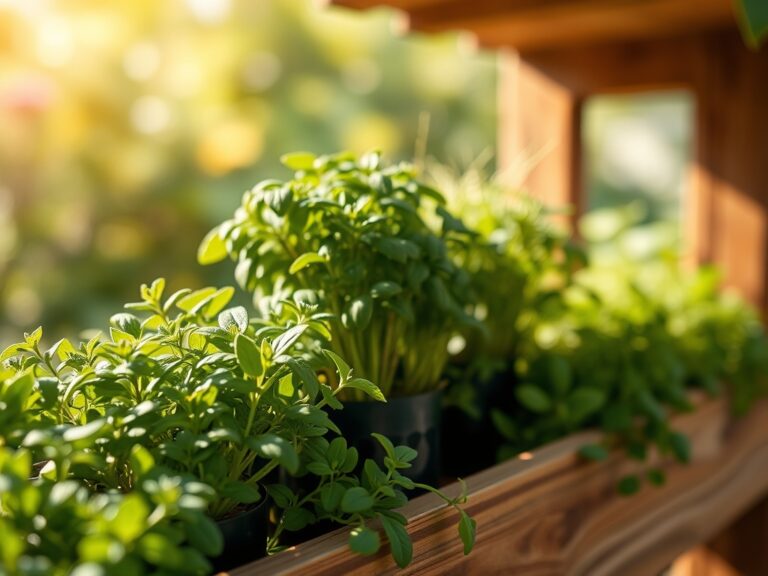
Materials:
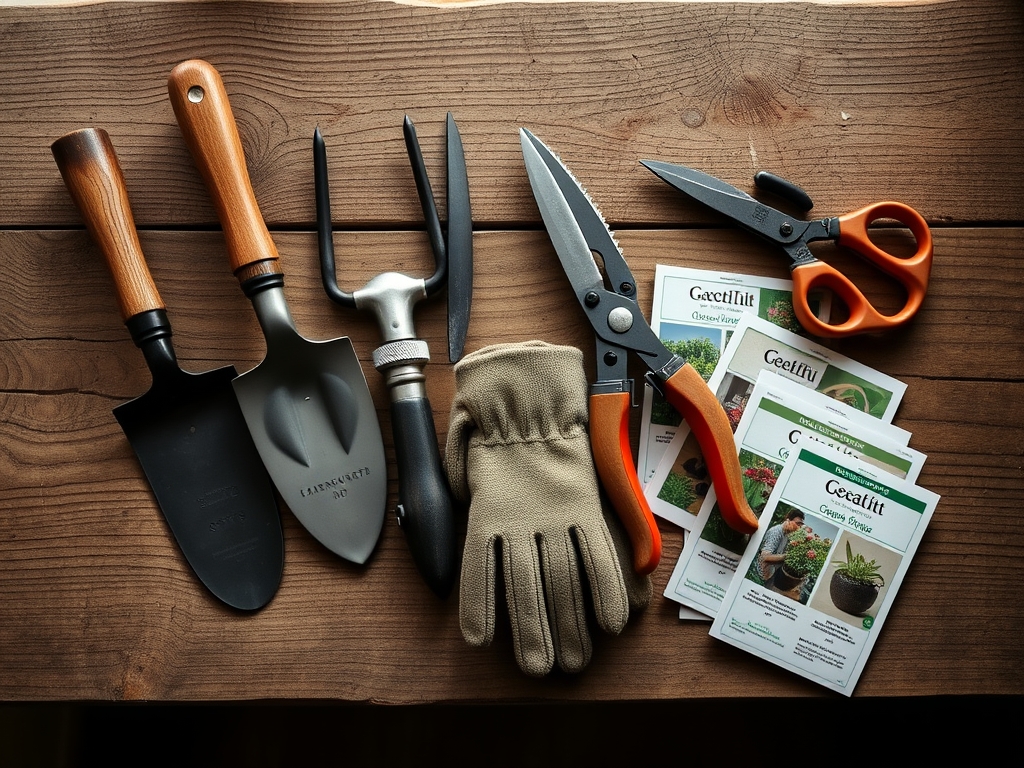
The success of any garden infrastructure depends on the chemical and physical composition of the materials used. The ideal substrate for the surrounding beds is a **friable loam** with a **Cation Exchange Capacity (CEC) between 15 and 25 milliequivalents per 100 grams**. For the path foundation, you require **crushed limestone or 3/4-inch minus gravel** to ensure rapid drainage. The soil pH should be monitored closely; a range of **6.2 to 6.8** is optimal for most temperate perennials. If the soil is overly acidic, application of pelletized lime is necessary to raise the pH. For the nutrient profile of the adjacent vegetation, maintain an **NPK ratio of 10-10-10** for general establishment, or a **5-10-10** formula if you are prioritizing root development over vegetative biomass. Geotextile fabric with a weight of at least **4 ounces per square yard** is mandatory to prevent the mixing of subsoil with your aggregate layers.
Timing:
Construction should align with specific windows in USDA Hardiness Zones 4 through 8. The ideal time to execute these steps for building a garden path is during the shoulder seasons of early spring or late autumn when the soil is not saturated. Avoid work when the ground is frozen or during periods of excessive rainfall to prevent permanent soil compaction. This timing coincides with the Biological Clock of most temperate plants; specifically, the transition from dormancy to the vegetative stage or from reproductive stages to senescence. In Zone 6, the window typically opens three weeks after the last frost date when soil temperatures reach a consistent 55 degrees Fahrenheit. This ensures that any root disturbance to nearby plants occurs when they have the metabolic reserves to recover.
Phases:

Sowing and Site Preparation
Excavate the path to a depth of 6 to 8 inches. Use a line level to ensure a 2 percent slope away from structural foundations to facilitate water runoff. Clear all organic matter, including roots and stolons, to prevent future settling.
Pro-Tip: Removing competing vegetation reduces auxin suppression in desired border plants. When you eliminate weed pressure, the remaining plants allocate more carbohydrates to lateral root expansion rather than vertical competition.
Transplanting and Edging
Install heavy-duty edging materials such as steel or pressure-treated timber to contain the aggregate. If you are moving plants to accommodate the path, ensure the root ball remains moist. Dig the new hole twice as wide as the root system to encourage mycorrhizal symbiosis in the loosened soil.
Pro-Tip: Use a soil moisture meter to verify that the new transplant site has a volumetric water content of 20 to 30 percent. This prevents transplant shock by maintaining high cellular turgor during the relocation process.
Establishing the Foundation
Layer 4 inches of coarse aggregate and compact it using a power tamper. Follow this with a 2-inch layer of leveling sand or finer stone dust. This creates a stable base that resists the "heaving" caused by freeze-thaw cycles.
Pro-Tip: Proper compaction eliminates large air pockets that can lead to root desiccation if the path is adjacent to sensitive species. A dense base also discourages the germination of wind-blown seeds by creating a hostile, dry environment at the surface.
The Clinic:
Physiological disorders often manifest in plants bordering a new path due to changes in soil hydrology or pH.
- Symptom: Interveinal chlorosis on new growth. Solution: This indicates Iron deficiency, often caused by high alkalinity from limestone leaching. Apply chelated iron to the soil.
- Symptom: Marginal leaf scorch and wilting. Solution: This suggests Potassium deficiency or salt accumulation. Flush the area with 2 inches of water and apply a high-potash fertilizer.
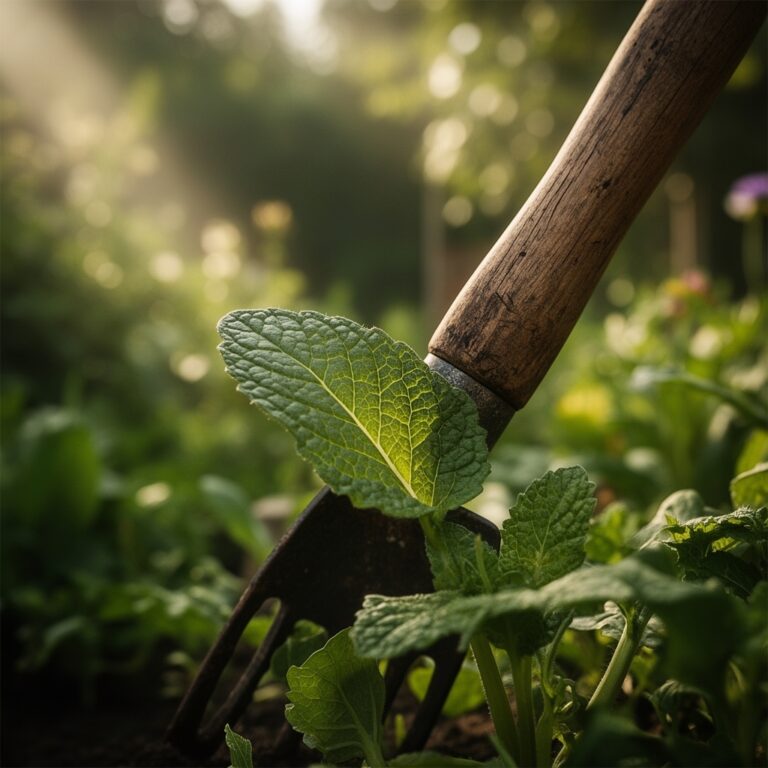
- Symptom: Stunted growth with purple-tinted foliage. Solution: This is a classic sign of Phosphorus deficiency, common in cold, compacted soils. Use a hori-hori knife to aerate the root zone and apply bone meal.
- Fix-It for Nitrogen Chlorosis: If older leaves turn uniform pale yellow, apply a quick-release high-Nitrogen fertilizer (20-0-0) to restore chlorophyll production.
Maintenance:
A professional path requires consistent monitoring of the surrounding ecosystem. Use bypass pruners to remove any overhanging biomass that creates excessive shade or traps humidity, which can lead to fungal pathogens. Ensure the path borders receive exactly 1.5 inches of water per week at the drip line, rather than overhead, to minimize foliar disease. Check the integrity of the edging annually; if the soil settles, the cation exchange capacity can be compromised by the leaching of minerals from the path base into the growing medium. Use a soil moisture meter bi-weekly during the first growing season to ensure the new drainage patterns are not dehydrating the adjacent rhizosphere.
The Yield:
If your path borders edible crops or cut flowers, harvesting must be timed to maximize post-harvest longevity. Harvest during the "cool" of the morning when turgor pressure is at its peak. For woody herbs, use sharp snips to cut just above a node to encourage branching. For flowers, immediately submerge the stems in 110-degree Fahrenheit water to remove air bubbles from the xylem. This technique ensures "day-one" freshness by maintaining the hydraulic integrity of the plant tissues until they can be properly processed.
FAQ:
How deep should I dig for a gravel path?
Excavate to a depth of 6 to 8 inches. This allows for 4 inches of compacted sub-base and 2 inches of finish material, ensuring structural stability and preventing frost heave in most climate zones.
What is the best way to prevent weeds in paths?
Install a 4-ounce non-woven geotextile fabric between the soil and the aggregate. This barrier prevents weed seeds in the subsoil from germinating while allowing for essential water infiltration and gas exchange.
Can I build a path near large trees?
Avoid cutting roots larger than 2 inches in diameter. Excavating too close to the trunk can cause vascular failure or destabilize the tree. Use a "floating" path of mulch if you are within the drip line.
How do I fix drainage issues on a path?
Ensure a 2 percent cross-slope during the grading phase. If puddling occurs, the sub-base is likely clogged with fines. Remove the top layer and incorporate 3/4-inch clean stone to restore the infiltration rate.