7 Solar Steps to Install Vegetable Garden Lighting
The smell of damp earth after a midnight rain reveals the metabolic activity of a healthy rhizosphere. When the sun sets, the turgor pressure in a plant's vascular system stabilizes; however, your work as a cultivator does not cease. Mastering the steps for installing a vegetable garden light ensures you can monitor for nocturnal physiological changes or harvest at peak coolness. Effective solar lighting requires precise placement to avoid disrupting the photoperiod of sensitive nightshades or brassicas.
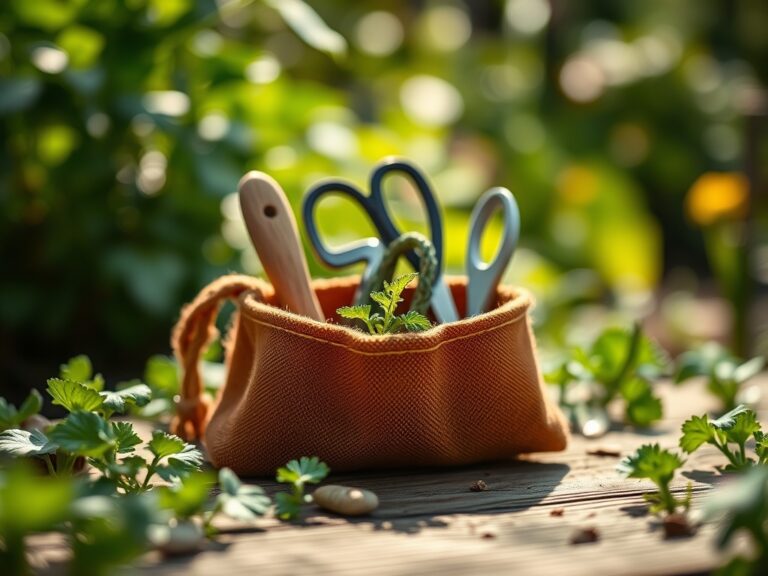
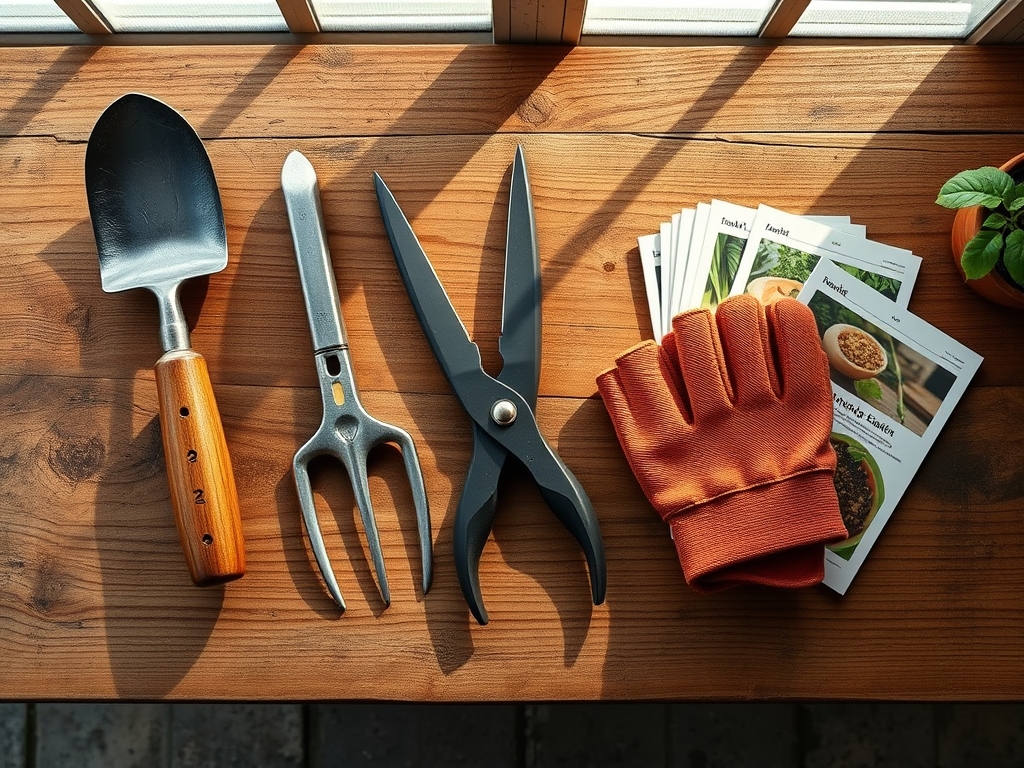
Materials:
Before driving stakes into the ground, evaluate your soil’s physical and chemical properties. Solar fixtures must be anchored in **friable loam** with a bulk density between **1.1 and 1.6 g/cm3**. If the substrate is heavy clay, the Cation Exchange Capacity (CEC) may be high, but poor drainage will cause the metal or plastic housing of your lights to corrode or heave during freeze-thaw cycles.
Maintain a soil pH between 6.0 and 7.0 to ensure nutrient availability for the surrounding crops. Use a balanced NPK ratio of 10-10-10 for general maintenance; however, if you are installing lights near leafy greens, a higher Nitrogen (N) concentration like 21-0-0 supports vegetative growth. Ensure your lighting components are rated for high humidity to withstand the constant transpiration of a dense vegetable canopy.
Timing:
The installation window is dictated by your USDA Hardiness Zone. In Zones 5 through 7, install solar components after the last spring frost to prevent frost heave from displacing the sensor stakes. The "Biological Clock" of your vegetables is sensitive to light pollution. Most vegetables require a distinct dark period to transition from vegetative growth to the reproductive stage.
Excessive artificial light during the night can delay senescence or interfere with the flowering of short-day plants. Schedule your installation for late afternoon when the soil is warm but the ambient temperature has dropped below 85 degrees Fahrenheit. This prevents heat stress on the root systems of nearby plants while you disturb the soil profile.
Phases:

Sowing the Layout
Begin by mapping the light spread. Calculate the "throw" of each LED bulb. Space fixtures at least 4 feet apart to prevent overlapping light cones that can confuse pollinators or stimulate unwanted weed germination. Use a soil moisture meter to ensure the ground is at 25 percent moisture before insertion.
Pro-Tip: Proper spacing prevents auxin suppression. If a plant receives light from too many angles at night, it may fail to orient its leaves toward the primary sun source the following morning, reducing photosynthetic efficiency.
Transplanting the Hardware
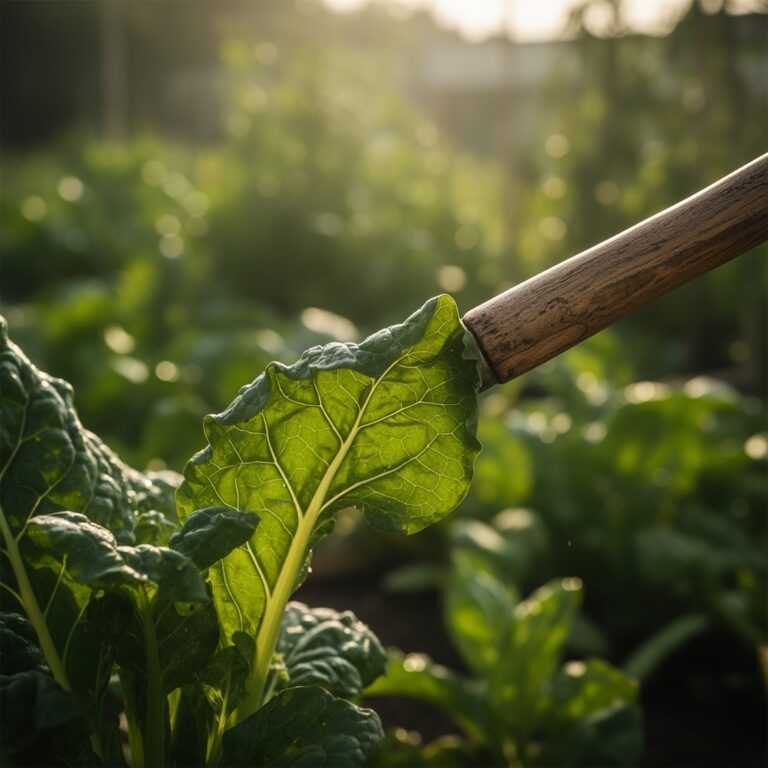
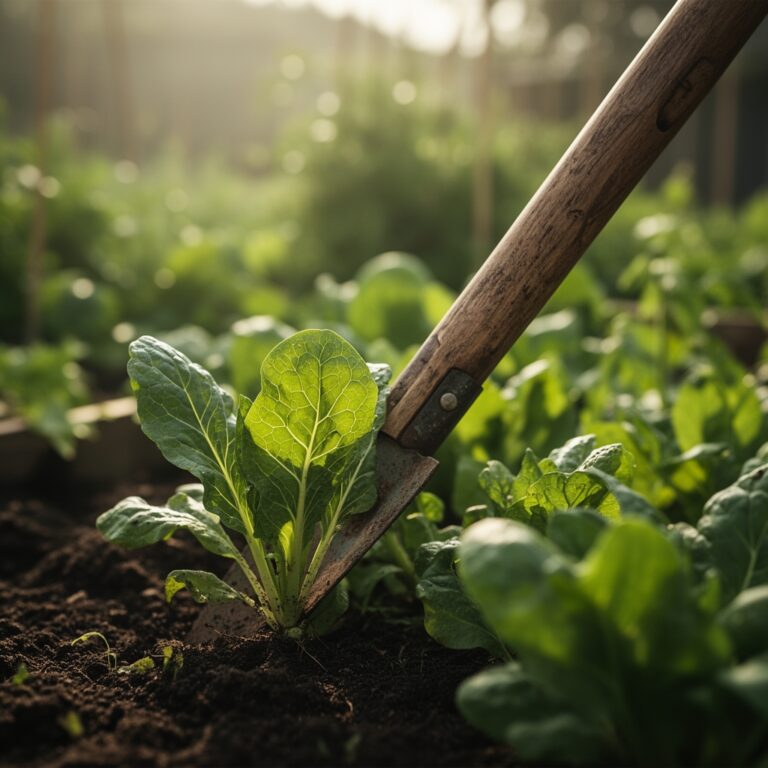
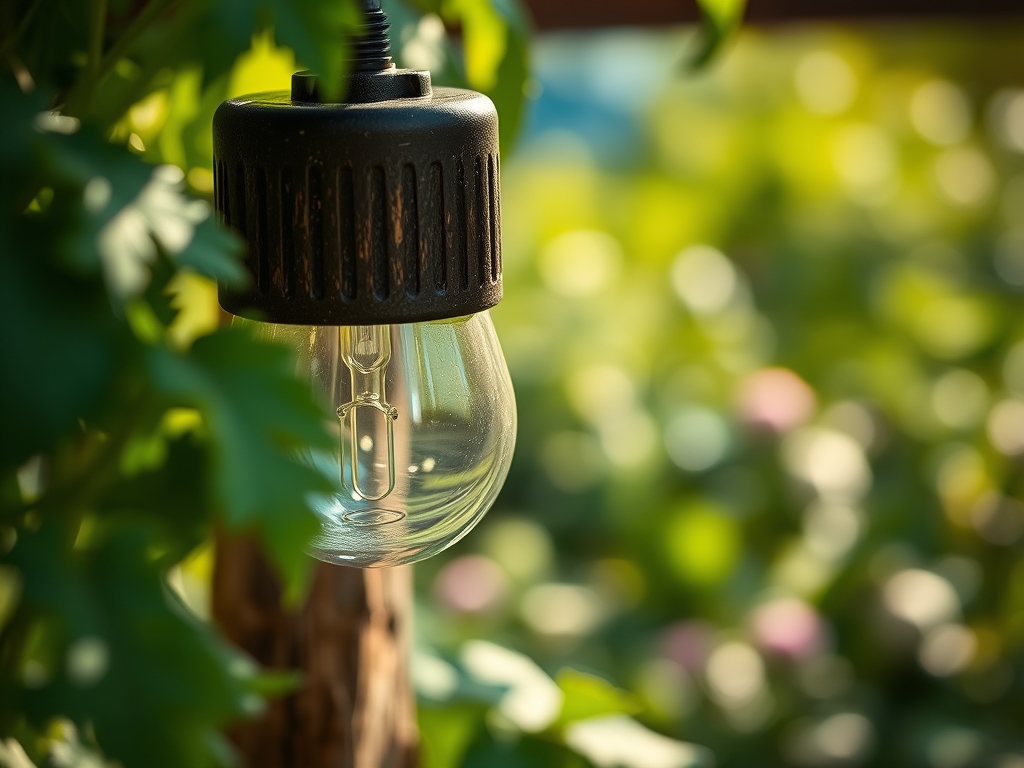
Excavate a small pilot hole using a hori-hori knife rather than forcing the stake into compacted earth. This protects the structural integrity of the light and prevents the destruction of beneficial mycorrhizal fungi networks. The solar panel must face south at a 45-degree angle for maximum photon absorption.
Pro-Tip: Maintaining the fungal network in the rhizosphere is essential. These symbiotic fungi extend the root's reach for phosphorus; a reckless installation can sever these microscopic hyphae.
Establishing the Grid
Once the lights are positioned, firm the soil around the base to eliminate air pockets. Check the turgor pressure of nearby plants. If they appear wilted after the installation, provide 0.5 gallons of water per square foot to settle the disturbed soil and re-hydrate the root zone.
Pro-Tip: Avoid placing lights directly over the terminal buds of young plants. This prevents phototropism issues where the plant wastes energy growing toward a weak nocturnal light source instead of preparing for the morning sun.
The Clinic:
Physiological disorders in the garden often mimic lighting or nutrient issues. Use this diagnostic guide to differentiate between electrical interference and biological failure.
Symptom: Interveinal chlorosis (yellowing between leaf veins).
Solution: This is likely Nitrogen chlorosis or Magnesium deficiency. Check soil pH. If pH is above 7.5, nutrients are locked out. Apply chelated iron or a nitrogen-rich fertilizer.
Fix-It: Add 2 pounds of ammonium sulfate per 1,000 square feet to lower pH and provide immediate nitrogen.
Symptom: Leggy, elongated stems with sparse foliage.
Solution: This indicates etiolation. Your solar lights might be too dim or poorly placed, causing the plant to stretch toward the nearest light source at night.
Fix-It: Move the light fixture closer to the ground or increase the distance from the plant to ensure a total dark period.
Symptom: Blossom end rot on tomatoes or peppers.
Solution: This is a Calcium transport issue, often caused by irregular watering.
Fix-It: Use a soil moisture meter to maintain consistent hydration. Ensure the lighting installation did not damage the primary taproot.
Maintenance:
A high-yield vegetable garden requires rigorous maintenance. Use bypass pruners to remove any foliage that shadows the solar panels. Dust and pollen can reduce solar efficiency by 30 percent; wipe the panels weekly with a microfiber cloth.
Irrigation must be precise. Deliver 1.5 inches of water per week at the drip line. Avoid wetting the light fixtures directly to prevent mineral scaling on the lenses. Use your hori-hori knife to edge around the light stakes twice a month; this prevents grass or weeds from competing for nutrients in the immediate vicinity of your vegetable crops.
The Yield:
Harvesting under solar light allows you to identify the exact moment of peak ripeness without the heat of the day degrading the crop. For leafy greens, harvest when the temperature is at its lowest to ensure maximum turgor and sugar content. Use a sharp blade to make clean cuts, minimizing the surface area of the wound to prevent pathogens from entering the plant.
Post-harvest, submerge vegetables in 40-degree Fahrenheit water immediately. This "hydro-cooling" removes field heat and stops the process of senescence. Properly cooled vegetables can maintain "day-one" freshness for up to 72 hours longer than those left at room temperature.
FAQ:
Do solar lights affect vegetable growth?
Most low-intensity solar lights do not disrupt the photoperiod enough to harm growth. However, placing high-lumen lights near short-day plants like spinach can trigger premature bolting. Keep lights at a distance of 3 feet from sensitive foliage.
How deep should I install light stakes?
Stakes should reach at least 6 inches into the soil profile. This depth ensures stability against wind and prevents the light from shifting during heavy irrigation cycles where the soil reaches saturation point.
Can I install lights in heavy clay soil?
Yes, but you must use a hori-hori knife to create a pilot hole. Forcing a stake into dry clay can shatter the plastic housing. Amend the area with organic matter to improve the soil structure first.
Will solar lights attract garden pests?
Most solar LEDs emit light in a spectrum that is less attractive to nocturnal insects than incandescent bulbs. To minimize activity, use "warm" light tones (under 3000K) which are less likely to disrupt the local insect ecology.