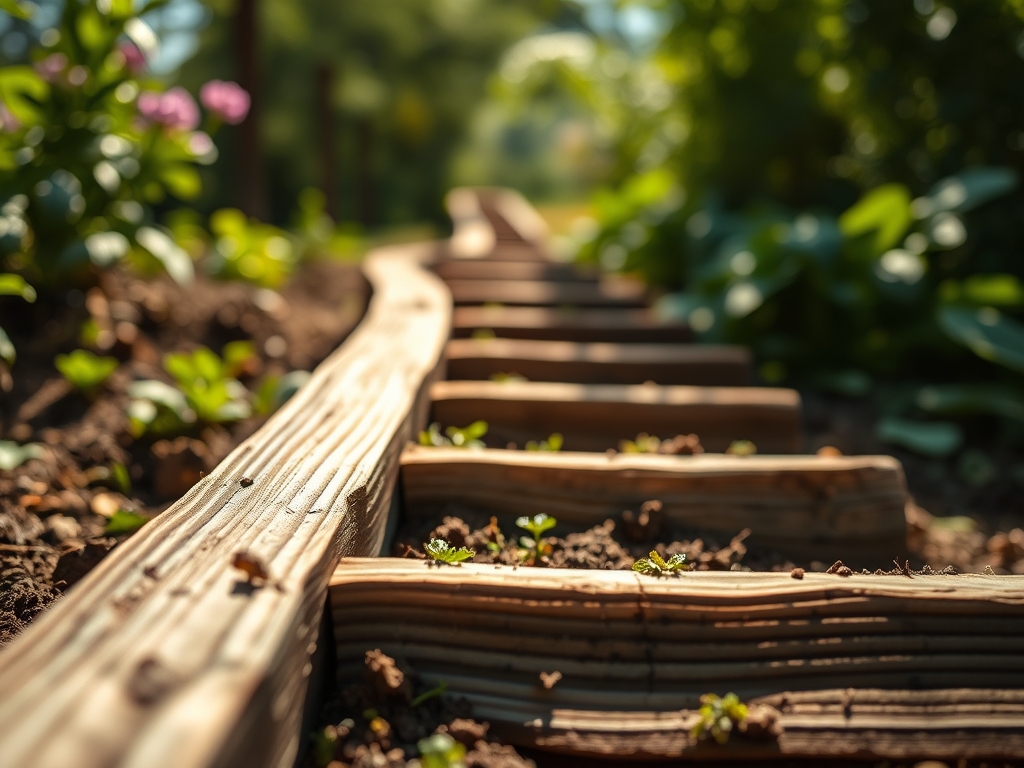
8 Access Steps to Build Custom Wooden Garden Steps
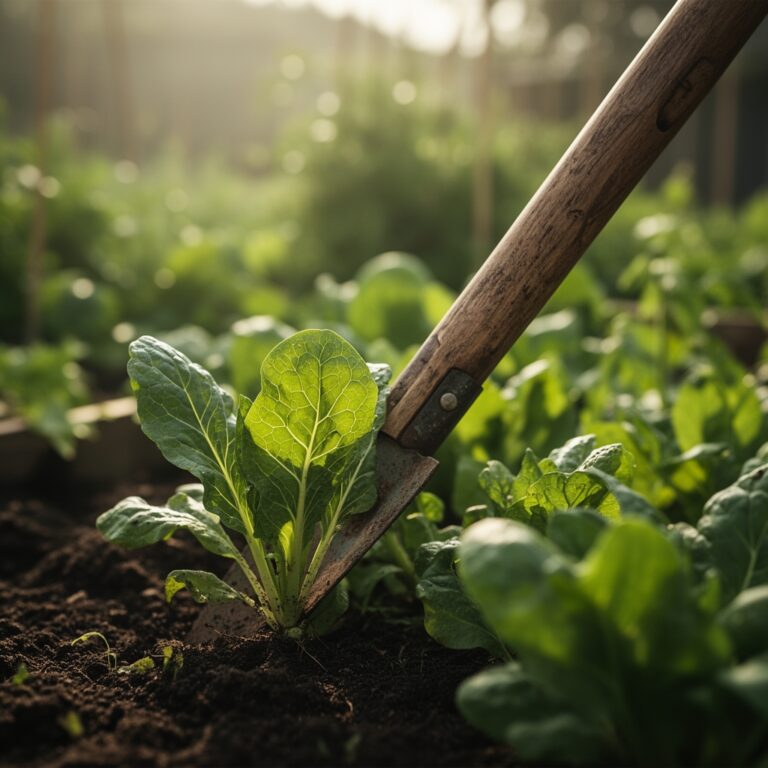
Damp earth releases a sharp, geosmin-heavy scent as the spade breaks the surface tension of a compacted slope. A healthy vegetable garden requires structural stability to prevent soil erosion and ensure the turgor pressure of your crops remains consistent through proper drainage. Mastering the steps for building vegetable garden steps is a fundamental engineering requirement for any sloped site where gravity threatens to pull nitrogen-rich topsoil away from the rhizosphere. Effective terracing through timber steps manages hydraulic flow and provides ergonomic access to the harvest.
Materials:
Structural integrity begins with the substrate. You must excavate down to a mineral soil layer with a high Cation Exchange Capacity (CEC), typically between 15 and 25 meq/100g for optimal nutrient retention. The ideal backfill for the surrounding planting pockets is a friable loam: a mechanical mixture of 40% sand, 40% silt, and 20% clay.
Before installing timber, calibrate your soil chemistry. Target a pH of 6.2 to 6.8 to maximize the bioavailability of phosphorus and magnesium. For the initial establishment phase, incorporate a slow-release fertilizer with an NPK ratio of 5-10-10. The higher phosphorus content encourages robust primary root development and structural lignification. Avoid high-nitrogen blends (e.g., 20-10-10) during step construction, as excessive vegetative growth in the surrounding beds can obscure the structural lines and lead to soft, succulent tissue that is prone to fungal pathogens. Use pressure-treated lumber rated for ground contact or rot-resistant hardwoods like black locust or cedar.
Timing:
Hardiness Zones 4 through 8 offer the most stable windows for structural garden work. Construction should occur during the dormant season or early spring, at least three weeks before the last average frost date. This window ensures that the soil has settled before the "Biological Clock" triggers the transition from the vegetative stage to the reproductive stage in your cool-season crops.
The soil must be workable; if the moisture content is too high, the soil aggregates will collapse under the weight of the timber, leading to severe compaction and anaerobic conditions. Aim for a soil temperature of at least 45 degrees Fahrenheit (7 degrees Celsius) to ensure that any disturbed mycorrhizal networks can begin recolonizing the site immediately after the steps are set.
Phases:
Sowing the Foundation
Excavate the base trench to a depth of 6 inches. Level the area using a 2-inch layer of crushed 3/4-inch angular stone to facilitate rapid drainage away from the wood. This prevents the "wicking" effect that introduces rot into the grain.
Pro-Tip: Proper drainage prevents root hypoxia. When water saturates the pore spaces around the step foundation, it displaces oxygen, causing the roots of nearby plants to switch to anaerobic respiration, which produces toxic ethanol and leads to cell death.
Transplanting the Structure
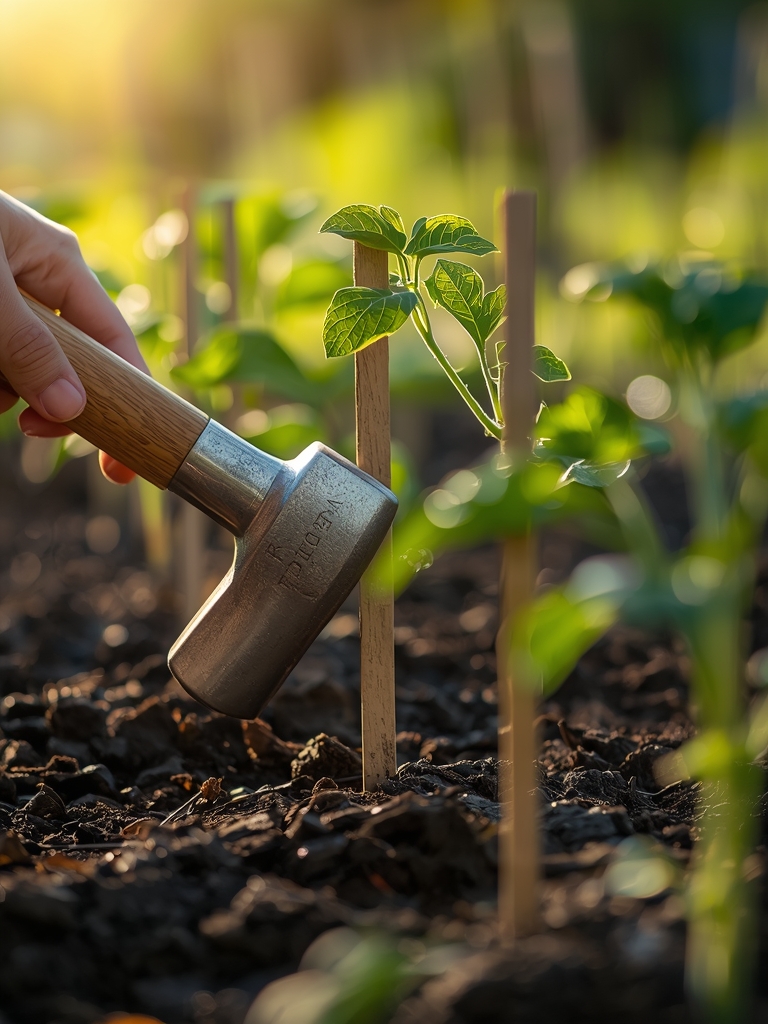
Secure the first riser using 12-inch galvanized steel rebar driven through pre-drilled holes. Each subsequent step should overlap the one below it by at least 2 inches to create a physical barrier against soil creep. Backfill each step with the friable loam described earlier, tamping in 4-inch lifts to eliminate air pockets.
Pro-Tip: Use a level to ensure a slight 1-degree forward pitch. This utilizes gravitational potential energy to shed excess surface water, preventing the pooling that triggers the germination of dormant weed seeds through a process known as phytochrome activation.
Establishing the Perimeter
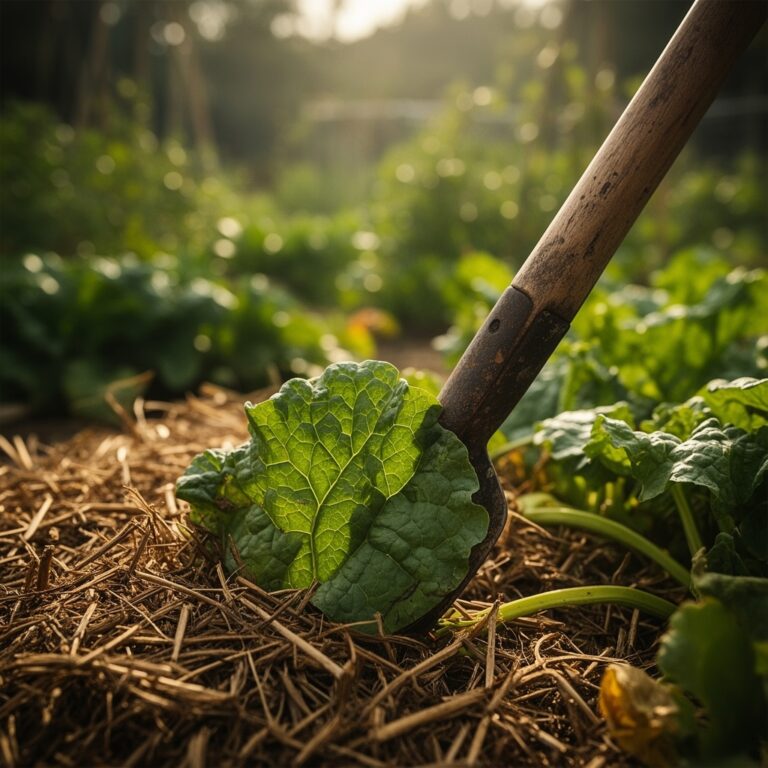
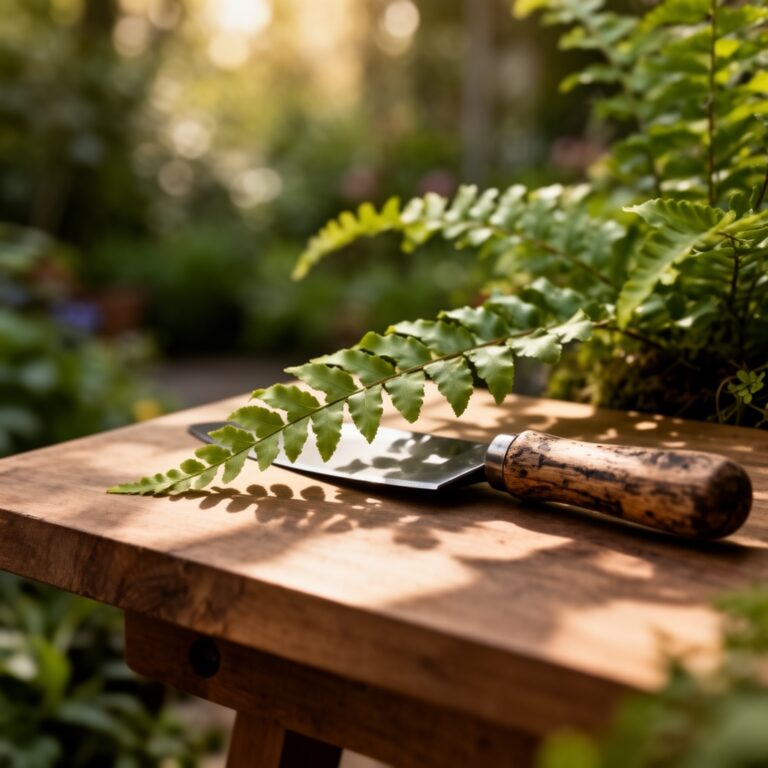
Once the wood is secured, plant stabilizing groundcovers or dwarf vegetable varieties along the edges. Use a hori-hori knife to cut precise planting holes that do not disturb the structural backfill. Apply a 2-inch layer of organic mulch to maintain consistent soil temperatures.
Pro-Tip: Planting immediately after construction utilizes mycorrhizal symbiosis. The fungi form a network between the new plants and the disturbed soil, effectively "gluing" the soil particles together with glomalin, a glycoprotein that prevents erosion around your new steps.
The Clinic:
Physiological disorders often manifest at the intersection of hardscaping and biology. Monitor your plants for these specific symptoms:
- Nitrogen Chlorosis: Pale yellowing of older leaves while veins remain green. This occurs if high-carbon mulch (like sawdust from the steps) is mixed into the soil, causing microbes to "lock up" nitrogen. Fix-It: Apply a liquid kelp or fish emulsion with a 10-2-2 NPK ratio.
- Blossom End Rot: Sunken, leathery spots on the base of fruits. This is a calcium transport issue often caused by fluctuating moisture levels near the wooden risers. Fix-It: Maintain consistent irrigation and ensure soil pH is above 6.0 to keep calcium mobile.
- Anthracnose: Dark, water-soaked lesions on stems. This fungal pathogen thrives in the humid microclimate created by poor airflow against the steps. Fix-It: Increase spacing between plants and the timber to at least 8 inches.
- Epinasty: Downward curling of leaves, often mistaken for wilting. This is caused by ethylene gas buildup in waterlogged soil behind a step. Fix-It: Drill 1/2-inch weep holes in the timber risers to improve lateral drainage.
Maintenance:
Precision is the difference between a garden and a thicket. Provide 1.5 inches of water per week delivered directly to the drip line via drip irrigation to avoid wetting the wooden steps. Use a soil moisture meter daily; the probe should read between 60% and 80% field capacity in the top 6 inches of soil.
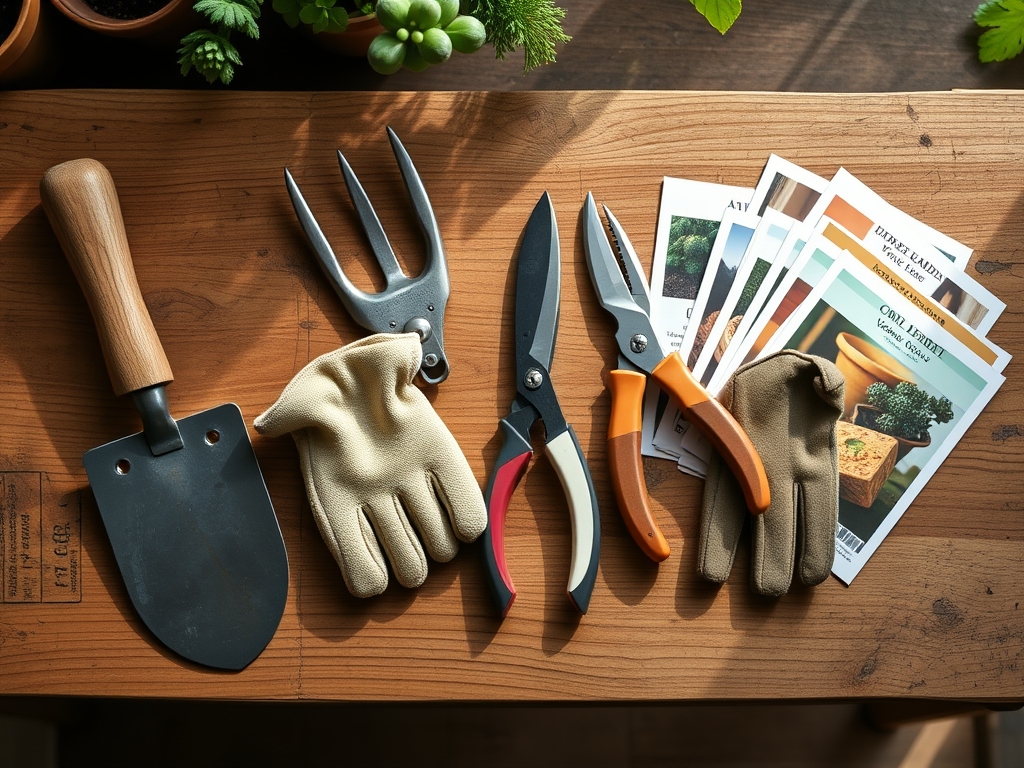
Keep your bypass pruners sharp and sterilized with 70% isopropyl alcohol to prevent the spread of tobacco mosaic virus. Use a hori-hori knife to sever the taproots of invasive weeds at the base of the steps without dislodging the timber. Every three years, inspect the wood for senescence or structural decay; replace any boards that show more than 1/4-inch of soft rot to maintain the safety of the path.
The Yield:
Harvesting from a terraced system requires timing based on senescence markers. For leafy greens, harvest when the turgor pressure is highest, typically between 5:00 AM and 8:00 AM. For fruiting crops like peppers or tomatoes, wait for 90% color break.
Handle all produce with nitrile gloves to prevent the transfer of oils or pathogens. Place harvested items immediately into a shaded, ventilated bin. To maintain "day-one" freshness, field-cool the produce by submerging it in 40-degree Fahrenheit water for three minutes; this removes "field heat" and slows the metabolic rate of the plant tissue, extending the shelf life by up to 40%.
FAQ:
What is the best wood for garden steps?
Use cedar, redwood, or pressure-treated lumber rated for ground contact. These woods contain natural tannins or chemical preservatives that resist fungal decomposition and insect herbivory in high-moisture soil environments.
How do I prevent the steps from sliding?
Drive 12-inch galvanized steel rebar or pressure-treated stakes through the base of the timber. Ensure the stakes penetrate the subsoil beneath the organic layer to anchor the structure against hydraulic pressure and soil weight.
Can I build steps directly on top of soil?
No. You must remove the O-horizon (organic layer) and install a 2-inch base of compacted gravel. This prevents frost heaving and ensures that the wood does not sit in standing water, which causes rapid structural failure.
How wide should vegetable garden steps be?
Construct steps at least 36 inches wide. This width allows for the passage of a standard wheelbarrow and provides enough space to work with a hori-hori knife or harvest bins without damaging the surrounding plant canopy.