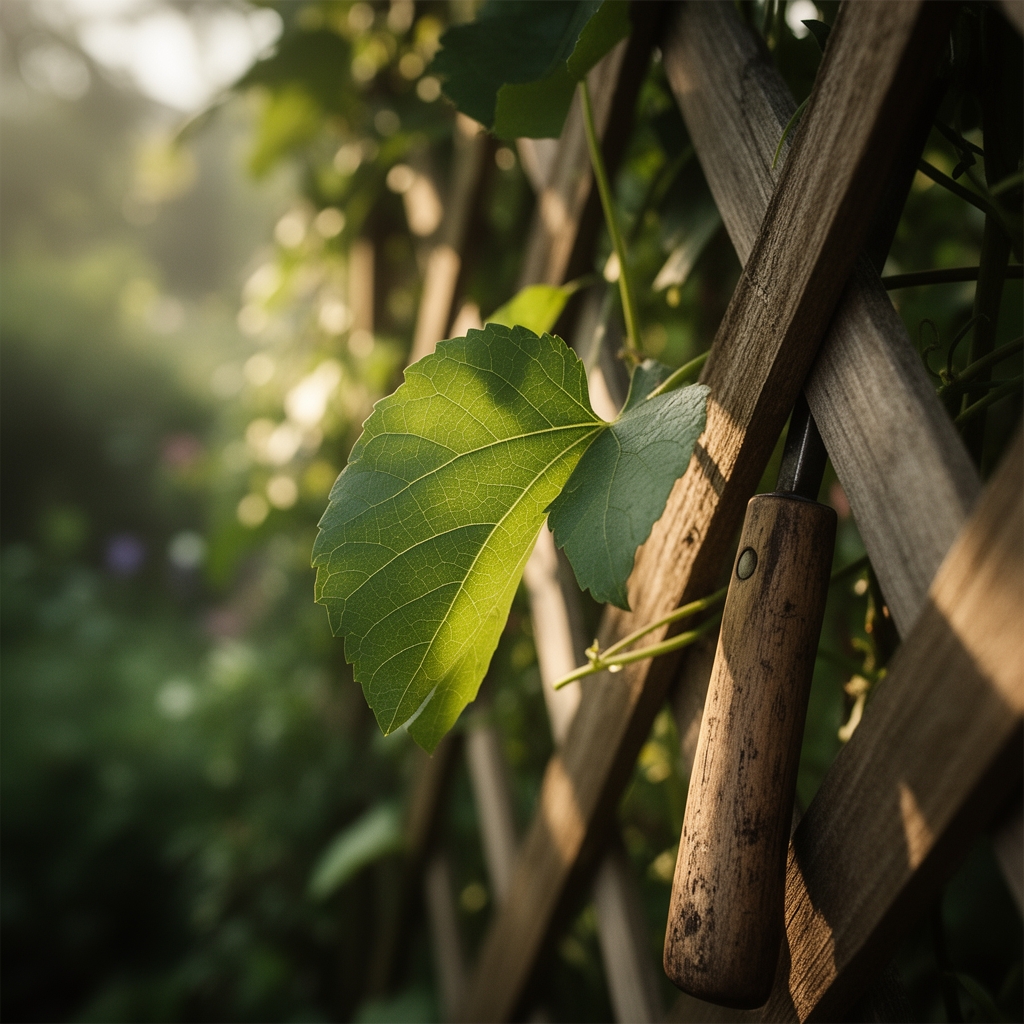
7 Steps to Build a Lattice Garden Privacy Wall
The scent of sun-warmed cedar planks mingles with the earthy aroma of fresh mulch as you frame the boundary between your garden and the world beyond. Steps for building a lattice privacy wall transform a simple fence into a living screen that breathes, filters noise, and supports climbing plants. This vertical structure combines the permanence of wood with the adaptability of living organisms to create seclusion without sacrificing airflow or aesthetic appeal.
Materials
Select pressure-treated pine or naturally rot-resistant cedar for the framework. Lumber dimensions should match the height requirements: 4×4-inch posts for structural support, 2×4-inch horizontal rails, and pre-fabricated lattice panels in either diagonal or square grid patterns. Galvanized hardware resists oxidation in humid microclimates where climbing plants concentrate moisture.
Soil amendments depend on the selected climbing species. For clematis and honeysuckle, incorporate a 4-4-4 organic fertilizer blend that releases nutrients slowly through microbial decomposition. The balanced NPK ratio supports both vegetative growth and flowering without promoting excessive nitrogen that produces foliage at the expense of blooms. Calcium carbonate raises pH to 6.5-7.0 for clematis, while climbing hydrangea prefers aluminum sulfate additions that maintain acidity between 5.0-6.0. Mycorrhizal fungi inoculant improves phosphorus uptake and establishes symbiotic root networks. Finished compost increases cation exchange capacity by 15-25 percent, allowing clay particles to hold nutrients against leaching.
Hardware includes 3-inch deck screws, L-brackets for post-to-rail connections, and concrete mix for post anchoring. Avoid nails, which work loose under wind load and thermal expansion cycles.
Timing
Begin construction during Zone-appropriate windows. Hardiness Zones 3-5 permit outdoor work from late April through October, after soil temperatures exceed 50°F and before ground freezing restricts concrete curing. Zones 6-8 extend the window to March through November. Zone 9-11 gardeners work year-round but avoid midsummer installation when concrete cures too rapidly and cracks.
Plant climbing species according to their frost tolerance. Woody perennials such as wisteria and climbing roses tolerate transplanting six weeks before the last spring frost. Tender annuals like black-eyed Susan vine require soil temperatures above 60°F and air temperatures consistently above 55°F at night.
Phases
Foundation and Frame Construction
Dig post holes 30 inches deep, extending below the frost line for your zone. Pour 4 inches of crushed gravel for drainage. Set posts plumb using a level on two adjacent faces. Mix concrete to a 4:2:1 ratio of aggregate, sand, and Portland cement. Allow 48-72 hours for initial curing before attaching rails.

Secure horizontal rails between posts at 24-inch intervals. The top rail carries minimal load but provides attachment points for lattice. The bottom rail should clear soil level by 2 inches to prevent rot. Attach lattice panels with 1.5-inch screws every 12 inches along the perimeter. Leave 1/8-inch expansion gaps between panels.
Pro-Tip: Apply copper naphthenate wood preservative to cut ends and ground-contact areas. This fungicide prevents decay fungi colonization without leaching toxins that harm plant roots.
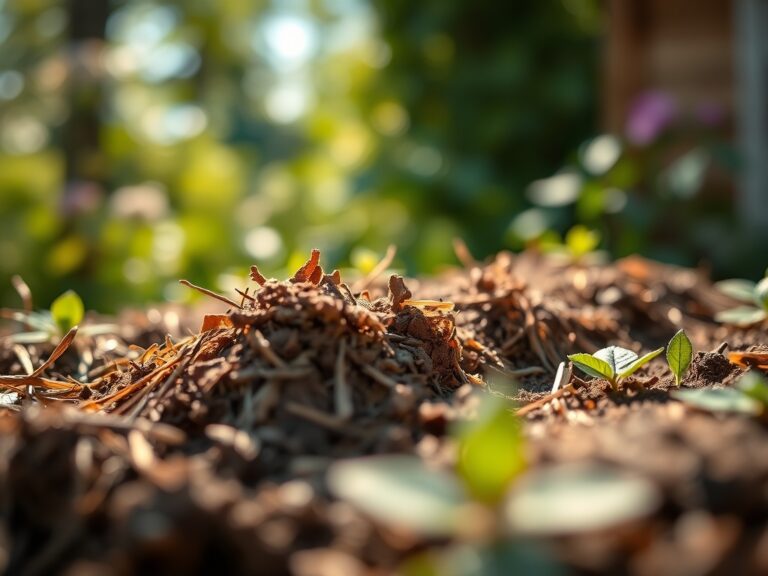
Soil Preparation and Planting
Excavate planting trenches 18 inches wide and 16 inches deep along the wall base. Remove compacted subsoil and replace with amended topsoil. Blend native soil with 30 percent compost by volume. Incorporate mycorrhizal inoculant at manufacturer-specified rates, typically 1 tablespoon per plant.
Space climbing plants according to mature spread: 24 inches for annual vines, 36-48 inches for clematis, 60-72 inches for wisteria. Plant woody perennials at the same depth they occupied in nursery containers. Bare-root roses require a planting cone that spreads roots downward at 45-degree angles, encouraging auxin distribution that promotes lateral root development.
Pro-Tip: Install drip irrigation tubing before mulching. Position emitters 6 inches from plant crowns to encourage root expansion away from the stem.
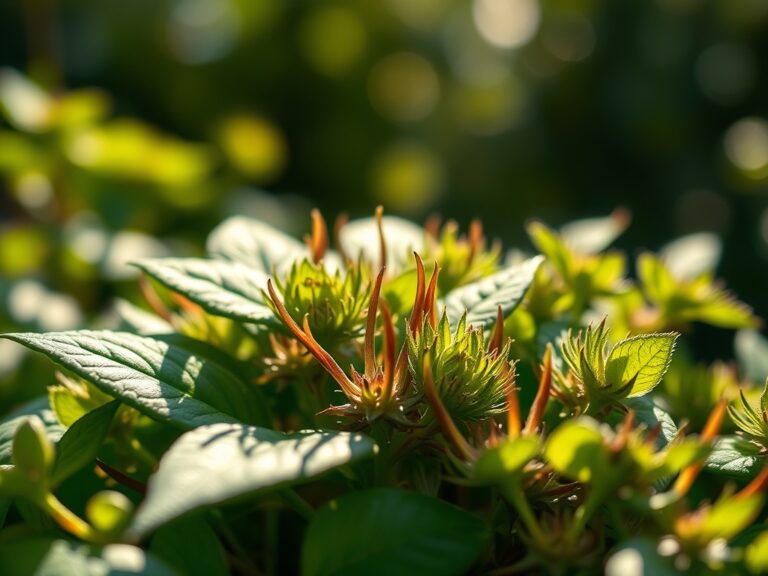
Training and Establishment
Guide stems through lattice openings at 30-45 degree angles during the first growing season. This angle maximizes auxin flow to lateral buds, producing dense branching rather than single vertical leaders. Use soft plant ties rather than wire, which girdles expanding stems.
Apply 3 inches of shredded bark mulch around plants, maintaining a 3-inch gap at stem bases to prevent crown rot. Mulch moderates soil temperature fluctuations by 8-12°F and reduces water loss by 30-40 percent.
Pro-Tip: Prune summer-blooming clematis to 12 inches in late winter. This hard pruning eliminates fungal overwintering sites and triggers vigorous spring growth from basal buds.
Troubleshooting
Symptom: Yellowing lower leaves with green veins on climbing hydrangea.
Solution: Iron chlorosis from alkaline soil. Apply chelated iron at 1 tablespoon per gallon monthly. Acidify soil with elemental sulfur at 1 pound per 100 square feet.
Symptom: White powdery coating on clematis foliage in late summer.
Solution: Powdery mildew thrives in low-airflow conditions. Thin interior stems by 20 percent. Apply potassium bicarbonate spray at 1 tablespoon per gallon weekly.
Symptom: Holes in lattice wood with sawdust piles beneath.
Solution: Carpenter bee excavation. Fill holes with wood putty. Paint or stain exposed wood, as bees avoid finished surfaces.
Symptom: Stem die-back on new wisteria growth in spring.
Solution: Late frost damage. Prune dead tissue to green wood. Maintain 4-inch mulch layer for root insulation.
Maintenance
Water established vines with 1 inch per week during active growth, measured by rain gauge or tuna can placed in the root zone. Deep watering every 5-7 days outperforms daily surface irrigation by encouraging roots to explore soil volumes 18-24 inches deep.
Fertilize annually in early spring with 4-4-4 organic blend at 2 pounds per 100 square feet. Side-dress established wisteria with 0-10-10 formulation in June to redirect energy from vegetative growth to flower bud initiation.
Inspect lattice joints each spring for loosening caused by freeze-thaw cycles. Retighten screws and replace cracked panels. Reapply wood preservative to exposed areas every three years.
FAQ
How far apart should lattice posts be spaced?
6-foot spacing provides adequate support for standard 4×8-foot lattice panels while resisting wind loads up to 30 mph.
Which climbing plants grow fastest for privacy?
Annual hyacinth bean reaches 15 feet in 90 days. Perennial trumpet vine achieves 8-10 feet in the first season.
Does lattice need to be treated for outdoor use?
Yes. Untreated pine degrades within 3-5 years. Use pressure-treated lumber or cedar with natural rot resistance.
Can lattice support heavy vines like wisteria?
Standard 1-inch lattice fails under mature wisteria weight. Install 2-inch thick panels or add cable supports.
How do I prevent lattice warping?
Prime and paint all surfaces before installation. Seal cut ends with wood preservative to block moisture absorption that causes dimensional changes.