8 Tips to Use a Systematic Repair List for Restoration
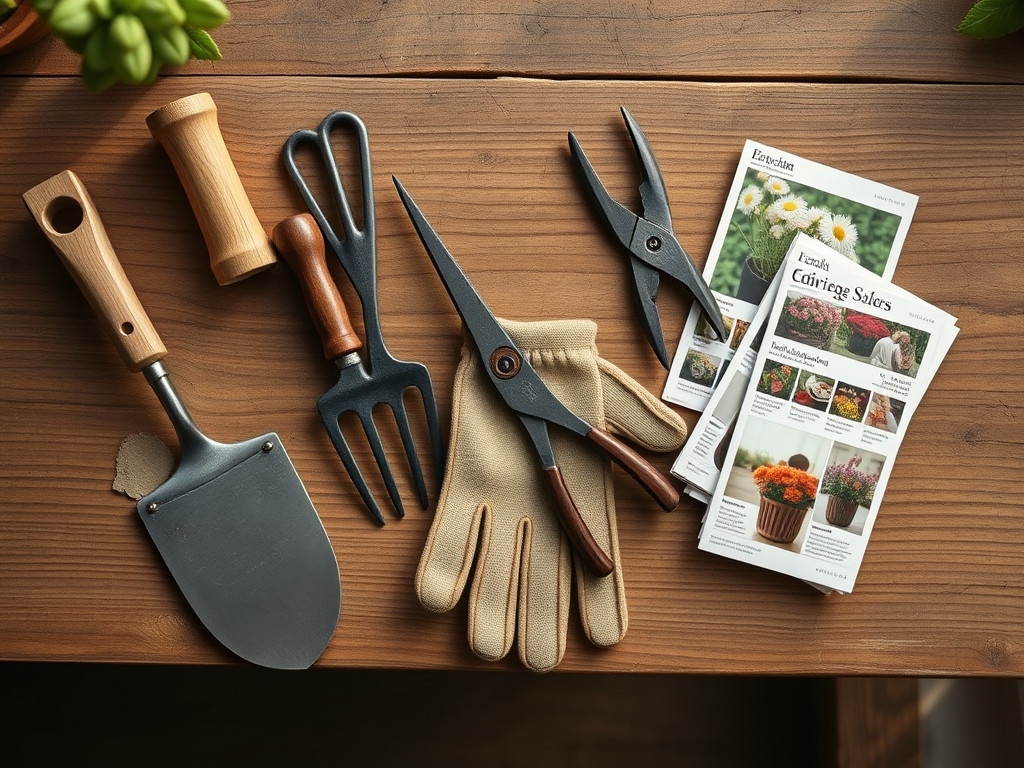
The smell of damp earth and the scent of crushed chlorophyll signal the start of a productive season. When a leaf maintains its turgor pressure, it resists the mechanical stress of wind and gravity. Maintaining this physiological state requires precision engineering of both the plant and the hardware used to manage it. Efficiency begins in the shed. Using a repair task for garden tools ensures that every cut is clean and every furrow is deep. A dull blade or a loose handle does more than slow the gardener; it causes ragged tissue tears that invite pathogens into the vascular system of the plant.
Restoration is a systematic process of returning a landscape to its peak biological output. It requires an understanding of the relationship between soil chemistry and mechanical intervention. A garden is a living laboratory where the Cation Exchange Capacity (CEC) determines how well your inputs are utilized. When you approach a restoration project, you are not merely planting; you are recalibrating a biological engine. This requires a rigorous audit of your equipment and your environment. If the tools are compromised, the botanical results will follow suit. Precision in the maintenance phase translates directly to vigor in the vegetative phase.
Materials:
The foundation of any restoration is the substrate. For most temperate species, you require a friable loam with a composition of 40 percent sand, 40 percent silt, and 20 percent clay. This balance ensures adequate pore space for oxygen diffusion while maintaining water-holding capacity. The ideal soil pH for nutrient bioavailability is 6.2 to 6.8. When the pH drops below 5.5, phosphorus becomes chemically locked, making it unavailable to the root system regardless of application rates.
Nutrient management must be data-driven. A standard restoration baseline often utilizes an NPK ratio of 10-10-10 for general establishment. However, if you are targeting root development in woody perennials, shift to a 5-10-5 ratio to prioritize phosphorus over nitrogen-driven leaf flushing. High-quality organic matter should be incorporated until the soil reaches a 5 percent organic carbon content. This level supports a robust microbial community that facilitates the breakdown of minerals into ionic forms that the rhizosphere can absorb.
Timing:
Timing is dictated by the Hardiness Zone and the local frost-free window. In Zones 5 through 7, the restoration window typically opens when soil temperatures consistently hit 55 degrees Fahrenheit. Planting before this threshold risks root rot as metabolic processes are too slow to utilize available moisture. You must monitor the photoperiod; as day length increases, plants transition from the vegetative stage to the reproductive stage.
The "Biological Clock" is a hormonal response to light and temperature. For restoration, you want to intervene during the early vegetative phase when auxin production is at its peak in the apical meristems. This ensures that the plant has sufficient time to establish a root-to-shoot ratio that can survive the transpirational demands of the summer solstice. In many regions, this means a primary work window between March 15 and May 10.
Phases:
Sowing
Direct sowing requires a seedbed that has been cleared of all competitive debris. The depth of the seed should be roughly two to three times its diameter. For fine seeds, surface sowing followed by a light dusting of vermiculite is necessary to allow light-induced germination. Pro-Tip: Proper seed-to-soil contact is essential for imbibition, the process where the seed absorbs water to trigger metabolic activity. Without this physical connection, the seed remains dormant or desiccates.
Transplanting
When moving a plant from a container to the ground, the hole must be twice as wide as the root ball but no deeper. If the plant is set too deep, the stem tissue may suffer from anaerobic decay. Pro-Tip: Mycorrhizal fungi inoculation during transplanting creates a mycorrhizal symbiosis. These fungi extend the reach of the root system by hundreds of times, significantly increasing the uptake of water and immobile nutrients like phosphorus.
Establishing
The first 21 days are the most critical for establishment. The goal is to minimize transplant shock by maintaining consistent moisture levels. Pro-Tip: Use a hori-hori knife to prune any circling roots before planting. This breaks apical dominance in the root tips and encourages lateral branching, which leads to a more stable and expansive root architecture.
The Clinic:
Physiological disorders often mimic disease but are usually rooted in environmental or nutritional imbalances.
Symptom: Interveinal Chlorosis
This appears as yellowing between the leaf veins while the veins remain green.
Solution: This is typically an Iron (Fe) or Magnesium (Mg) deficiency. If it appears on new growth, it is likely Iron; if on old growth, it is Magnesium. Apply a chelated mineral spray to bypass soil lock-up.
Symptom: Blossom End Rot
A dark, leathery spot appears on the base of the fruit.
Solution: This is caused by a Calcium (Ca) deficiency, often triggered by inconsistent watering. Maintain a steady moisture level to ensure the plant can transport calcium through the xylem to the developing fruit.
Symptom: Leaf Scorch
The edges of the leaves turn brown and crispy.
Solution: This indicates high transpiration stress. The plant is losing water faster than the roots can provide it. Increase irrigation and provide temporary shade during the peak heat of the day (12:00 PM to 4:00 PM).
Fix-It: Nitrogen Chlorosis
General paling of the entire plant, starting with the lower leaves. Apply a high-nitrogen fertilizer (e.g., blood meal or 21-0-0) to boost chlorophyll production and restore the deep green color.
Maintenance:
Precision maintenance prevents the need for future restoration. Plants require approximately 1.5 inches of water per week delivered at the drip line. Avoid overhead watering to prevent the spread of fungal spores. Use a soil moisture meter to verify that the water is penetrating at least 6 inches into the soil profile.
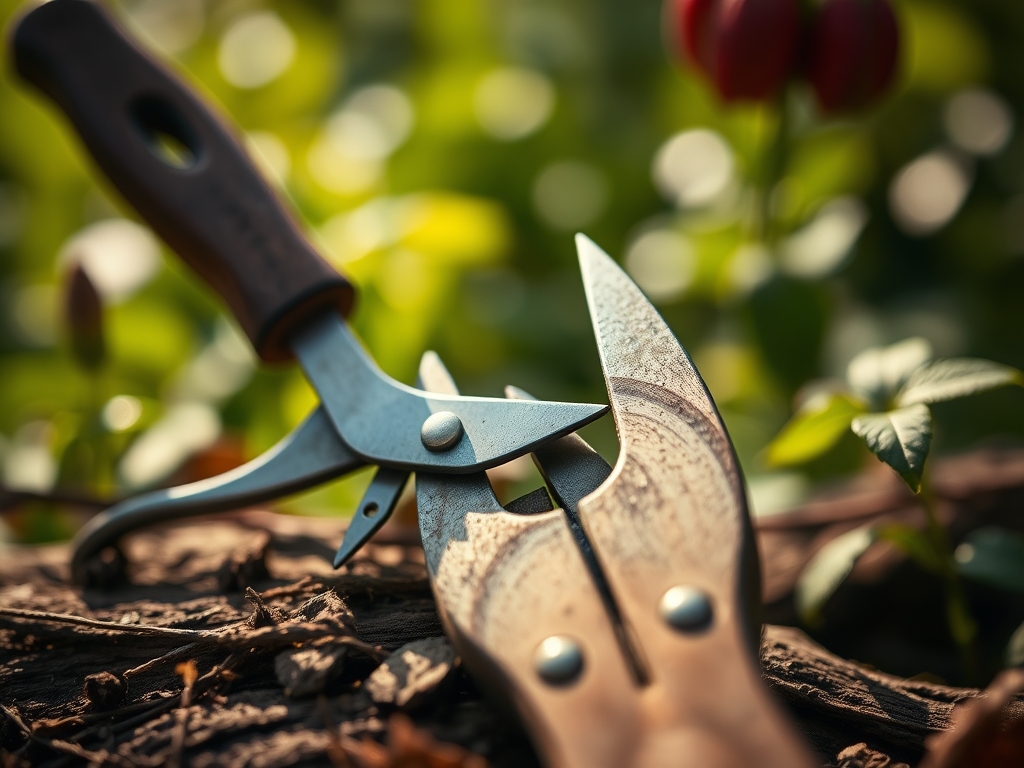
Tool hygiene is non-negotiable. After every use, clean your bypass pruners with a 70 percent isopropyl alcohol solution to prevent the cross-contamination of pathogens like Fusarium or Verticillium wilt. Sharpen your blades using a diamond file at a 20-degree angle. A sharp tool produces a clean cut that the plant can callus over quickly; a dull tool crushes the vascular cambium, leading to localized necrosis.
The Yield:
Harvesting is the final stage of the restoration cycle. For maximum shelf life and nutrient density, harvest in the early morning when the plant is at maximum turgidity. Use a sharp hori-hori knife to make clean cuts. Once harvested, the plant enters senescence, where it begins to break down its own tissues. To slow this process, immediately reduce the field heat by placing the harvest in a cool, shaded area or a hydro-cooling bath. This preserves the cellular structure and ensures "day-one" freshness for several days.
FAQ:
How often should I sharpen my garden tools?
Sharpen blades every 10 hours of use or at the start of every season. Sharp edges ensure clean cuts that heal faster and prevent the entry of pathogens into the plant's vascular system.
What is the best way to fix compacted soil?
Incorporate organic matter like compost to a depth of 8 inches. This improves the Cation Exchange Capacity (CEC) and creates macropores for oxygen and water movement, which are essential for healthy root respiration.
Why are my plant leaves turning yellow?
Yellowing, or chlorosis, is usually a sign of nitrogen deficiency or overwatering. Check soil moisture with a meter. If the soil is dry, apply a high-nitrogen fertilizer to restore chlorophyll levels and plant vigor.
When is the best time to prune woody shrubs?
Prune during the dormant season, typically late winter or early spring before bud break. This minimizes sap loss and allows the plant to direct its spring energy surge toward healing the pruning wounds.