9 Steps to Clean a Metal Garden Trowel After Use
Damp earth carries a sharp, metallic scent when iron meets mineral-rich soil; it is the smell of a functional rhizosphere. Maintaining the turgor of a healthy leaf requires more than just irrigation; it demands sterile, sharp tools that prevent the transmission of soil-borne pathogens like Fusarium or Phytophthora. Implementing rigorous steps for cleaning a garden trowel after use ensures that every plunge into the soil remains a surgical action rather than a vector for disease. Neglecting tool hygiene allows sap and moisture to oxidize the steel, leading to pitting that traps fungal spores. A clean blade slides through friable loam with minimal resistance, preserving the delicate root hairs of developing seedlings.
Materials:
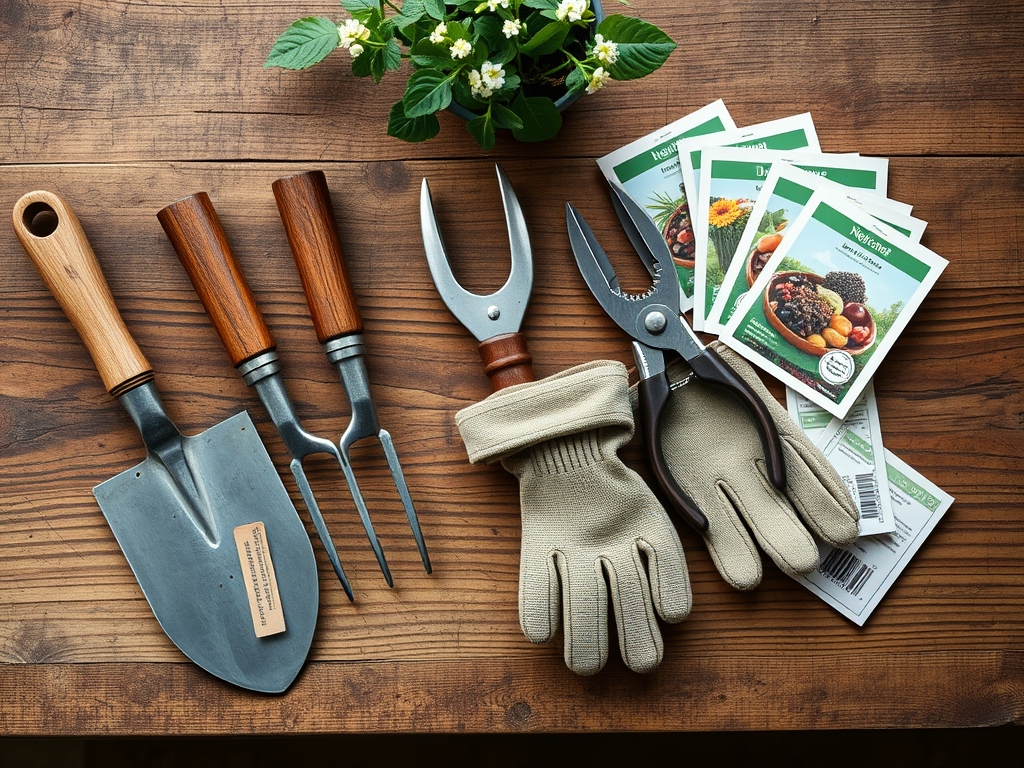
The efficiency of a trowel is dictated by the substrate it penetrates. In a **friable loam** with a **pH of 6.5**, the Soil Cation Exchange Capacity (CEC) is typically high, meaning the soil particles hold tightly to nutrients and, unfortunately, to your metal tools. To manage this, you require a cleaning station equipped with a five-gallon bucket filled with coarse builder’s sand and **32-ounce mineral oil**. For disinfection, utilize a **10 percent bleach solution** or **70 percent isopropyl alcohol**. If your soil has a high clay fraction, a stiff-bristled wire brush is mandatory to remove dried colloidal particles. When working in beds with an **NPK ratio of 10-10-10**, salt accumulation on the metal can accelerate galvanic corrosion; therefore, a dedicated microfiber cloth for buffing is essential.
Timing:
Tool maintenance must align with the horticultural calendar. In Hardiness Zones 5 through 7, the primary cleaning window occurs between the first frost and the deep freeze, typically from October to November. This precedes the "Biological Clock" transition where perennial plants move from active transpiration to dormant senescence. Cleaning must happen immediately after use to prevent the hardening of polysaccharides and lignins found in plant sap. During the spring "flush," when auxin levels are highest and vegetative growth is rapid, tools must be sanitized between every bed to prevent the spread of viral mosaics. Failure to clean tools before the soil temperature reaches 55 degrees Fahrenheit can result in the accidental inoculation of cool-season crops with overwintering oomycetes.
Phases:

The following steps for cleaning a garden trowel after use provide a technical framework for tool longevity and plant health.
Sowing
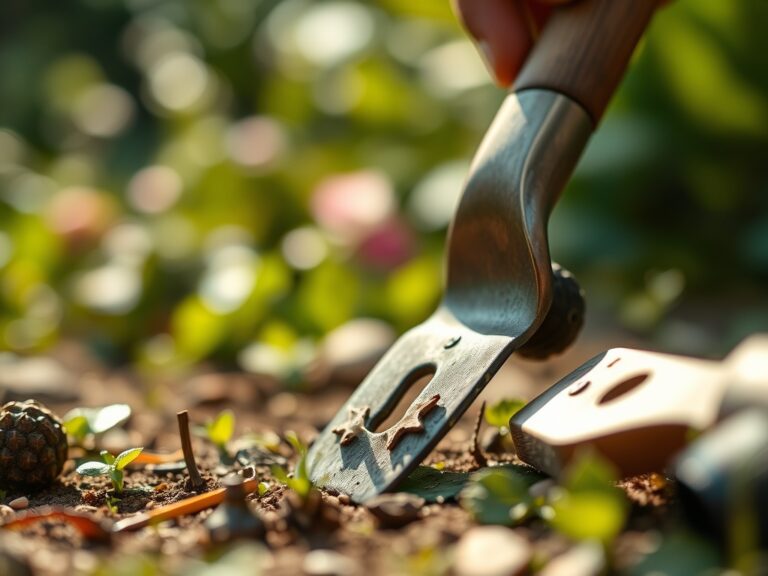
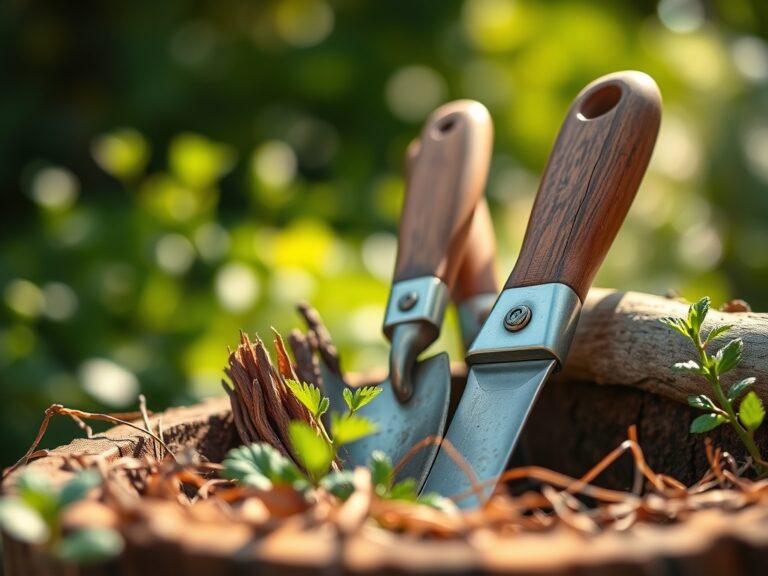
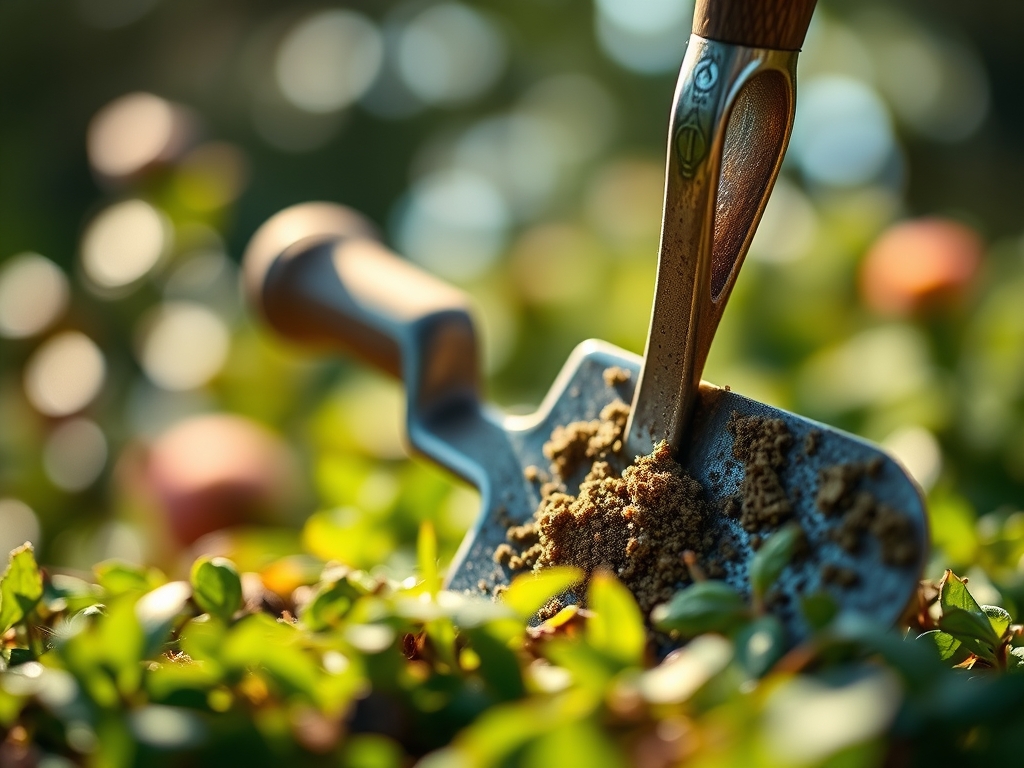
The first step involves mechanical removal. Use a hori-hori knife or a wooden spatula to scrape away large clods of earth. This prevents the abrasive particles from scratching the protective coating of the steel during the washing phase.
Pro-Tip: Removing soil prevents the disruption of the rhizosphere. If pathogens from a previous sowing remain on the tool, they can cause "damping off" in new seeds by introducing Pythium fungi directly into the furrow.
Transplanting
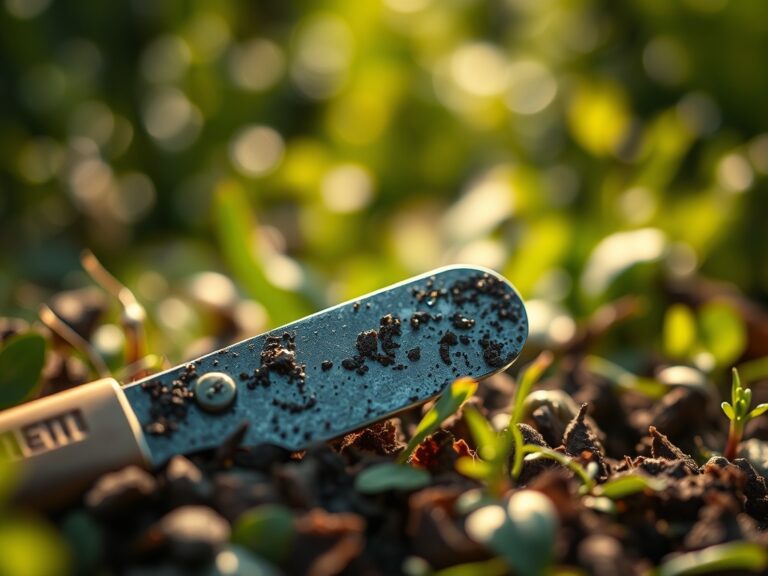
Wash the trowel in a bucket of warm, soapy water. Use a firm scrub brush to reach the neck of the tool where the tang meets the handle. This area often harbors moisture, leading to structural failure via rust. Dry the tool immediately with a lint-free rag.
Pro-Tip: Drying the tool prevents anaerobic oxidation. Metal surfaces that remain damp encourage the growth of anaerobic bacteria that can be transferred to the root zone of a transplant, causing immediate root shock and reduced turgor pressure.
Establishing
The final phase is the oil dip. Submerge the metal blade into the sand and oil mixture three to five times. This coats the steel in a hydrophobic layer that prevents oxygen from reacting with the iron. Store the tool in a vertical position to allow excess oil to drain.
Pro-Tip: The oil barrier prevents cationic bonding between the metal and the soil. A smooth, oiled surface reduces friction, which minimizes the physical force required to dig, thereby protecting the delicate mycorrhizal symbiosis in the established soil structure.
The Clinic:
When tools are neglected, the garden exhibits specific physiological disorders.
- Symptom: Localized necrotic spots on stems following a transplant.
- Solution: Sterilize the trowel with isopropyl alcohol between every plant to stop the mechanical transmission of tobacco mosaic virus.
- Symptom: Stunted growth and yellowing of lower leaves (Nitrogen chlorosis) despite high NPK inputs.
- Solution: Check for soil compaction caused by blunt, dirty tools. Sharpen the trowel edge to a 45-degree bevel to ensure clean cuts through the soil profile.
- Symptom: Orange, powdery pustules on the underside of foliage.
- Solution: This indicates Rust Fungi. Deep clean the trowel using a 3 percent hydrogen peroxide soak for ten minutes to kill dormant spores.
- Fix-It: For tools showing active rust, use a medium-grit sanding block to remove the oxidation. Re-season the metal with a food-grade linseed oil to prevent further degradation.
Maintenance:
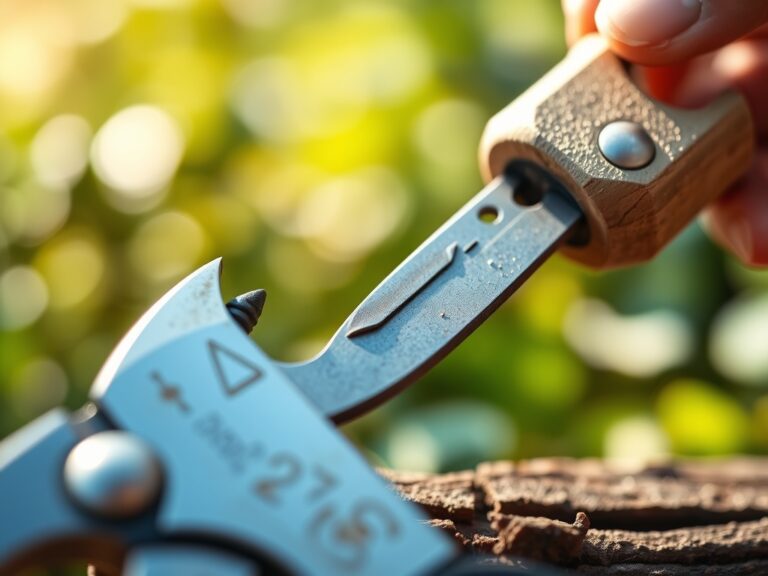
A professional gardener treats a trowel like a surgical instrument. Beyond the daily cleaning, perform a deep inspection every 30 days. Use a soil moisture meter to ensure your storage area remains below 40 percent humidity. For irrigation, ensure your garden receives 1.5 inches of water per week at the drip line; however, keep your tools away from this moisture. Use bypass pruners to trim any roots that the trowel cannot easily slice. If the trowel handle is wooden, sand it annually and apply a coat of tung oil to prevent splintering and the absorption of moisture that can lead to fungal rot within the handle itself.
The Yield:
While a trowel is a digging tool, its cleanliness directly impacts the yield of root crops like carrots or parsnips. When harvesting, a clean, sharp trowel allows you to lift the crop without bruising the epidermis. Any nick in the skin of a root vegetable triggers the release of ethylene, which accelerates senescence and rot. For "day-one" freshness, harvest during the cool of the morning when cell turgidity is at its peak. Use the trowel to loosen the soil 3 inches away from the crown to avoid mechanical damage to the taproot.
FAQ:
How often should I sanitize my garden trowel?
Sanitize your trowel after every use, especially when moving between different plant families. Use a 10 percent bleach solution or 70 percent alcohol to eliminate soil-borne pathogens and prevent cross-contamination across your garden beds.
What is the best oil for garden tool maintenance?
Mineral oil or linseed oil are the industry standards. Avoid vegetable oils as they can become rancid and attract pests. These oils create a hydrophobic barrier that prevents oxidation and rust on high-carbon steel blades.
Can I use a wire brush on my stainless steel trowel?
Yes, but use a brass-bristled brush for stainless steel to avoid scratching the surface. Scratches create microscopic valleys where moisture and fungal spores can accumulate, making the tool harder to sterilize in the future.
Why is my trowel handle loosening?
This is often caused by fluctuating humidity. Wood expands and contracts, weakening the bond with the metal tang. Store tools in a climate-controlled area and treat wooden handles with oil to maintain a consistent internal moisture level.