6 Steps to Install a Professional Garden Privacy Screen
Crushed pine needles and damp humus release a sharp, acidic scent as you break ground for a permanent perimeter. A healthy plant maintains high turgor pressure; its cells are rigid and swollen with water; and this internal force is what allows a living wall to stand defiant against wind and sightlines. Mastery of the steps for installing a garden screen begins with understanding that you are not just placing objects in a row. You are engineering a biological barrier that must withstand environmental stressors while maintaining structural integrity. Success requires precise site preparation and a deep understanding of the rhizosphere.
Materials:
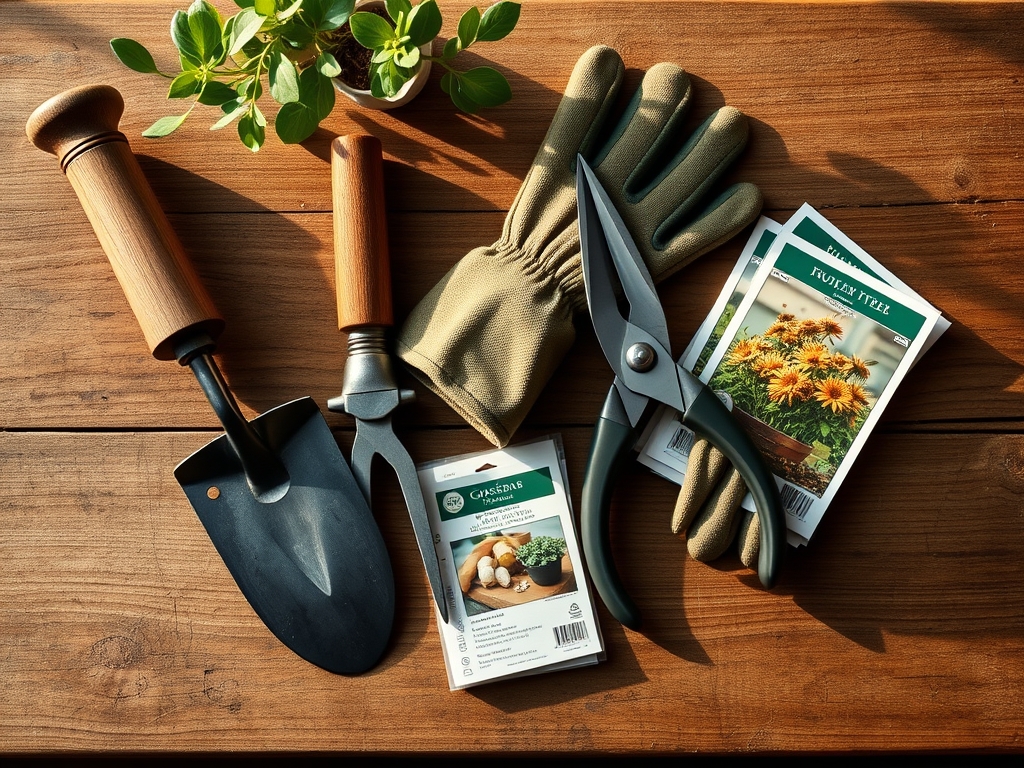
The foundation of any screening project is the substrate. You require a **friable loam** with a granular structure that allows for rapid gas exchange. Ideal soil for most screening species, such as *Thuja* or *Taxus*, should maintain a **pH between 6.0 and 7.0**. High Cation Exchange Capacity (CEC) is vital; a rating of **20 to 30 meq/100g** ensures the soil can hold and release essential nutrients.
For the initial planting phase, utilize a slow-release fertilizer with an NPK ratio of 10-10-10 to support balanced root and shoot development. Avoid high-nitrogen formulas during the first 60 days to prevent leggy growth that lacks structural lignin. You will also need mycorrhizal inoculants to enhance nutrient uptake and a soil moisture meter to monitor the transition from the nursery pot to the native earth.
Timing:
Installation windows are dictated by the Hardiness Zones and the local frost-free date. In Zones 5 through 7, the optimal window is early spring or late autumn when the plant is in a state of dormancy or early vegetative growth. This timing aligns with the biological clock of the plant; by planting before the transition to the high-demand reproductive stage, you allow the specimen to focus all metabolic energy on root establishment.
Planting when soil temperatures reach a consistent 50 to 55 degrees Fahrenheit ensures that root respiration is active enough to repair transplant shock. Avoid planting during peak summer; high evapotranspiration rates can lead to cellular collapse before the root system can bridge the gap between the root ball and the surrounding soil.
Phases:

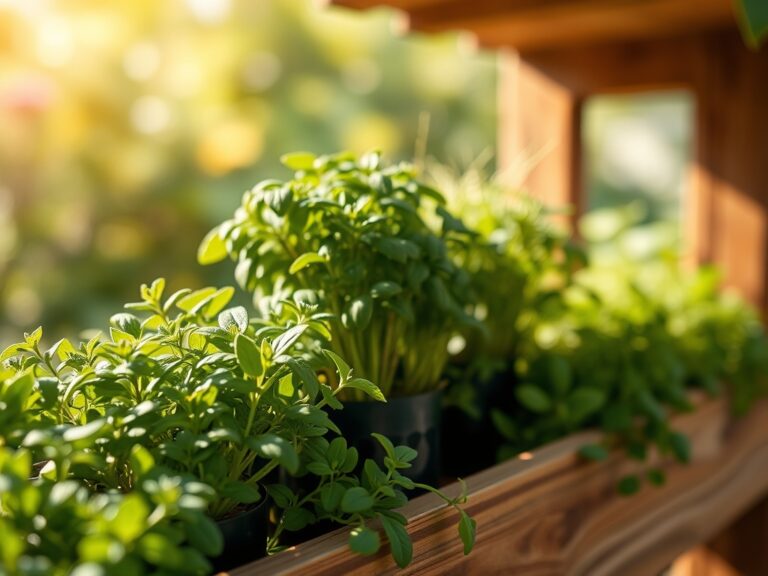
Sowing and Selection
If starting from seed, ensure a stratification period of 30 to 90 days depending on the species. For most professional screens, however, you will start with "Balled and Burlapped" (B&B) stock. Inspect the specimens for a thick central leader and healthy lateral branching. The root ball should be at least 12 inches in diameter for every 1 inch of trunk caliper.
Pro-Tip: Ensure the root flare is visible at the soil surface. This prevents stem girdling and allows for proper gas exchange at the base of the trunk. Biological Why: Oxygen must reach the root tissues to drive aerobic respiration; burying the flare inhibits this and leads to anaerobic decay.
Transplanting
Dig a trench or individual holes two to three times wider than the root ball but no deeper. This creates a zone of loosened soil that encourages lateral root expansion. Space plants based on their mature width; for a dense screen, overlap the predicted spread by 15 to 20 percent.
Pro-Tip: Use a hori-hori knife to score the sides of the root ball if the plant is pot-bound. Biological Why: Breaking the circular growth pattern disrupts the "circling root" habit and stimulates the production of lateral roots via auxin suppression at the severed tips, forcing the plant to explore the new soil volume.
Establishing
Once the specimens are in the ground, backfill with native soil. Avoid heavy amendments in the hole, as this creates an "aquarium effect" where roots refuse to leave the rich pocket. Firm the soil to remove large air pockets but do not compact it; compaction reduces the macropores necessary for drainage.
Pro-Tip: Apply a 3-inch layer of organic mulch, keeping it 2 inches away from the trunk. Biological Why: Mulch regulates soil temperature and moisture while supporting mycorrhizal symbiosis, a fungal relationship that increases the effective surface area of the roots for phosphorus uptake.
The Clinic:
Physiological disorders often mimic disease. Use this diagnostic guide to identify and correct issues during the first two growing seasons.
- Nitrogen Chlorosis: Older leaves turn pale yellow while veins remain slightly green. Fix-It: Apply a water-soluble fertilizer with a high Nitrogen (N) value to restore chlorophyll production.
- Desiccation: Needle browning or leaf scorch at the margins. This is often caused by high winds or frozen soil. Fix-It: Increase irrigation to 2 inches per week and apply an anti-desiccant spray to the foliage to reduce transpiration.
- Iron Deficiency: New growth appears yellow or white while older growth stays green. This usually indicates a pH above 7.5. Fix-It: Lower the pH using elemental sulfur or apply chelated iron.
- Root Hypoxia: Wilting despite wet soil. This is caused by overwatering or poor drainage. Fix-It: Stop irrigation immediately and use a soil probe to check for anaerobic odors (sulfur smell).
Maintenance:
A professional screen requires disciplined hydration. Provide 1.5 inches of water per week delivered at the drip line. Use a soil moisture meter to ensure the root zone is moist at a depth of 8 to 10 inches.
Pruning should be performed with sharp bypass pruners to ensure clean cuts that heal rapidly. For evergreen screens, prune in late winter before the first flush of growth. For deciduous screens, prune after the leaves have fully expanded to manage the photoperiod response. Always sanitize your tools with a 70 percent isopropyl alcohol solution between plants to prevent the mechanical transfer of pathogens.
The Yield:
While the "yield" of a privacy screen is functional (density and height), the health of the foliage determines its effectiveness. For flowering screens like Viburnum, harvest spent blooms to redirect energy from seed production back into vegetative biomass. If you are harvesting cuttings for propagation, take 6-inch terminal cuttings in the morning when turgor pressure is highest. Place them immediately in a cooler to maintain "day-one" freshness and prevent cellular wilting before they reach the rooting medium.
FAQ:
How far apart should I space screen plants?
Space plants at 75 to 80 percent of their mature width. This ensures the canopies knit together within three growing seasons without causing excessive competition for light and soil nutrients in the rhizosphere.
How much water does a new screen need?
Deliver 1.5 to 2 inches of water per week during the first two years. Use a drip irrigation system to apply water directly to the root zone, ensuring moisture reaches a depth of 12 inches.
What is the best soil pH for privacy hedges?
Most coniferous and deciduous screening plants thrive in a pH range of 6.0 to 7.0. Test your soil annually; if the pH exceeds 7.5, apply elemental sulfur to prevent micronutrient lockout.
When is the best time to prune for density?
Prune in late winter or early spring before new buds break. This timing utilizes the plant's stored energy reserves to stimulate lateral branching, which increases the opacity and density of the screen.
Why are the interior needles of my screen turning brown?
This is often senescence, a natural shedding of old interior foliage that no longer receives adequate sunlight. If the browning is localized to new growth, check for spider mites or nitrogen deficiency.