7 Sizing Steps for Repotting a Rubber Tree
The scent of damp, anaerobic peat and the distinct latex musk of a severed Ficus elastica stem signal a critical transition in the life cycle of your plant. A healthy rubber tree maintains high turgor pressure; its leaves should feel like stiff, cool leather under your palm. When growth stalls and roots begin to circle the interior of the pot, the plant enters a state of physiological stress that requires immediate intervention. Mastering the steps for repotting a rubber tree ensures that the rhizosphere remains oxygenated and the vascular system continues to transport nutrients efficiently. Neglecting this process leads to root-bound stagnation, where the plant consumes its own energy reserves to survive in a depleted environment. By following precise horticultural protocols, you can facilitate a seamless transition into a larger vessel, allowing the root system to expand and support a taller, more robust canopy. This guide provides the technical framework necessary to execute a successful repotting, focusing on soil chemistry, mechanical handling, and post-transplant recovery.
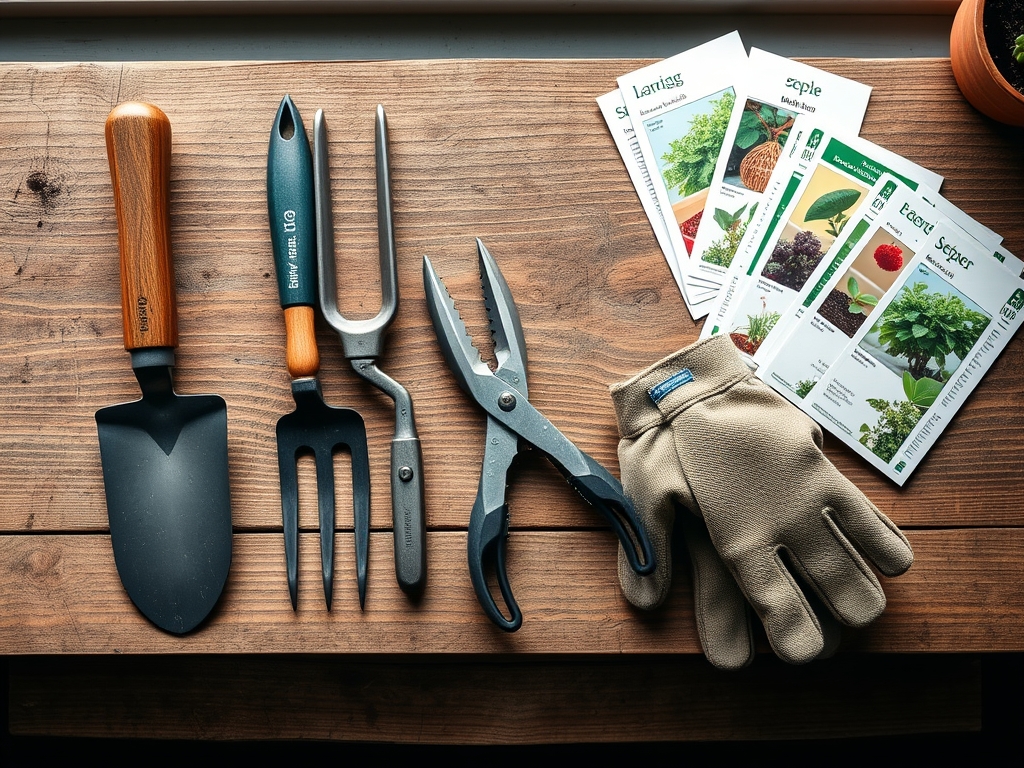
Materials:
The ideal substrate for Ficus elastica is a friable loam that balances moisture retention with rapid drainage. Aim for a **soil pH between 6.0 and 7.0** to ensure maximum nutrient bioavailability. Your potting mix should consist of **40 percent peat moss or coconut coir, 30 percent perlite, and 30 percent pine bark**. This configuration prevents compaction and maintains a high Cation Exchange Capacity (CEC), allowing the roots to access essential minerals.
For initial establishment, integrate a slow-release fertilizer with an NPK ratio of 10-10-10. This balanced ratio supports root development, stem strength, and foliar expansion simultaneously. Avoid high-nitrogen mixes during the repotting phase, as excessive nitrogen can trigger rapid, weak growth that the shocked root system cannot yet support. Ensure you have a pot that is 2 to 3 inches wider in diameter than the current container, equipped with at least two drainage holes to prevent waterlogging.
Timing:
Ficus elastica is native to tropical regions and thrives in USDA Hardiness Zones 10 through 12. For those growing the plant indoors in cooler climates, the biological clock is governed by the photoperiod. The optimal window for repotting is late spring or early summer, specifically 14 to 21 days after the last frost date when ambient light levels increase.
During this period, the plant transitions from a semi-dormant winter state to active vegetative growth. The increase in light intensity triggers the production of auxins, the hormones responsible for root initiation and elongation. Repotting during this metabolic surge allows the rubber tree to colonize the new substrate quickly. Avoid repotting during the winter solstice or late autumn, as the plant enters senescence and lacks the metabolic energy to repair root tissue damaged during the move.
Phases:

Sowing the Foundation
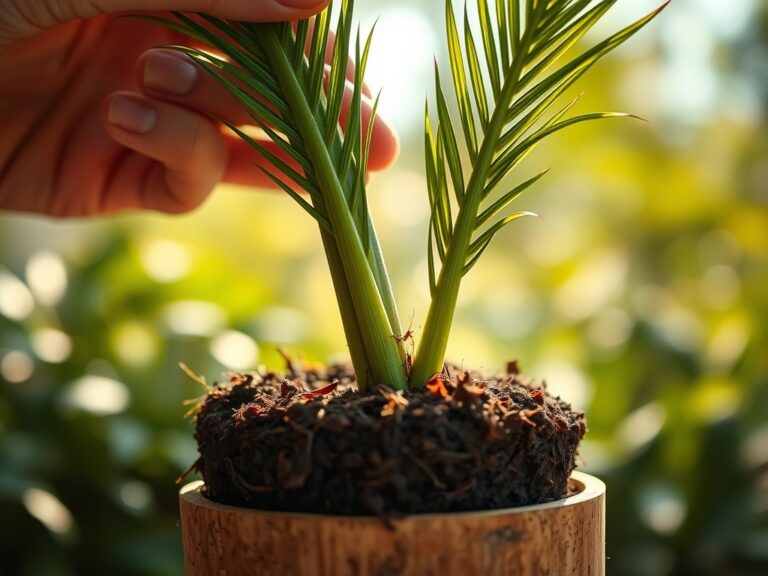
Begin by hydrating the plant 24 hours prior to the move. This ensures the cells are at full turgor, making the plant more resilient to mechanical stress. Prepare the new container by placing a layer of the friable loam at the bottom, approximately 3 inches deep. Ensure the soil is moist but not saturated.
Pro-Tip: Proper hydration before repotting prevents "transplant shock" by maintaining hydraulic conductance within the xylem. This allows the plant to continue transpiration even if the roots are temporarily disturbed.
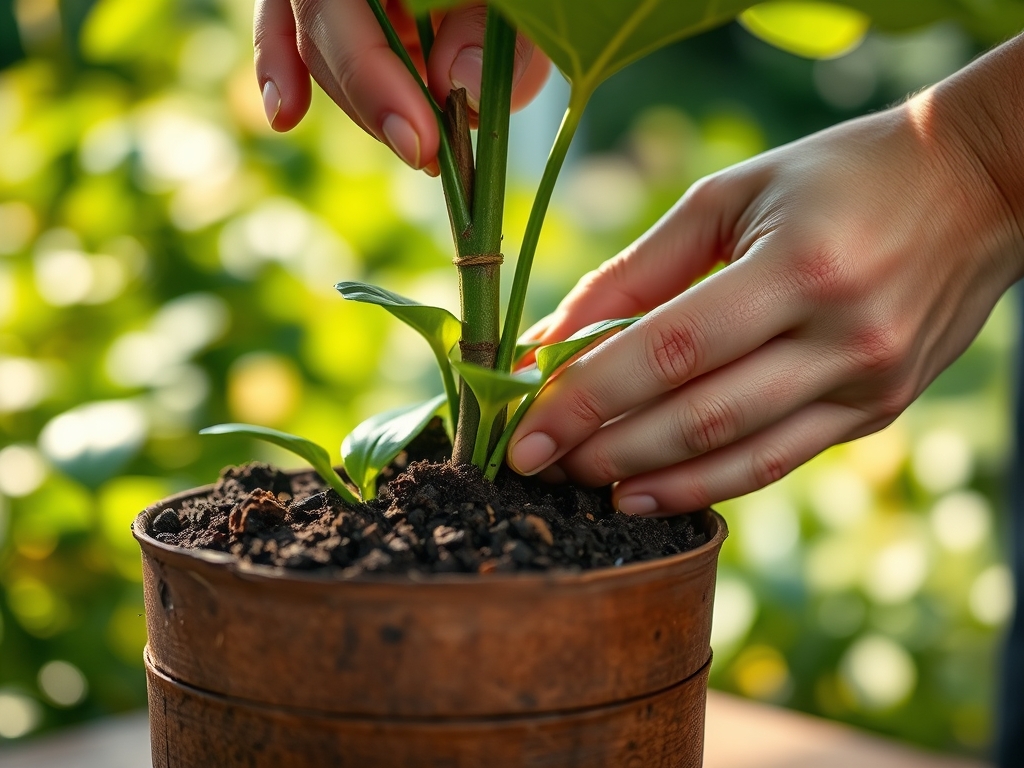
Transplanting and Root Pruning
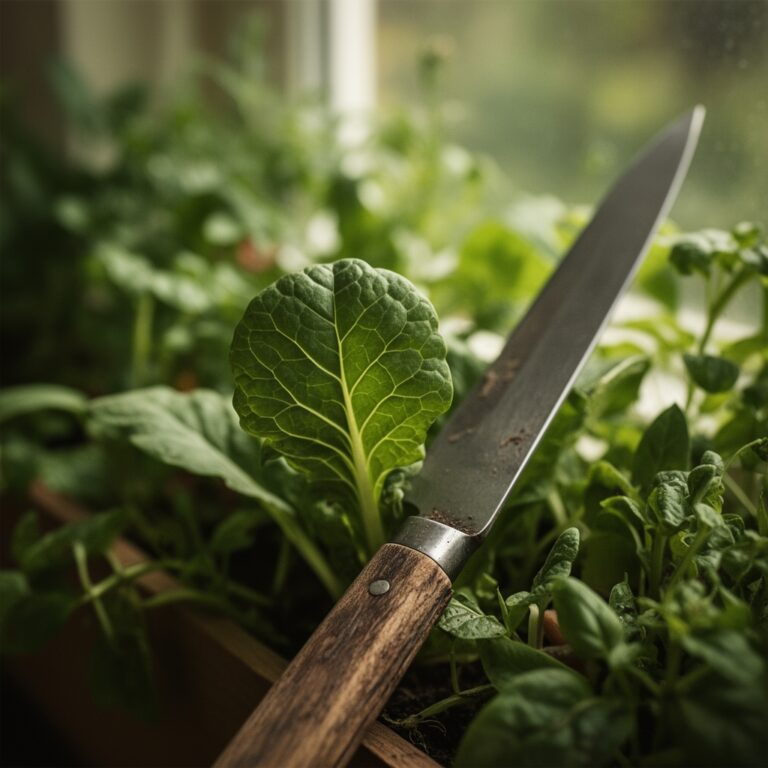
Invert the pot and support the main trunk between your fingers. If the plant is stuck, use a hori-hori knife to slide along the inner circumference of the pot to break the suction. Once removed, inspect the root ball. If roots are "girdling" or circling the base, use bypass pruners to make three to four vertical incisions 0.5 inches deep around the root mass.
Pro-Tip: Pruning circling roots disrupts apical dominance in the root tips. This stimulates the production of lateral roots, which increases the surface area for nutrient absorption through a process known as root branching.
Establishing the New Environment
Center the rubber tree in the new pot. The top of the root ball should sit 1 inch below the rim of the container to allow for efficient watering. Fill the lateral gaps with your NPK-enriched substrate, tamping down lightly with your knuckles to eliminate large air pockets without compacting the soil.
Pro-Tip: Eliminating air pockets ensures "root-to-soil contact," which is essential for mycorrhizal symbiosis. This fungal relationship helps the plant absorb phosphorus and water more effectively than roots alone.
The Clinic:
Physiological disorders often manifest immediately following a change in environment. Monitor your rubber tree for these specific symptoms:
- Symptom: Lower leaves turning yellow and dropping (Chlorosis).
Solution: This typically indicates Nitrogen deficiency or overwatering. Check the soil moisture. If the soil is dry, apply a liquid 10-10-10 fertilizer at half strength. - Symptom: Leaf margins turning brown and crispy.
Solution: This is a sign of low humidity or salt buildup in the substrate. Flush the soil with distilled water until it runs clear from the drainage holes. - Symptom: Drooping leaves despite moist soil.
Solution: This indicates root rot (Phytophthora). Remove the plant, prune away blackened, slimy roots, and repot in a fresh, sterile medium with higher perlite content.
Fix-It for Nitrogen Chlorosis: If the entire leaf turns pale green or yellow, the plant is scavenging nitrogen from old growth to support new buds. Apply 0.5 teaspoons of urea-based fertilizer per gallon of water to restore the nitrogen gradient.
Maintenance:
Post-repotting care requires surgical precision. Use a soil moisture meter to monitor the rhizosphere; do not water until the top 2 inches of soil register as dry. Generally, a rubber tree requires 1.5 inches of water per week, delivered directly to the soil surface to avoid wetting the foliage, which can encourage fungal pathogens.
Place the plant in a location with bright, indirect light, approximately 3 to 5 feet from a south-facing window. Use your hori-hori knife to occasionally aerate the top inch of soil, preventing the formation of a hydrophobic crust. Wipe the leaves with a damp cloth every 14 days to remove dust, ensuring the stomata remain unobstructed for gas exchange.
The Yield:
While Ficus elastica is primarily grown for its architectural foliage, its "yield" is measured in leaf count and height. To maximize foliar density, prune the apical bud (the very top spike) once the plant reaches your desired height. This suppresses auxin flow down the main stem and forces the plant to divert energy to axillary buds, resulting in a bushier, more branched appearance. When pruning, wear gloves to protect your skin from the caustic latex sap, and use sharp bypass pruners to make clean, 45-degree cuts.
FAQ:
How do I know when to repot my rubber tree?
Inspect the drainage holes. If roots protrude or the plant requires watering more than twice a week, it is root-bound. Growth stagnation and water sitting on the soil surface also indicate the need for a larger vessel.
What is the best soil for a rubber tree?
Use a well-draining, peat-based mix with a pH of 6.0 to 7.0. A blend of 40% peat, 30% perlite, and 30% bark provides the necessary aeration and cation exchange capacity for healthy root respiration.
Can I use a pot without drainage holes?
No. Ficus elastica is highly susceptible to root rot. Without drainage, water displaces oxygen in the soil, leading to anaerobic conditions that kill root tissues and cause the plant to collapse.
Should I fertilize immediately after repotting?
Wait 4 to 6 weeks before applying liquid fertilizer. The new potting soil usually contains enough nutrients for initial establishment. Introducing high salt concentrations too early can burn the sensitive, newly forming root hairs.