8 No-Till Steps to Prepare a No-Till Vegetable Garden
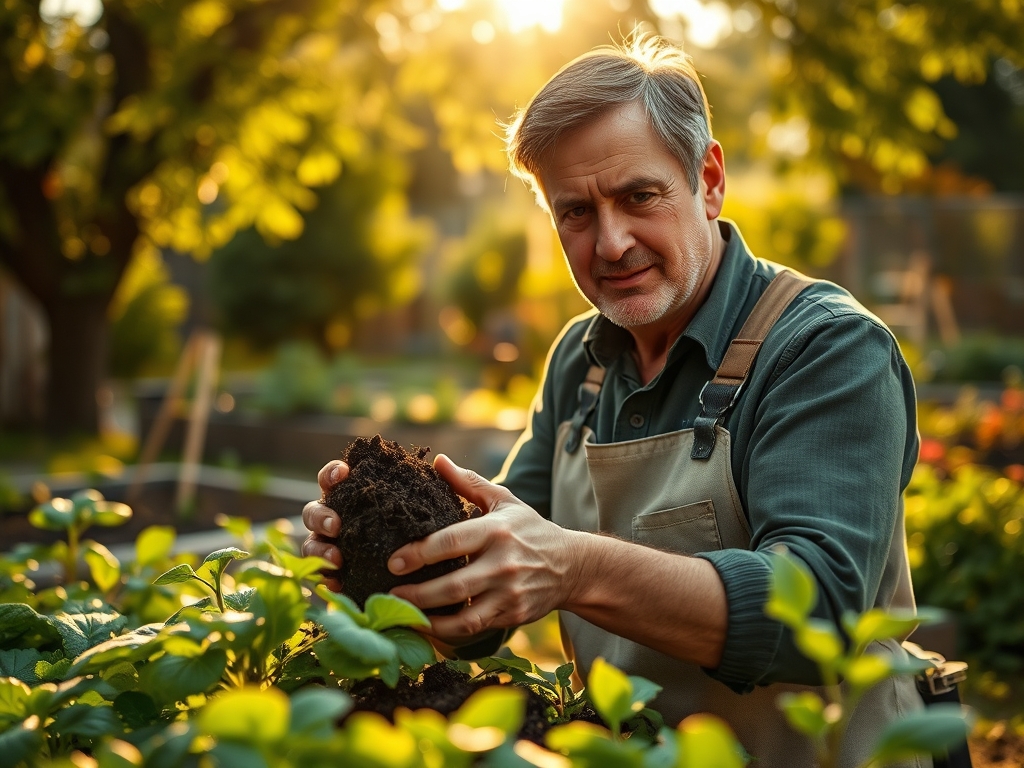
The smell of damp earth after a rain is the scent of geosmin; it is the olfactory signature of a thriving microbial community. When you grasp a handful of soil and it crumbles without sticking, you are feeling the structural integrity of a stable rhizosphere. Learning how to prepare a garden for a no till vegetable garden requires a shift from mechanical force to biological management. Traditional tilling destroys the fungal hyphae that transport nutrients; no-till methods preserve these networks to maximize plant turgor and nutrient density. By avoiding the inversion of soil horizons, you maintain the vertical integrity of the soil profile. This process ensures that aerobic bacteria remain in the oxygen-rich upper layers while anaerobic organisms stay deep within the subsoil. Success depends on the gradual accumulation of organic matter and the suppression of weed seeds that remain dormant until light exposure triggers germination. Establishing this system demands precision in layering and a commitment to soil biology over heavy machinery.
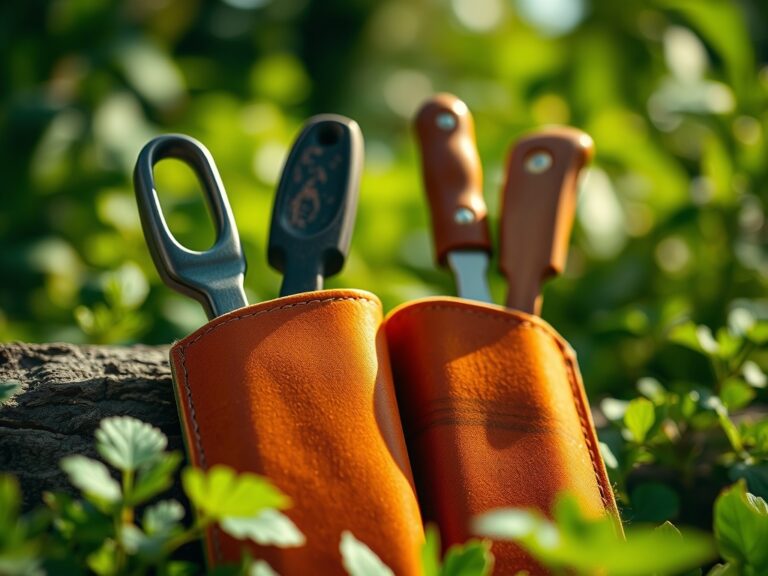
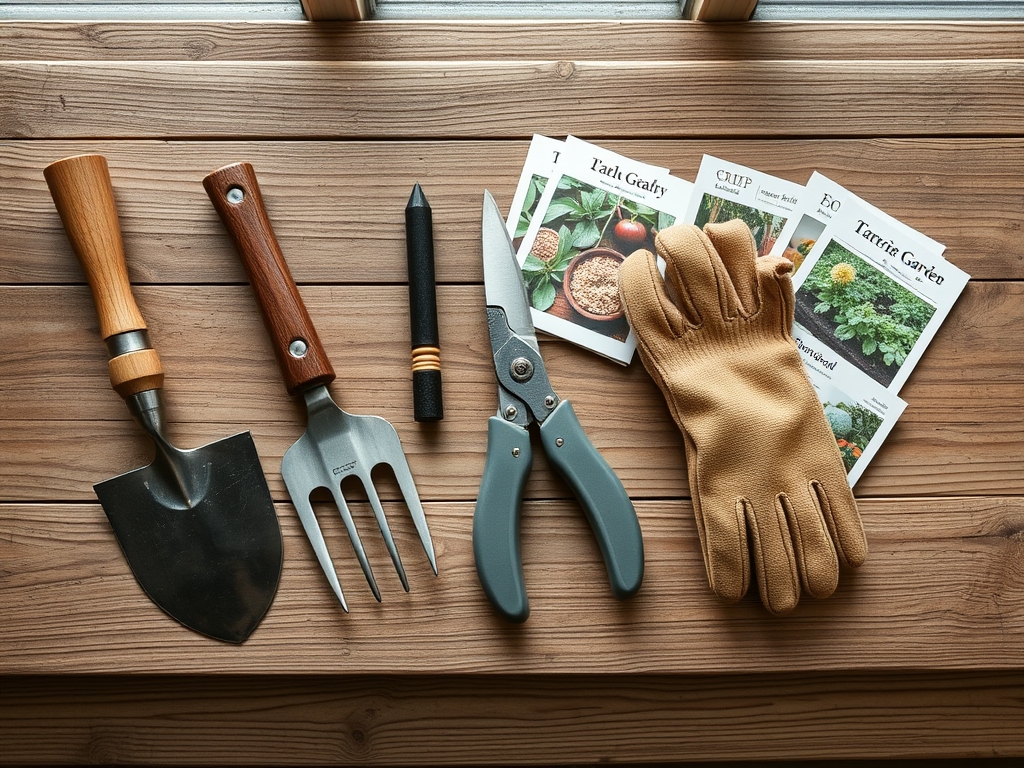
Materials:
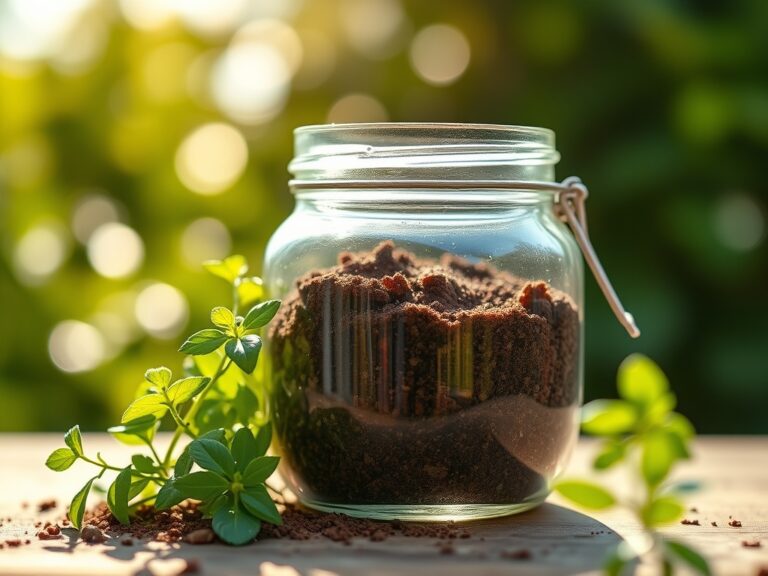
To begin, you must source inputs that align with a target **pH of 6.2 to 6.8**. The ideal substrate is a **friable loam** with high porosity. You will need high-quality compost with an **NPK ratio of approximately 1-1-1** to provide a slow-release nutrient base. For the initial mulching layer, utilize cardboard or heavy brown paper that is free of glossy inks and plastic tape.
Nitrogen sources should include alfalfa meal or blood meal with an NPK of 12-0-0 if your soil test indicates a deficiency. Phosphorus needs are met through bone meal (NPK 3-15-0) or rock phosphate. Potassium can be supplemented via sulfate of potash (NPK 0-0-50) to improve cellular water regulation. The Cation Exchange Capacity (CEC) of your soil should ideally fall between 15 and 25 meq/100g to ensure the soil can hold and exchange essential cations like calcium, magnesium, and potassium. Ensure you have a supply of arbuscular mycorrhizal fungi (AMF) inoculant to jumpstart the symbiotic relationship between roots and fungi.
Timing:
The transition to a no-till system is most effective during the late autumn or early spring. In Hardiness Zones 4 through 6, the best window is four to six weeks before the first hard frost. This allows the mulch layers to begin decomposition during the winter dormancy period. In Zones 7 through 10, you can initiate the process in late winter to prepare for the spring planting cycle.
The biological clock of your garden is governed by the photoperiod and soil temperature. Most cool-season vegetables require a soil temperature of at least 45 degrees Fahrenheit for germination, while warm-season crops like tomatoes and peppers require 65 degrees Fahrenheit. Monitoring the transition from vegetative to reproductive stages is critical. As days shorten, plants shift energy from leaf production to fruit and seed development. By timing your soil preparation to coincide with these shifts, you ensure that the nutrient availability in the top 2 to 4 inches of compost matches the peak demand of the crop.
Phases:
Sowing
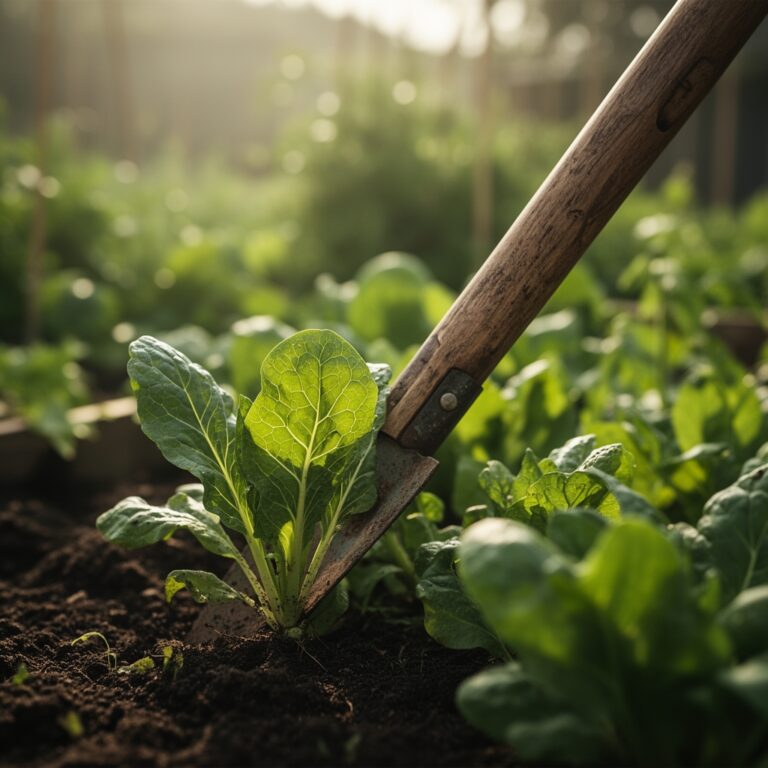
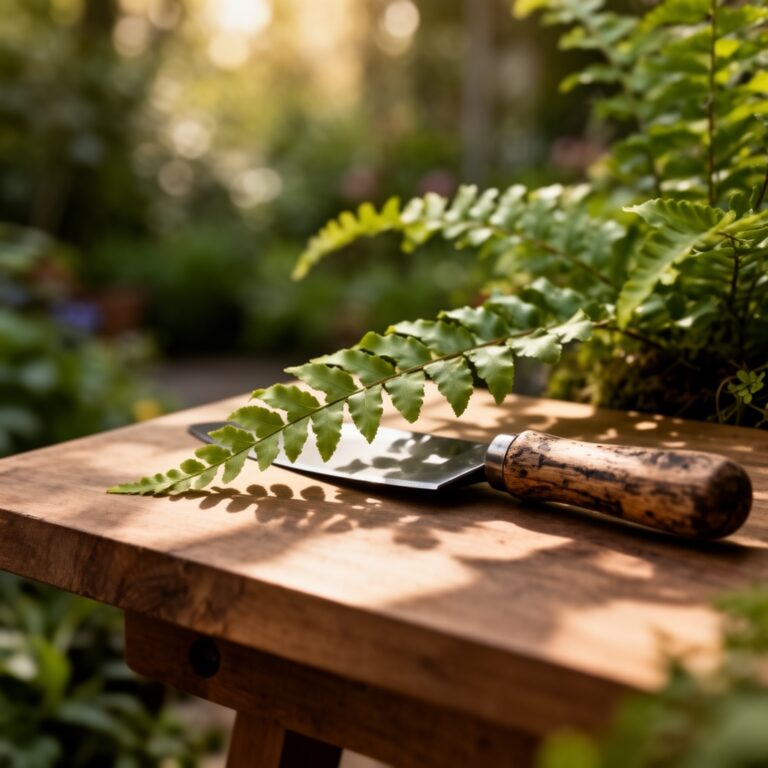
Direct sowing in a no-till system requires creating a clean furrow through the mulch layer to reach the soil surface. Use a hori-hori knife to slice a narrow line in the compost. Seeds must have direct contact with the mineral soil or finished compost to ensure capillary action provides consistent moisture. For small seeds like carrots, sow at a depth of 1/8 inch; larger seeds like beans require a depth of 1 inch.
Pro-Tip: Proper seed-to-soil contact is essential for imbibition, the process where the seed absorbs water to activate metabolic enzymes. Without this contact, the seed remains dormant or desiccates before the radicle can emerge.
Transplanting
When moving seedlings from flats to the garden, use a transplanting trowel to create a hole only as large as the root ball. Avoid disturbing the surrounding soil structure. If the seedling is pot-bound, gently loosen the outer roots to encourage lateral growth into the new rhizosphere. Set the plant so the crown is level with the soil surface, except for Solanaceous crops which can be buried deeper to encourage adventitious rooting.
Pro-Tip: Applying a kelp-based liquid fertilizer during transplanting reduces transplant shock by providing cytokinins. These hormones promote cell division and help the plant overcome the temporary cessation of root growth.
Establishing
As plants grow, maintain a consistent mulch layer of 2 to 3 inches to suppress weed germination and regulate soil temperature. Use a soil moisture meter to ensure the root zone stays within the "moist but not saturated" range. If the soil becomes too dry, the salt concentration in the soil solution increases, which can lead to osmotic stress and reduced turgor pressure.
Pro-Tip: Avoid walking on the planting beds to prevent soil compaction. Compaction collapses the macropores required for oxygen diffusion, leading to anaerobic conditions that can kill beneficial aerobic microbes and cause root rot.
The Clinic:
Physiological disorders often mimic pathogen attacks but are rooted in environmental or nutritional imbalances.
- Symptom: Blossom End Rot. This appears as a sunken, leathery spot on the bottom of tomatoes or peppers.
- Solution: This is a calcium deficiency caused by inconsistent watering. Maintain a steady 1.5 inches of water per week to ensure calcium, which moves via transpiration, reaches the fruit.
- Symptom: Nitrogen Chlorosis. The older, lower leaves turn uniform pale yellow while the veins remain green or yellow.
- Solution: Apply a high-nitrogen organic amendment like fish emulsion (NPK 5-1-1). Nitrogen is a mobile nutrient; the plant pulls it from old growth to support new terminal buds.
- Symptom: Leaf Tipping/Burn. The edges of leaves turn brown and crispy.
- Solution: This often indicates high salinity or potassium deficiency. Flush the soil with fresh water and check the NPK of your compost; ensure it does not exceed 500 ppm of soluble salts.
- Symptom: Anthocyanin Accumulation. Leaves turn a distinct purple color, particularly on the undersides.
- Solution: This typically indicates phosphorus deficiency, often caused by cold soil temperatures (below 55 degrees Fahrenheit) which inhibit phosphorus uptake regardless of soil concentration.
Maintenance:
Precision is the hallmark of a professional no-till operation. Use bypass pruners to remove spent foliage; always cut rather than pull to avoid disrupting the root-soil interface. Irrigation must be targeted. Provide 1.5 inches of water per week at the drip line rather than overhead. Overhead watering increases leaf wetness duration, which promotes fungal pathogens.
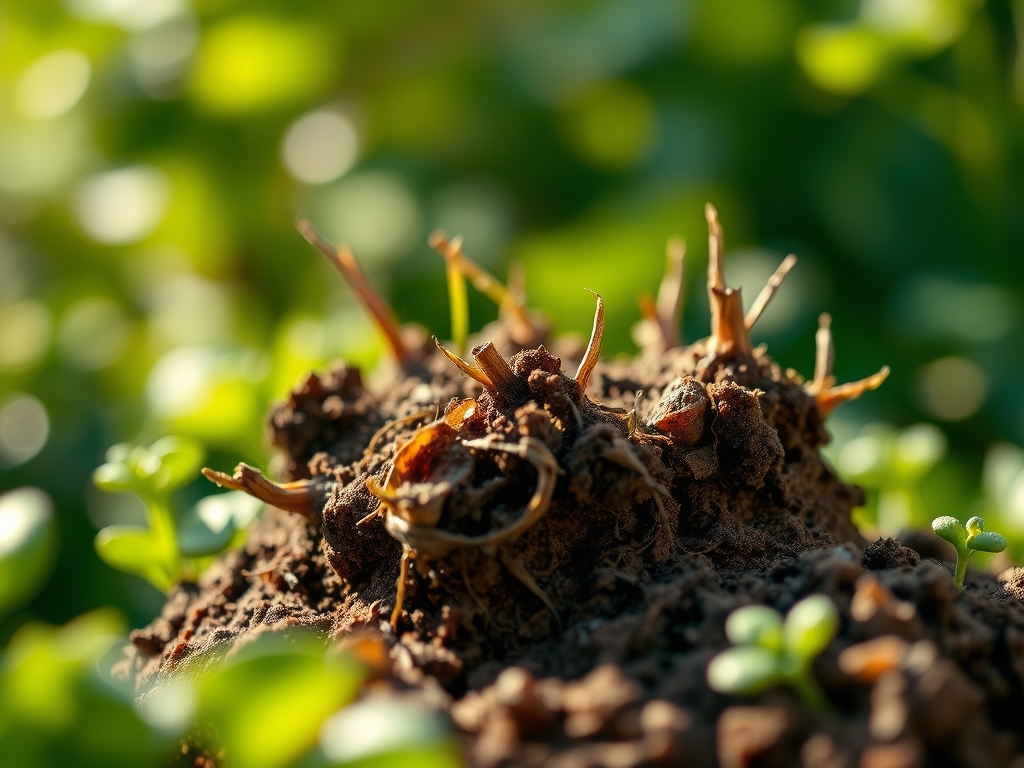
Check the soil with a soil moisture meter daily during the first three weeks of establishment. Use a hori-hori knife to remove any perennial weeds that penetrate the mulch; sever the root below the crown to prevent regrowth. Every spring, add a fresh 1-inch layer of high-quality compost to the surface. This mimics the natural "O" horizon of a forest floor, where organic matter is constantly recycled by earthworms and microarthropods.
The Yield:
Harvesting is the final stage of the physiological cycle. For leafy greens, harvest in the early morning when turgor pressure is at its peak; this ensures the leaves are crisp and resistant to wilting. Use a sharp knife to make clean cuts, which allows the plant to seal the wound quickly and reduces the risk of infection.
For fruiting crops like tomatoes or squash, harvest when the fruit reaches "breaker stage" or full color maturity. To maintain "day-one" freshness, immediately move harvested produce to a cool, shaded area to remove field heat. This slows the rate of senescence and respiration, preserving the sugars and acids within the plant tissues. After the final harvest, leave the roots of annual plants in the ground to decompose, providing channels for air and water in the following season.
FAQ:
Can I start a no-till garden on top of existing grass?
Yes. Use the sheet mulching method. Lay thick cardboard over the mowed grass to block all light. Add 6 inches of compost and mulch on top. The grass will decompose, adding nitrogen and organic matter to the soil.
How do I handle heavy clay soil in a no-till system?
Do not till clay, as it destroys structure and leads to "hardpan." Instead, apply 3 inches of organic matter annually. Over time, earthworms and roots will create macropores, improving drainage and aeration through biological cultivation.
How long does it take for a no-till garden to be ready?
If you start in the fall, the bed is ready by spring. If starting in spring, you can plant immediately into a 4-inch layer of finished compost placed over the cardboard. The underlying soil improves over the first 12 to 24 months.
What do I do about weeds in a no-till bed?
Never pull weeds if it disturbs the soil. Cut them at the base with a hori-hori knife. Maintain a thick mulch layer to prevent light from reaching the soil surface, which inhibits the germination of the existing weed seed bank.