9 Ecosystem Steps to Install a Vegetable Patch Pond
Crushing a handful of moist earth reveals the metallic scent of geosmin; it is the olfactory signature of a healthy rhizosphere. When plant cells maintain high turgor pressure, leaves stand rigid and capture maximum solar radiation for photosynthesis. Integrating an aquatic feature into your food plot enhances this biological efficiency by stabilizing local humidity and attracting beneficial predatory insects. Following the correct steps for installing a vegetable garden pond ensures your microclimate remains resilient against heat stress and erratic moisture cycles.
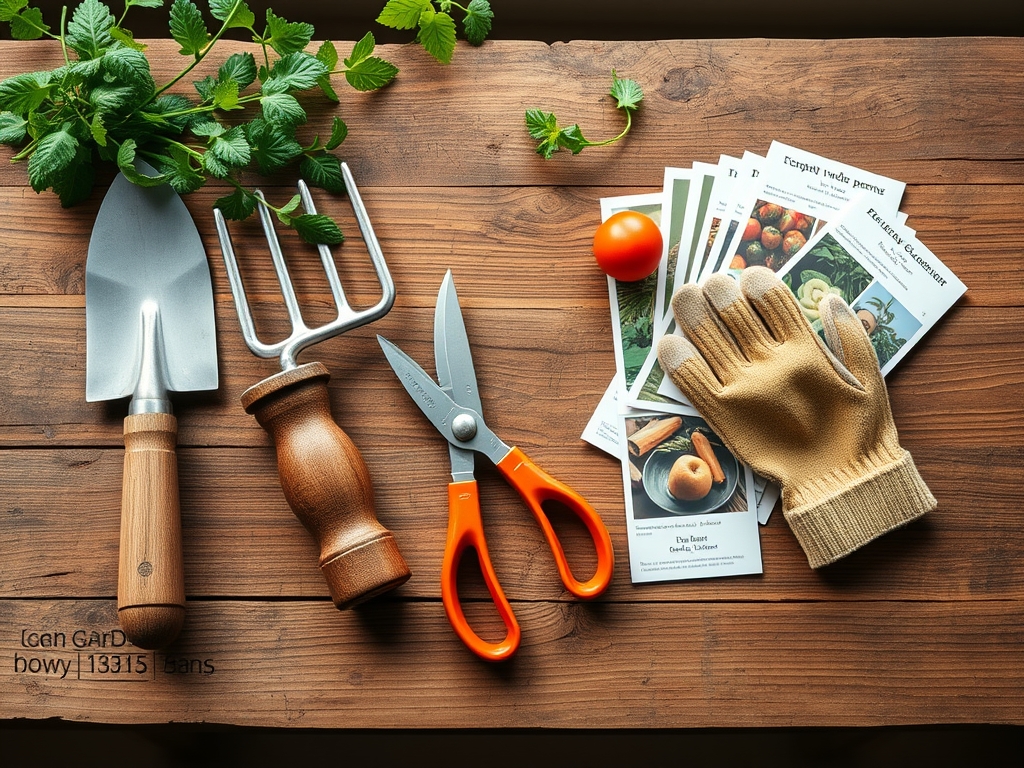
Materials:
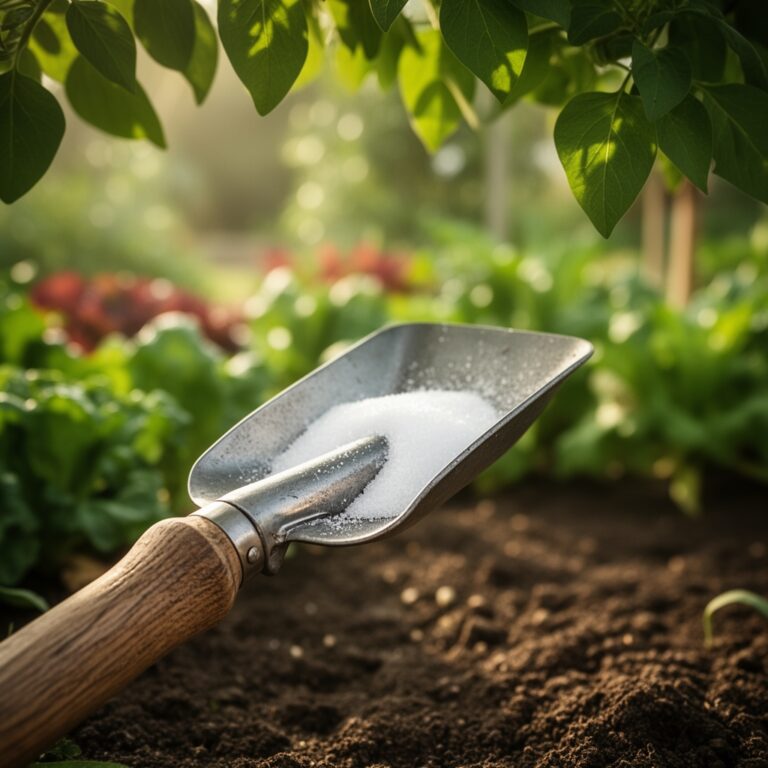
The success of an integrated pond system depends on the chemical composition of the surrounding substrate. Aim for a **friable loam** with a **pH between 6.2 and 6.8**. This range optimizes the solubility of essential macronutrients. For the initial establishment of aquatic and marginal plants, utilize a low-phosphorus starter to prevent algae blooms. A baseline **NPK ratio of 5-10-5** provides sufficient nitrogen for vegetative growth without overloading the water column with soluble salts.
The Cation Exchange Capacity (CEC) of your soil should be high; ideally above 20 meq/100g. This allows the soil to retain positively charged ions like potassium (K+) and magnesium (Mg2+), preventing them from leaching into the pond liner area. Use a 45-mil EPDM rubber liner for durability and a non-woven geotextile underlayment to protect against puncture from sharp aggregate or root penetration.
Timing:
Hardiness Zones 4 through 9 offer the most consistent success for vegetable pond integration. Begin excavation once the soil temperature reaches a consistent 50 degrees Fahrenheit. This ensures the soil is workable and not overly saturated with spring meltwater. The biological clock of your garden dictates that the pond must be established at least four weeks prior to the summer solstice.
This timing allows aquatic microbes to colonize the filter media before the peak photoperiod triggers rapid plant growth. Transitioning from the vegetative stage to the reproductive stage in your vegetables requires high metabolic energy. By installing the pond during the early vegetative window, you provide a thermal heat sink that moderates nighttime temperature drops; this prevents the physiological shock that can lead to premature flower drop or bolting in cool-season crops.
Phases:
Sowing and Site Preparation
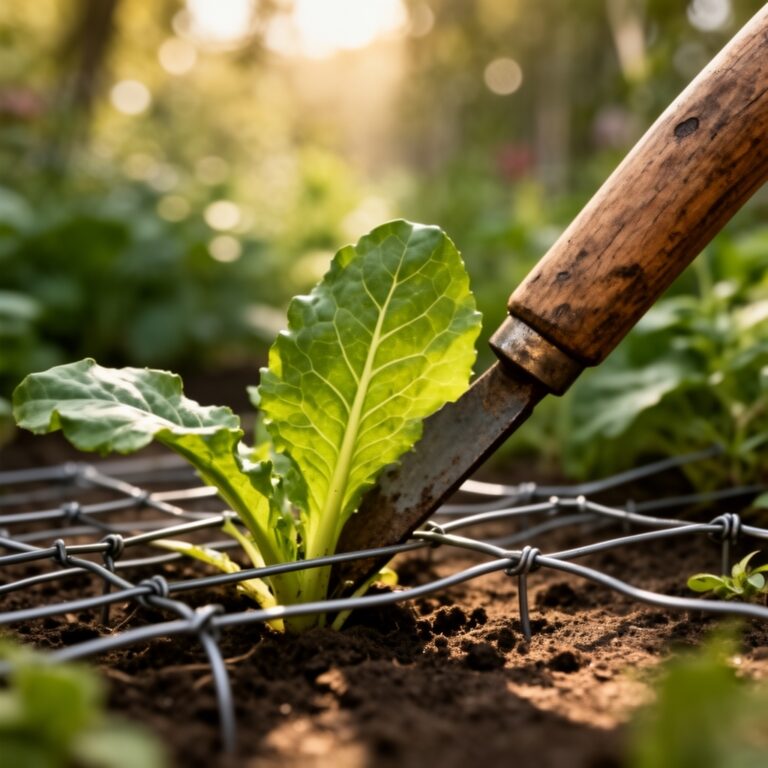
Excavate the pond site to a minimum depth of 24 inches to prevent total freezing in colder zones and excessive heating in the summer. Create tiered shelves at 8-inch and 12-inch depths for marginal plants. Ensure the perimeter is level to prevent nutrient-rich runoff from the vegetable beds from entering the pond, which causes eutrophication.
Pro-Tip: Maintain a 3-foot buffer between high-nitrogen vegetable beds and the pond edge. This prevents nitrogen leaching, which triggers algal blooms by disrupting the nitrogen-to-phosphorus ratio in the water column.
Transplanting Aquatic and Terrestrial Species
When placing marginal plants like water celery or taro, remove them from nursery pots and rinse the roots to remove excess peat. Secure them in aquatic baskets using heavy clay loam. For the surrounding vegetables, ensure the root balls are placed so the crown is level with the soil surface.
Pro-Tip: Use mycorrhizal inoculants during transplanting. This establishes a mycorrhizal symbiosis where fungal hyphae extend the root system's reach; this increases the uptake of phosphorus and water, especially in the transition zone between dry soil and the pond edge.
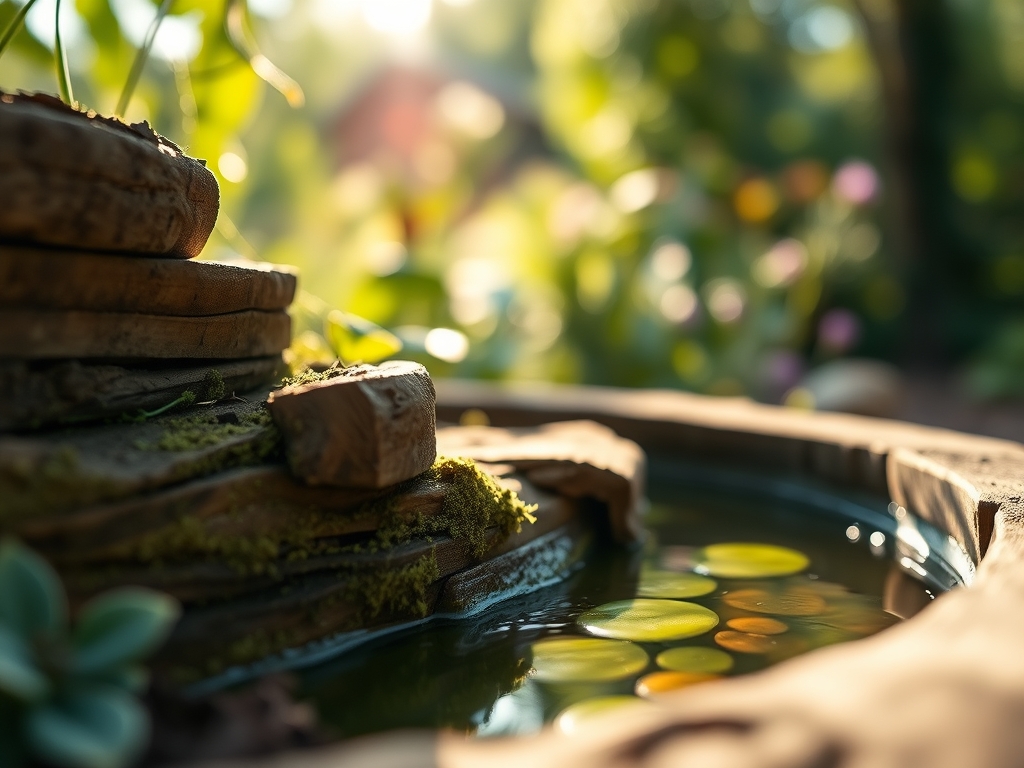
Establishing the Ecosystem
Fill the pond slowly to avoid disturbing the substrate. Introduce floating plants like water lettuce to cover 50 percent of the surface area. This reduces light penetration and limits the growth of submerged filamentous algae. Monitor the water for a "settling" period of ten days before adding any biological filters or fish.
Pro-Tip: Avoid pruning the lower leaves of surrounding vegetables during the first two weeks. This prevents auxin suppression; maintaining intact apical and lateral buds ensures the plant continues to prioritize root development over wound healing during the establishment phase.
The Clinic:
Physiological disorders often mimic pathogen attacks but result from environmental or nutritional imbalances.
- Symptom: Blossom End Rot. This appears as a leathery brown patch on the base of tomatoes or peppers.
- Solution: This is caused by localized calcium deficiency often triggered by inconsistent moisture. The pond acts as a reservoir to maintain steady soil moisture, ensuring calcium ions move through the xylem consistently.
- Symptom: Nitrogen Chlorosis. Older leaves turn pale yellow while veins remain slightly green.
- Solution: Apply a water-soluble fertilizer with a high nitrogen (N) ratio. Ensure the runoff does not enter the pond.
- Symptom: Edema. Small bumps or blisters appear on the underside of leaves.
- Solution: This occurs when the roots take up water faster than the leaves can transpire it. Increase airflow around the pond perimeter to lower localized humidity.
Fix-It: If you notice interveinal chlorosis on new growth, the pH is likely too high, causing iron to become insoluble. Lower the pH by adding elemental sulfur to the surrounding beds at a rate of 1 pound per 100 square feet.
Maintenance:
Precision is required to maintain the delicate balance between the aquatic and terrestrial zones. Deliver 1.5 inches of water per week at the drip line of your vegetables using a soaker hose. Do not overhead water; this increases the risk of fungal spores germinating on the leaf surface.
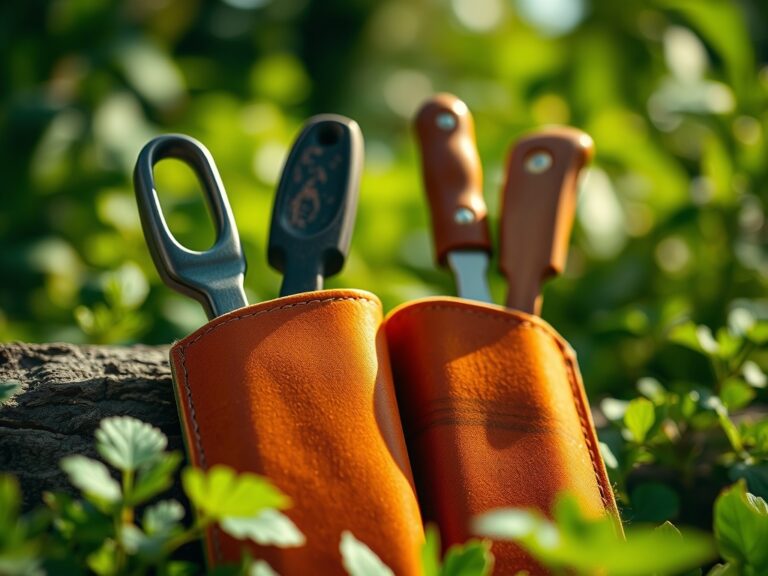
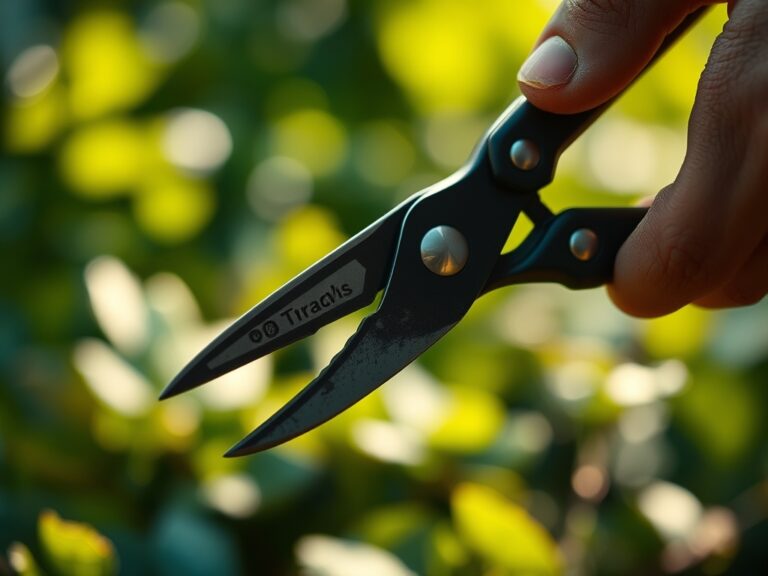
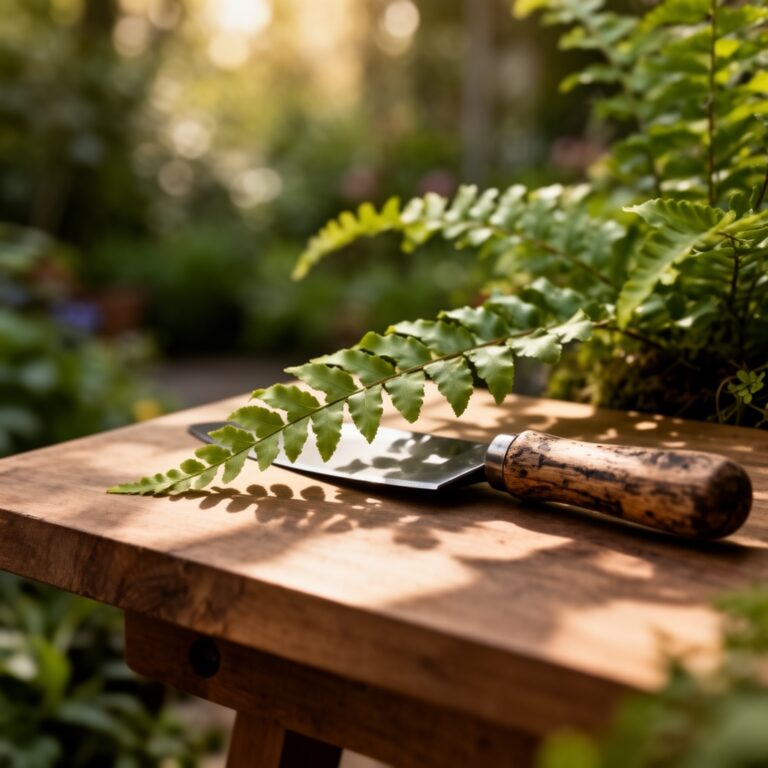
Utilize a hori-hori knife for deep weeding near the pond edge to ensure you do not puncture the liner. Use bypass pruners for clean cuts on woody vegetable stems like eggplants to prevent tissue crushing. Check the soil daily with a soil moisture meter inserted 6 inches deep; it should read between 60 and 80 percent capacity for optimal nutrient transport.
The Yield:
Harvest vegetables when they reach peak physiological maturity. For leafy greens, harvest in the early morning when turgor pressure is at its maximum; this ensures the leaves are crisp and have the longest shelf life. Use a sharp blade to make a clean cut, leaving at least one inch of the stem base to allow for potential regrowth in "cut and come again" varieties.
Post-harvest, immediately submerge the base of the produce in cool, clean water or place it in a high-humidity environment at 34 to 40 degrees Fahrenheit. This slows the rate of senescence and preserves the vitamin C and sugar content. For fruiting crops like cucumbers, harvest when the skin is firm and the color is uniform to avoid the development of bitter cucurbitacins.
FAQ:
How deep should a vegetable garden pond be?
A minimum depth of 24 inches is required. This depth provides thermal stability for the water and prevents the entire column from freezing in winter; it also prevents the water from overheating during peak summer temperatures.
Will a pond attract pests to my vegetables?
A balanced pond attracts beneficial predators like dragonflies and damselflies. These insects consume aphids and mosquitoes. The pond acts as a biological control hub rather than a pest magnet when maintained with proper filtration and plant cover.
Can I use pond water to irrigate my vegetables?
Yes; pond water is often rich in nitrifying bacteria and dissolved organic matter. However, avoid using it if you have recently treated the pond with algaecides or if the water shows signs of heavy stagnation or anaerobic activity.
How do I prevent mosquitoes in a garden pond?
Ensure constant water movement using a submersible pump or aerator. Mosquitoes require stagnant water to breed. Additionally, maintaining a population of small native fish or using Bacillus thuringiensis israelensis (BTI) dunks will effectively manage larvae without harming vegetables.