9 Creative Ways to Prepare a Vertical Vegetable Garden Wall for Small Spaces
The crumble of moist, well-aged compost between your fingers releases that earthy smell of decomposition turned to life. That scent signals the beginning of vertical growing, a solution for gardeners working with balconies, patios, or narrow side yards. Learning how to prepare a vertical vegetable garden wall transforms unused vertical square footage into productive growing space. The process requires specific structural planning, soil science knowledge, and crop selection strategies that differ from traditional horizontal beds. Within a 4-by-8-foot vertical installation, you can cultivate 32 to 48 plants depending on pocket size and species choice.
Materials & Supplies
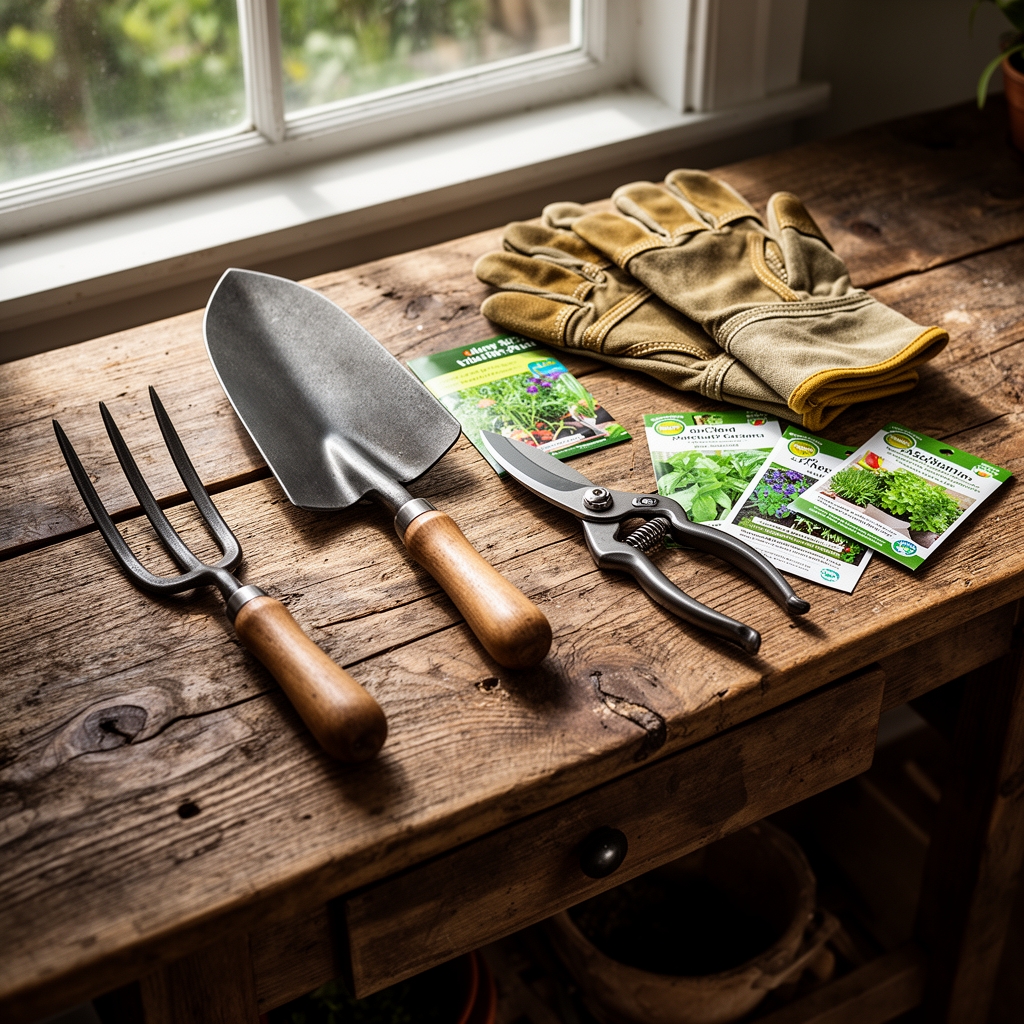
Structural Components:
Mount a pressure-treated frame (2×4 lumber) or galvanized steel grid directly to studs or masonry anchors rated for 150 pounds minimum. Use rot-resistant cedar or composite backing boards. Install a drip irrigation manifold with 1/4-inch tubing and adjustable emitters (2 GPH flow rate per pocket). Secure landscape fabric or felt pockets with UV-resistant polyester thread, each pocket measuring 6 to 8 inches deep.
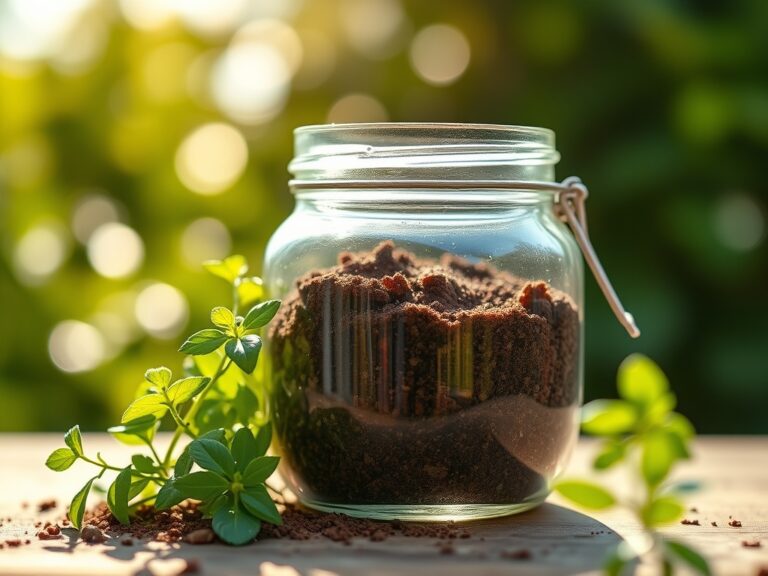
Growing Medium:
Blend 40% coconut coir, 30% aged compost, 20% perlite, and 10% vermiculite for moisture retention and aeration. Target a pH of 6.0 to 6.8 for most vegetables. Mix in mycorrhizal fungi inoculant at 1 tablespoon per cubic foot during initial preparation. Add granular organic fertilizer with an NPK ratio of 5-5-5 for balanced nutrition. Incorporate biochar at 5% by volume to improve cation exchange capacity and water holding ability.
Crop Selections:
Choose compact determinate varieties: cherry tomatoes (45-60 days to maturity), leaf lettuce (30-45 days), spinach (37-45 days), bush beans (50-55 days), and herbs like basil, cilantro, and parsley. Shallow-rooted greens perform best in 6-inch pockets. Fruiting crops require 8-inch depth minimum.
Timing & Growing Schedule
Plan installation based on your USDA Hardiness Zone. In Zones 7-9, install structures in late winter (February-March) for spring crops. Zones 4-6 gardeners should wait until soil temperatures reach 50°F consistently, typically April-May.
Succession Planting Calendar:
Start cool-season crops (lettuce, spinach, peas) 4-6 weeks before last frost date. Transplant warm-season vegetables (tomatoes, peppers, beans) 2 weeks after last frost when nighttime temperatures stay above 50°F. Days to maturity count from transplant date, not seed starting. Compact bush beans mature in 50-55 days. Determinate cherry tomatoes need 60-70 days. Leaf lettuce reaches harvest size in 30-40 days with continuous cut-and-come-again harvesting.
Calculate your local frost dates using historical data, then work backward for seed starting indoors. Tomatoes need 6-8 weeks indoor growth before transplant. Peppers require 8-10 weeks. Direct-sow quick-germinating crops like radishes and lettuce.
Step-by-Step Instructions
Phase 1: Structure Installation
Locate wall studs using a stud finder. Mark mounting points 16 inches apart horizontally. Drill pilot holes and secure frame using 3-inch structural screws. Ensure frame remains plumb using a 4-foot level. Install the drip irrigation header at the top, running supply lines down both sides.
Pro-Tip: Apply a waterproof membrane (EPDM rubber or thick plastic sheeting) behind the frame to protect building surfaces from moisture damage and salt accumulation from fertilizers.
Phase 2: Pocket Attachment
Staple felt pockets or landscape fabric sleeves every 12 inches vertically, offset in brick pattern for better light distribution. Double-staple the top edge to handle wet soil weight (approximately 8-12 pounds per pocket when saturated). Cut small drainage slits at the bottom of each pocket using a utility knife.
Pro-Tip: Pre-soak felt pockets in water with humic acid solution (1 tablespoon per gallon) for 24 hours before installation to activate microbial colonization sites.
Phase 3: Soil Filling
Pack growing medium firmly but not compacted. Fill pockets to 1 inch below the rim to prevent washout during watering. Tap sides to settle media and eliminate air pockets. Water thoroughly until drainage begins, then allow 30 minutes of settling before transplanting.
Pro-Tip: Insert a 4-inch section of PVC pipe vertically in the center of deeper pockets to create a watering channel that delivers moisture to root zones rather than surface runoff.
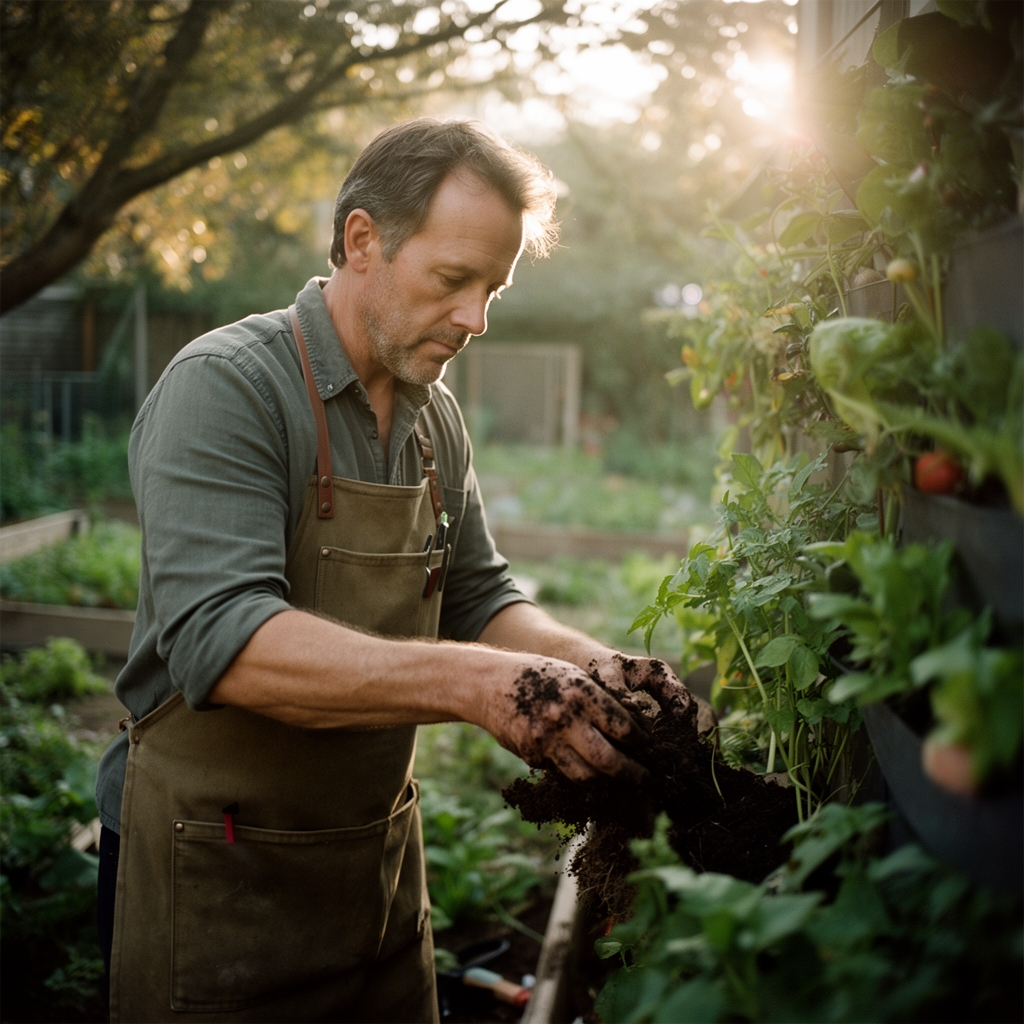
Phase 4: Transplanting
Remove seedlings from containers by squeezing sides, not pulling stems. Plant at the same depth as original containers except tomatoes, which benefit from burying stems up to first true leaves for adventitious root development. Firm soil around root balls and create a shallow depression for water retention.
Pro-Tip: Apply azospirillum bacteria or rhizobium inoculant to legume roots at transplanting to enhance nitrogen fixation capacity by 15-20%.
Nutritional & Environmental Benefits
Vertical gardens increase oxygen production per square foot compared to lawn grass, generating approximately 0.4 pounds of oxygen per square foot annually. Leafy greens like spinach and kale deliver concentrated iron (2.7 mg per 100g raw), calcium (99 mg per 100g), and vitamin K (483 mcg per 100g).
The vertical structure creates habitat for beneficial insects. Mason bees and syrphid flies colonize the microclimate created by foliage layers. These pollinators increase fruit set on tomatoes and peppers by 25-35%. The growing medium supports populations of springtails and predatory mites that consume pest eggs and larvae.
Urban heat island effect reduction occurs as plant transpiration cools surrounding air by 3-5°F within 6 feet of the wall. This passive cooling decreases energy costs for adjacent buildings. Carbon sequestration averages 0.6 pounds per square foot per growing season in the soil matrix and plant biomass.
Advanced Methods
Maximizing Small Spaces:
Install caster wheels on the bottom frame to create a mobile garden that follows sunlight patterns. Use reflective aluminum sheeting on adjacent walls to increase light intensity by 30-40%. Stack multiple tiers using step-ladder configuration, positioning shade-tolerant crops (lettuce, spinach) on lower levels.
Organic & Permaculture Integration:
Apply compost tea weekly using actively aerated compost tea (AACT) with dissolved oxygen above 6 ppm. Brew for 24-36 hours using 2 cups mature compost per gallon of dechlorinated water with 1 tablespoon unsulfured molasses as microbial food. Establish companion planting by pairing basil with tomatoes (pest deterrent) and nasturtiums as sacrificial aphid traps.
Incorporate vermicompost from red wiggler worms at 20% by volume in pocket refills. The worm castings contain beneficial bacteria counts of 10,000 to 100,000 CFU per gram.
Season Extension:
Attach clear polycarbonate panels 6 inches from wall face on hinges during shoulder seasons. This creates a 40-50°F temperature buffer on cold nights. String LED grow lights (6500K color temperature) on timers for 14-16 hour photoperiods during short winter days. Choose cold-hardy varieties like 'Winter Density' lettuce (survives to 20°F) and 'Winterbor' kale (tolerates 10°F).
Troubleshooting
Symptom: Wilting despite adequate soil moisture.
Solution: Check for root binding in shallow pockets. Transplant to deeper containers or trim outer roots by 1/3 and refresh growing medium. Verify drainage holes remain unclogged.
Symptom: Yellow lower leaves with green veins (interveinal chlorosis).
Solution: Iron deficiency caused by pH above 7.0. Apply chelated iron (Fe-EDDHA) at 1 tablespoon per gallon as soil drench. Lower pH using elemental sulfur at 1/4 cup per cubic foot, mixing into top 2 inches.
Symptom: Stunted growth and purple leaf undersides.
Solution: Phosphorus deficiency from cold soil temperatures (below 55°F) limiting nutrient uptake. Apply liquid fish fertilizer (5-1-1 NPK) at half strength weekly. Warm soil using black plastic mulch on pocket surfaces.
Symptom: Premature bolting in lettuce and spinach.
Solution: Excessive heat stress above 75°F combined with long photoperiods. Install 40% shade cloth during summer months. Switch to heat-tolerant varieties like 'Jericho' lettuce or 'Red Malabar' spinach.
Symptom: White powdery coating on leaf surfaces.
Solution: Powdery mildew from poor air circulation and high humidity. Space plants farther apart (reduce density by 25%). Spray with 1 tablespoon baking soda plus 1 teaspoon insecticidal soap per gallon water weekly. Improve airflow using small oscillating fan.
Storage & Maintenance
Watering Protocol:
Deliver 1 to 1.5 inches of water weekly through drip irrigation, split into daily sessions during hot weather (above 85°F). Run system for 15-20 minutes in early morning (6-8 AM) to reduce evaporation loss. Monitor soil moisture using a probe at 3-inch depth. Maintain consistent moisture, avoiding wet-dry cycling that splits tomatoes and stresses shallow roots.
Feeding Schedule:
Apply liquid organic fertilizer (fish emulsion or kelp extract at 5-1-1 NPK) every 14 days at half the label rate for containerized crops. Side-dress with 2 tablespoons granular 5-5-5 fertilizer per pocket monthly. Top-dress with 1/2 inch vermicompost every 6 weeks to maintain soil biology.
Seasonal Maintenance:
Remove spent plants immediately after final harvest. Replenish growing medium annually, replacing 30-40% with fresh compost mixture. Flush irrigation lines with diluted vinegar solution (1 cup per gallon) quarterly to prevent mineral deposits and biofilm. Inspect structural connections and retighten fasteners each spring.
Harvest & Storage:
Pick leaf lettuce and herbs in morning hours when sugar content peaks. Store unwashed greens in perforated plastic bags with damp paper towels in refrigerator crisper (32-36°F, 95% humidity) for 7-10 days. Harvest tomatoes at breaker stage (first color change) for extended shelf life, or wait for full color for maximum flavor. Cherry tomatoes store 5-7 days at room temperature, 10-14 days refrigerated.
Conclusion
Success with vertical vegetable gardens depends on proper structural installation, appropriate growing medium formulation, and crop selection matched to pocket depth. The 9 creative preparation methods covered here address space constraints while maintaining soil health and productive yields. Master these techniques and you'll harvest 15-25 pounds of produce per season from a single 32-square-foot wall.
Join your local urban agriculture cooperative or community garden network to share surplus harvests and exchange vertical growing innovations. Document your results and contribute data to citizen science projects tracking urban food production metrics.
Expert FAQs
How deep should pockets be for different vegetables in a vertical garden wall?
Leafy greens (lettuce, spinach, arugula) thrive in 6-inch deep pockets with 4 inches of growing medium. Herbs like basil and cilantro need 6-8 inches. Determinate tomatoes and peppers require minimum 10-inch depth, preferably 12 inches. Bush beans perform adequately in 8-inch pockets. Root crops like radishes need 6-8 inches but are not ideal for vertical systems due to harvest difficulty.
What is the best irrigation method for vertical vegetable walls?
Drip irrigation with pressure-compensating emitters (2 GPH flow rate) provides consistent moisture distribution across all pocket elevations. Install a timer-controlled system delivering water in 15-minute cycles during early morning. Include a filter and pressure regulator (25 PSI) at the supply connection. Hand watering is viable for small installations (under 20 pockets) but increases labor and risks inconsistent moisture levels.
Can vertical gardens survive full sun exposure in hot climates?
In zones with summer temperatures exceeding 90°F, position vertical walls in locations receiving morning sun (eastern exposure) with afternoon shade. Install 30-40% shade cloth during peak heat months (June-August). Choose heat-tolerant varieties and increase watering frequency to twice daily. Reflective heat from adjacent walls can damage plants; maintain 18-inch minimum spacing from reflective surfaces.
How do I prevent soil from washing out of vertical garden pockets?
Line pockets with landscape fabric before filling with growing medium. Leave 1-inch gap between soil surface and pocket rim. Apply 1/2 inch of mulch (coconut coir or fine bark) on soil surface. Use low-flow drip emitters rather than high-pressure spray. Compact soil gently during filling to eliminate voids. Install pockets at slight backward angle (5-10 degrees) to retain water and media.
What vegetables produce the highest yields in vertical systems?
Leaf lettuce generates 0.5-0.75 pounds per pocket with multiple harvests over 8-10 weeks. Bush beans produce 0.75-1.0 pounds per pocket in single harvest after 55 days. Cherry tomatoes yield 3-5 pounds per plant over 10-12 week season. Spinach delivers 0.4-0.6 pounds per pocket. Herbs provide continuous harvests with basil producing 1-2 cups of leaves weekly per plant for 12-16 weeks.