8 Desert-Themed Tips to Use Specialized Cactus Soil
Crushing a handful of dry substrate reveals the gritty, volcanic reality of the arid rhizosphere. The texture is abrasive; it lacks the spongy, peat-heavy moisture retention of standard potting mixes. This sharp drainage is the primary defense against anaerobic root rot. Using a specialized cactus soil ensures that the air pockets between inorganic particles remain open even after heavy irrigation. When you hydrate a healthy specimen, the turgor pressure within the stem increases, causing the ribs of the plant to expand like an accordion. This physiological swelling is the physical manifestation of water storage in the parenchymal tissues. A high-quality arid mix facilitates this process by preventing water from pooling around the root neck. In desert horticulture, the goal is a rapid wet-to-dry cycle. Standard soils hold moisture for ten to fourteen days, which triggers fungal pathogens. A specialized blend dries within three to five days, mimicking the flash-flood and rapid-evaporation cycles of the Sonoran or Mojave deserts. This mimicry is essential for maintaining the integrity of the root system and preventing the collapse of cellular walls.
Materials:

The ideal substrate must maintain a pH range between 5.5 and 6.5. Most desert succulents prefer a slightly acidic environment to maximize nutrient uptake. The physical texture should be a friable mix of 70 percent inorganic matter and 30 percent organic matter. Look for components like calcined clay, horticultural-grade pumice, and crushed granite.
For nutrient density, the NPK ratio must remain low to prevent "stretched" or etiolated growth. Target an NPK of 1-2-2 or 2-7-7 for established plants. High nitrogen (the first number) causes rapid, weak cell wall expansion that is susceptible to pests. The phosphorus and potassium levels support root development and floral induction. The Cation Exchange Capacity (CEC) of this soil is generally lower than garden loam, meaning the substrate does not hold onto nutrients tightly. This requires the gardener to provide supplemental, low-dose fertilization during the active growth phase.
Timing:
Success in desert-themed gardening depends on the photoperiod and temperature fluctuations of your specific Hardiness Zone. Most cacti and succulents thrive in Zones 9 through 11, though certain Opuntia species are hardy down to Zone 4. The biological clock of these plants is triggered by day length and night-time temperature drops.
Repotting or transitioning to a specialized mix should occur in late winter or early spring, specifically when night temperatures consistently stay above 50 degrees Fahrenheit (10 degrees Celsius). This window aligns with the transition from dormancy to the vegetative stage. Avoid major soil disturbances during the heat of mid-summer; when temperatures exceed 90 degrees Fahrenheit, many desert species enter a semi-dormant state to conserve moisture. Moving them during this period causes significant transplant shock and can lead to immediate senescence of the lower leaves.
Phases:
Sowing
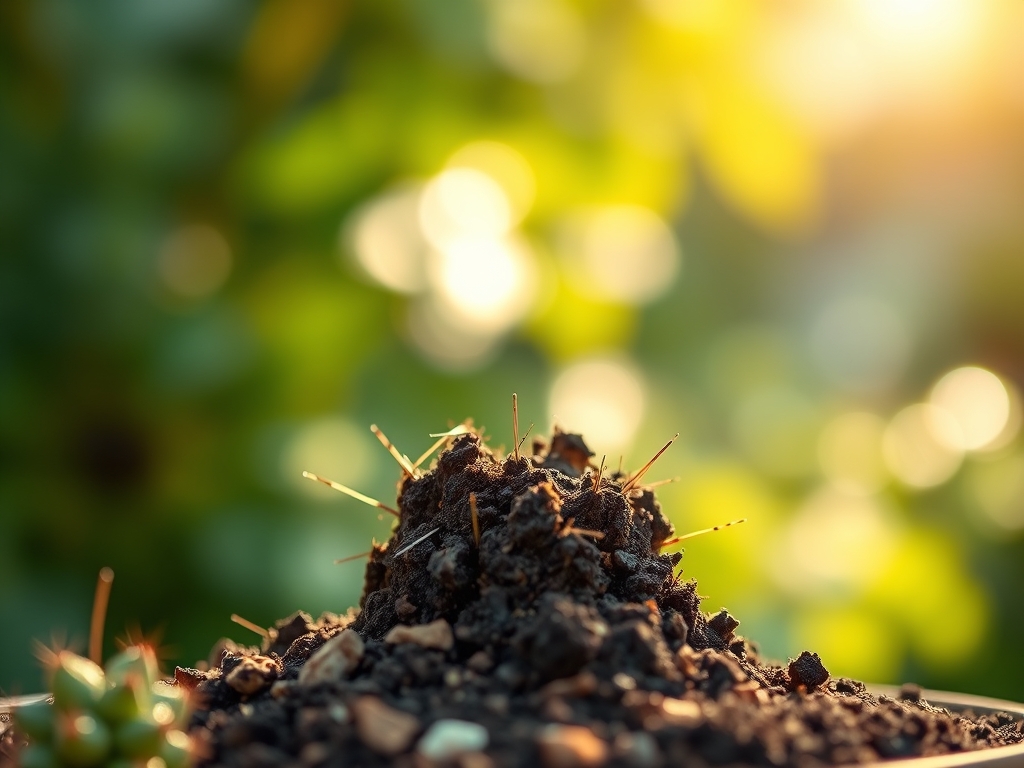
When starting from seed, use a sifted version of the specialized soil to remove large rocks. Press seeds into the surface; do not bury them. Many desert seeds are photoblastic and require light to trigger germination. Maintain a constant temperature of 75 degrees Fahrenheit and use a humidity dome for the first 21 days.
Pro-Tip: Maintaining high humidity for seedlings while using a gritty mix prevents the delicate radicle from drying out. This is vital because the auxin distribution in a young seedling is highly sensitive to moisture gradients.
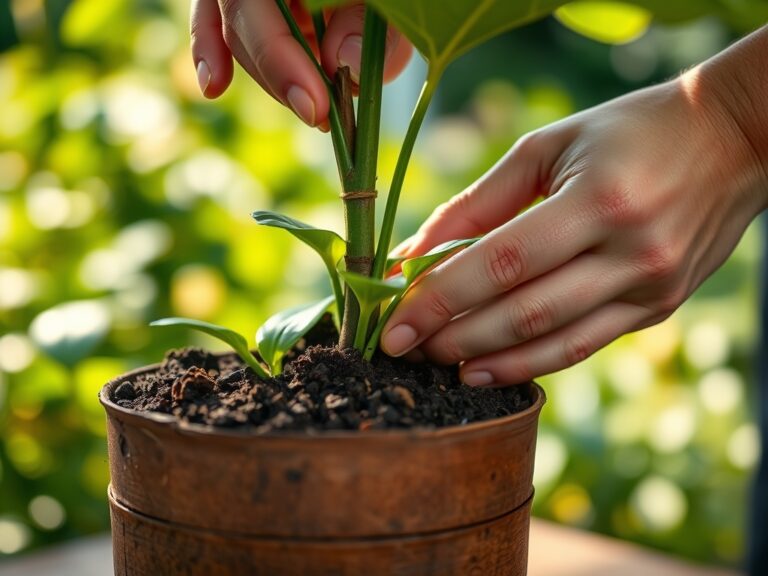
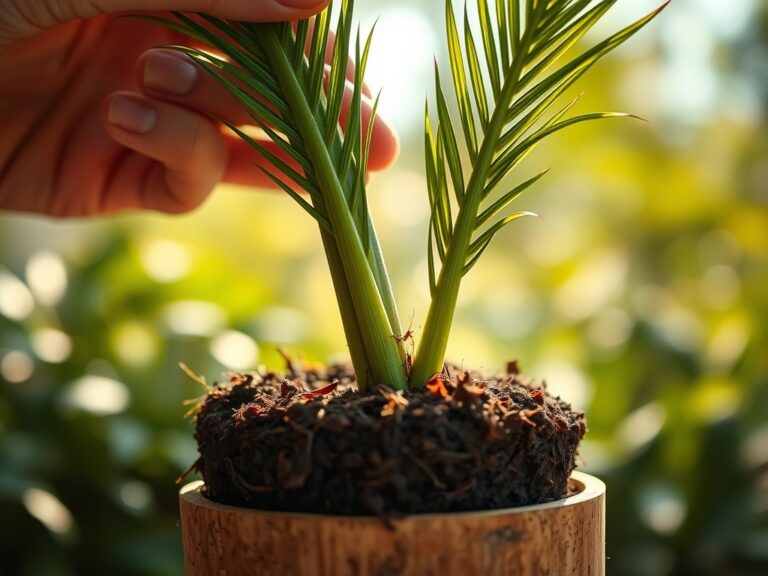
Transplanting
Remove the plant from its old container and shake away spent soil. Inspect the roots for any signs of mealybugs or rot. Place the plant in the new specialized soil, ensuring the soil line matches the previous depth. Do not water for seven days after transplanting.
Pro-Tip: Delaying irrigation allows for the "callousing" of any roots broken during the move. This prevents soil-borne pathogens from entering the plant's vascular system through open wounds, a process known as suberization.
Establishing
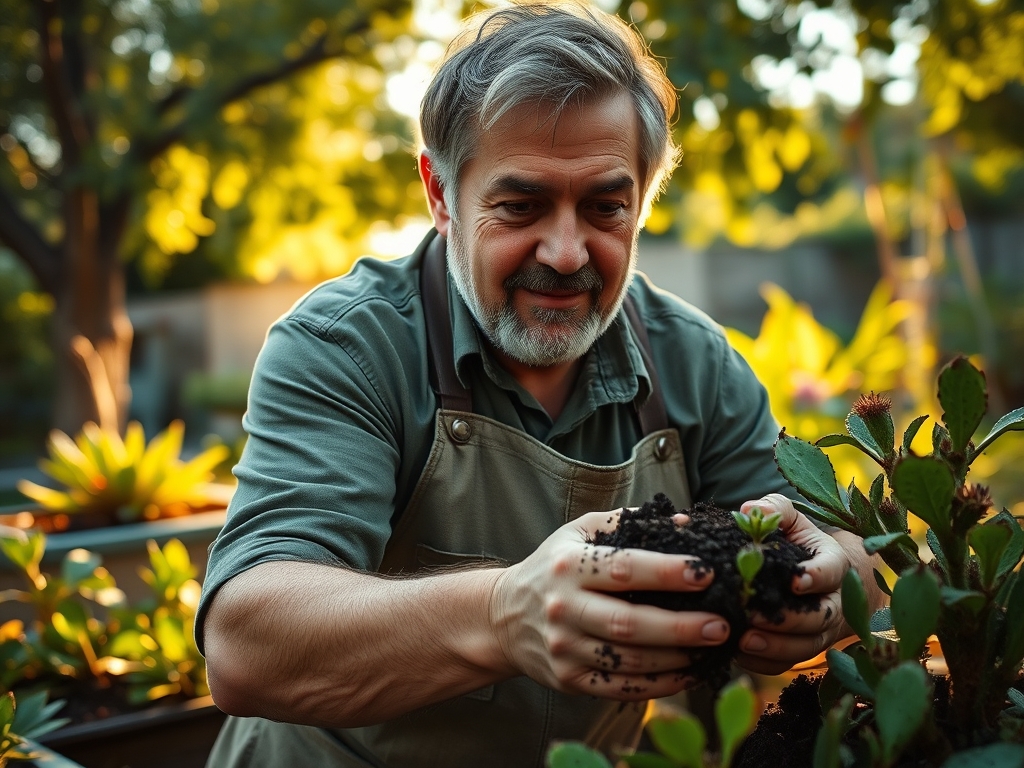
During the first six weeks, monitor the plant for signs of establishment. Use a soil moisture meter to ensure the bottom third of the pot is drying out. Place the plant in a location with at least six hours of direct solar radiation to prevent etiolation.
Pro-Tip: Strong light exposure encourages the development of thick cuticles and dense spines. This is a form of photomorphogenesis, where the plant alters its physical structure in response to light quality and intensity to protect its internal water stores.
The Clinic:
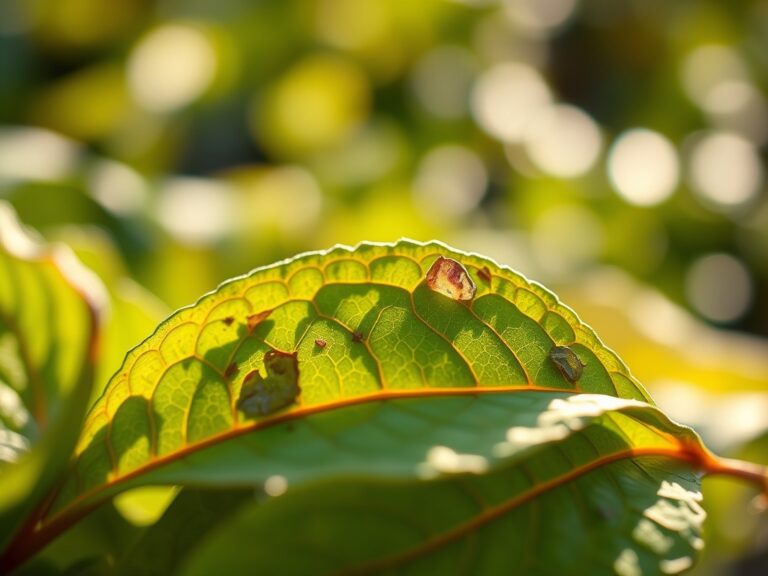
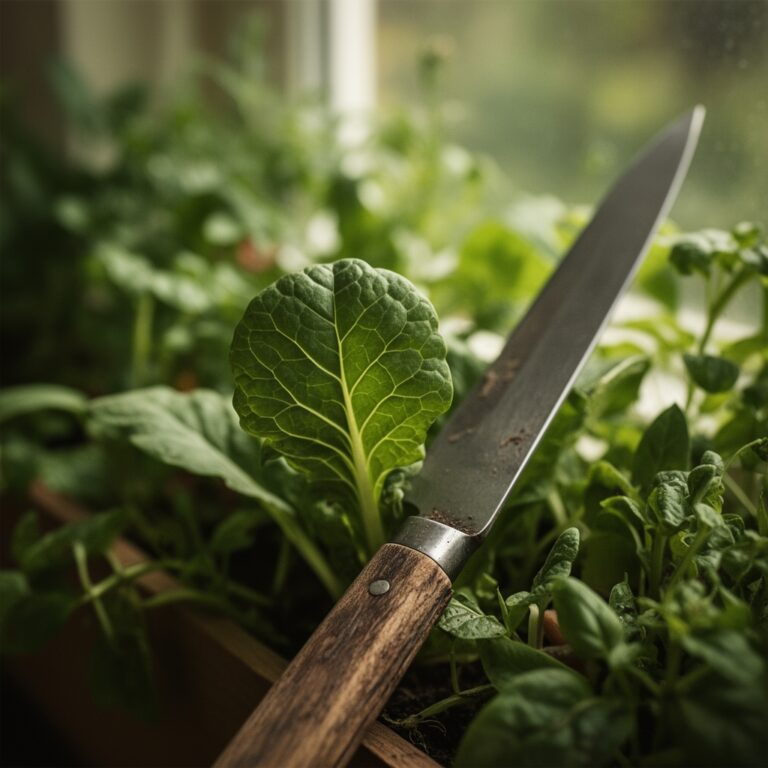
Symptom: Soft, blackened base (Stem Rot)
Solution: This is caused by anaerobic bacteria in waterlogged soil. Remove the plant from the substrate immediately. Cut away the necrotic tissue with a sterilized blade until only healthy, green vascular bundles remain. Allow the wound to callous for two weeks before placing it in fresh, dry specialized soil.
Symptom: Yellowing from the bottom up (Nitrogen Chlorosis)
Solution: While cacti need low nitrogen, a complete lack leads to the breakdown of chlorophyll. Apply a water-soluble fertilizer at quarter-strength with an NPK of 5-10-10. The lower nitrogen levels will correct the yellowing without causing weak, rapid growth.
Symptom: Shriveled, wrinkled skin (Dehydration)
Solution: Check the soil. If using a specialized cactus soil, it may have become hydrophobic. Submerge the entire pot in a basin of water for 20 minutes to ensure the core of the root ball is saturated. This restores turgor pressure within 48 hours.
Maintenance:
Precision is mandatory for long-term health. Apply 0.5 to 1 inch of water every 10 to 14 days during the growing season. Always pour the water at the soil line, avoiding the body of the plant to prevent fungal spotting. Use a hori-hori knife to check soil compaction levels every six months; if the blade cannot penetrate easily, the inorganic particles have settled and need aeration.
Use bypass pruners to remove spent flower stalks or dead pads. Ensure the tool is wiped with 70 percent isopropyl alcohol between every cut to prevent the spread of systemic viruses. If the plant is outdoors, monitor for frost. If temperatures are predicted to drop below 32 degrees Fahrenheit, cover the specimens with a frost cloth, but ensure the cloth does not touch the apical meristem of the plant.
The Yield:
For those growing edible varieties like Opuntia ficus-indica (Prickly Pear), harvesting occurs when the fruit reaches a deep magenta hue. Use tongs to twist the fruit off the pad. To maintain "day-one" freshness, store the fruit in a cool, dry environment at 45 degrees Fahrenheit. Do not wash the fruit until immediately before consumption, as moisture on the skin encourages mold. For floral yields, harvest the blossoms just as the outer bracts begin to unfurl. Place the stems in a high-potassium solution to extend the life of the bloom.
FAQ:
Can I use regular potting soil for cacti?
No. Regular soil retains too much moisture and lacks the necessary macroporosity. This leads to root asphyxiation and fungal rot. Using a specialized cactus soil provides the drainage required for desert root systems to breathe and expand properly.
How often should I fertilize in specialized soil?
Fertilize once a month during the active growing season (Spring and Summer). Use a low-nitrogen, high-phosphorus liquid fertilizer diluted to half-strength. Stop all fertilization during the winter dormancy period to prevent salt buildup in the rhizosphere.
Why is my cactus turning purple?
Purple coloration is often a sign of anthocyanin production triggered by environmental stress. This can be caused by intense sun exposure or cold temperatures. It is a protective mechanism and usually does not require intervention if the plant remains firm.
Does specialized cactus soil expire?
Over time, organic components like bark or peat decompose, leading to soil compaction. This reduces the oxygen diffusion rate. Replace or refresh the specialized soil every two to three years to maintain optimal drainage and structural integrity for the roots.