9 Household Steps to Make a DIY Indoor Plant Fertilizer
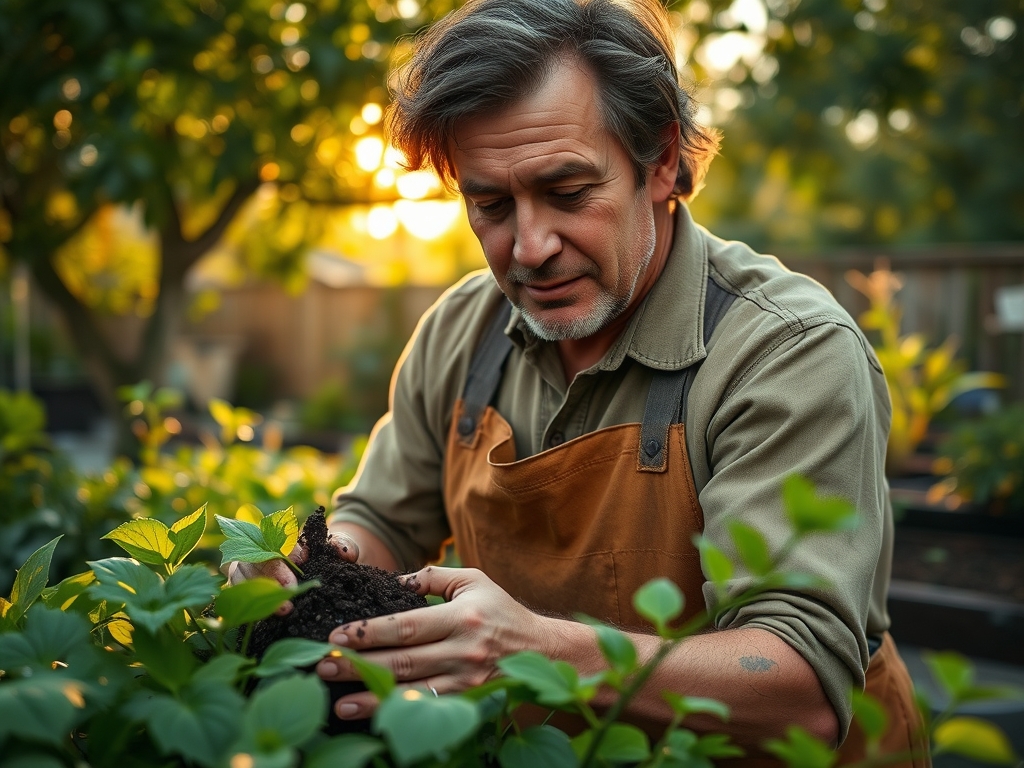
The smell of damp earth and the firm turgor of a rigid leaf indicate a plant in peak physiological health. Achieving this state requires precise nutrient management to support the rhizosphere. To master how to prepare a DIY plant fertilizer, you must understand the metabolic demands of indoor species. Containerized plants operate in closed systems where nutrient depletion occurs rapidly. Standard tap water often lacks the trace minerals necessary for cellular respiration and structural integrity. By synthesizing your own amendments, you control the exact Cation Exchange Capacity (CEC) and NPK ratios delivered to the root zone. This process transforms household waste into bioavailable ions, ensuring your indoor canopy maintains high photosynthetic efficiency throughout the year.
Materials:
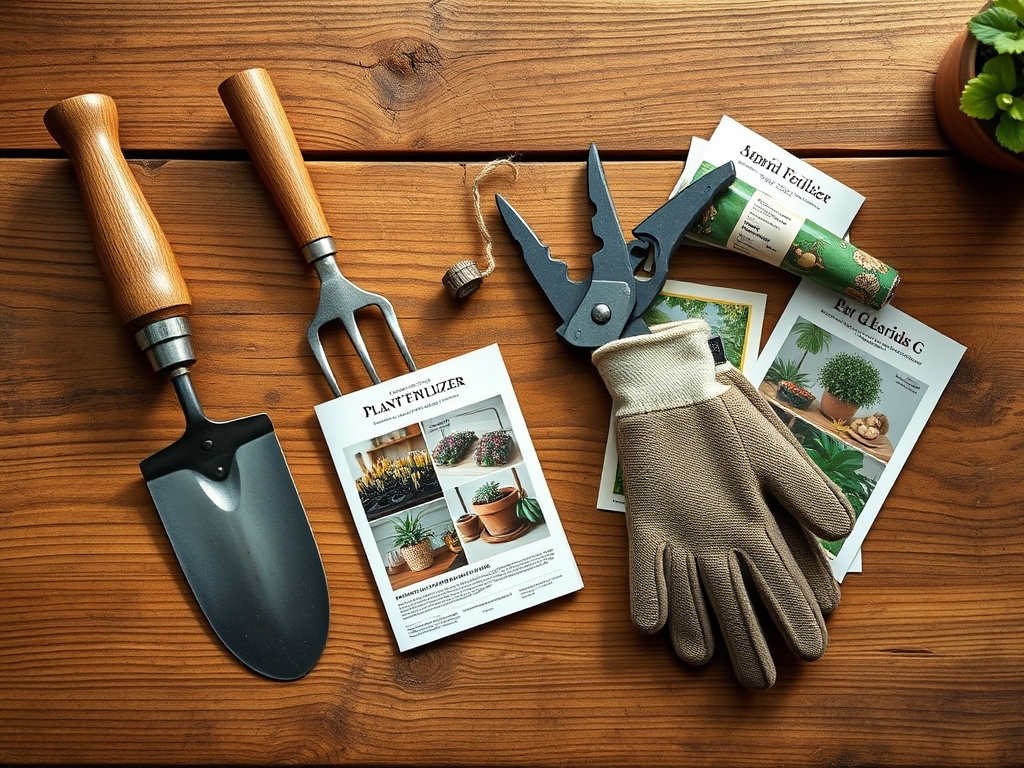
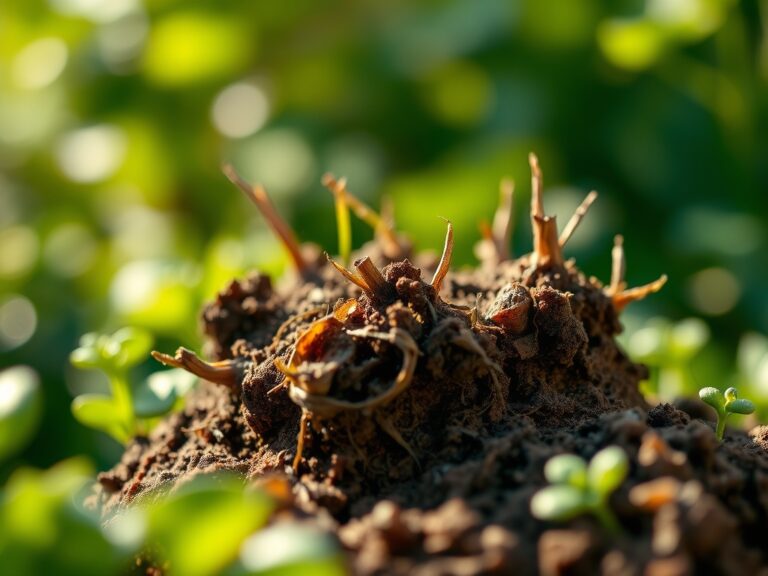
Effective DIY fertilizers require a balance of macronutrients and micronutrients. The ideal substrate for indoor plants is a friable loam with a pH range of 6.0 to 7.0, which allows for maximum nutrient uptake. Collect the following inputs based on their chemical profiles:
- Nitrogen (N) Sources: Used coffee grounds provide a slow release of nitrogen. They have a slightly acidic pH of 6.2 to 6.5.
- Phosphorus (P) Sources: Dried and pulverized eggshells consist of 95 percent calcium carbonate, but they also contain trace amounts of phosphoric acid.
- Potassium (K) Sources: Banana peel tea offers high potassium levels, essential for protein synthesis and regulating stomatal opening.
- Magnesium and Sulfur: Epsom salts (magnesium sulfate) provide the central atom of the chlorophyll molecule. Use a concentration of one tablespoon per gallon of water.
- Trace Minerals: Unsulfured blackstrap molasses introduces iron, carbon, and calcium while feeding beneficial microbial populations in the soil.
Timing:
Indoor gardening bypasses traditional Hardiness Zones, yet plants still respond to the Biological Clock dictated by light intensity and duration. In North America, even indoor specimens enter a semi-dormant state during the winter months when the photoperiod drops below 12 hours.
Begin your fertilization regimen in early spring, approximately two weeks before the local frost-date window for your region. This coincides with the transition from the dormant phase to the vegetative stage. Increase nutrient frequency during the peak growing season (May through August) and cease all fertilization by late October. Adding nitrogen during the winter can lead to "leggy" growth with weak cell walls, as the plant lacks the light energy to process the influx of nutrients.
Phases:
Sowing and Seedling Development
When starting seeds, avoid heavy fertilizers. Use a diluted "compost tea" made from steeping one cup of finished vermicompost in a gallon of de-chlorinated water for 24 hours. Apply this at a 10 percent strength to avoid osmotic shock to delicate radicles.
Pro-Tip: High phosphorus levels at this stage encourage robust root elongation. This is due to auxin suppression in the shoot apical meristem, which redirects energy toward downward root development rather than upward foliage growth.
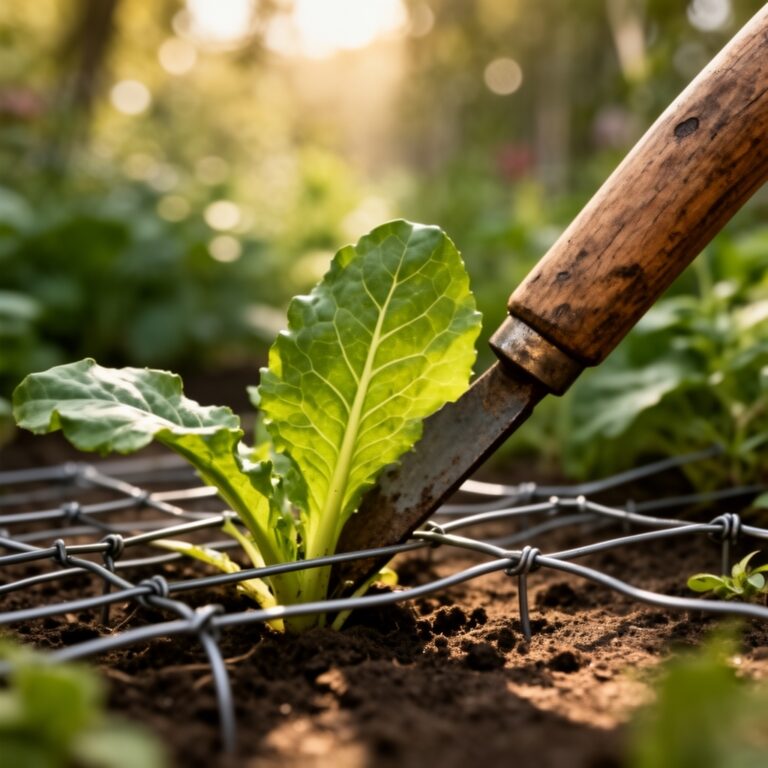
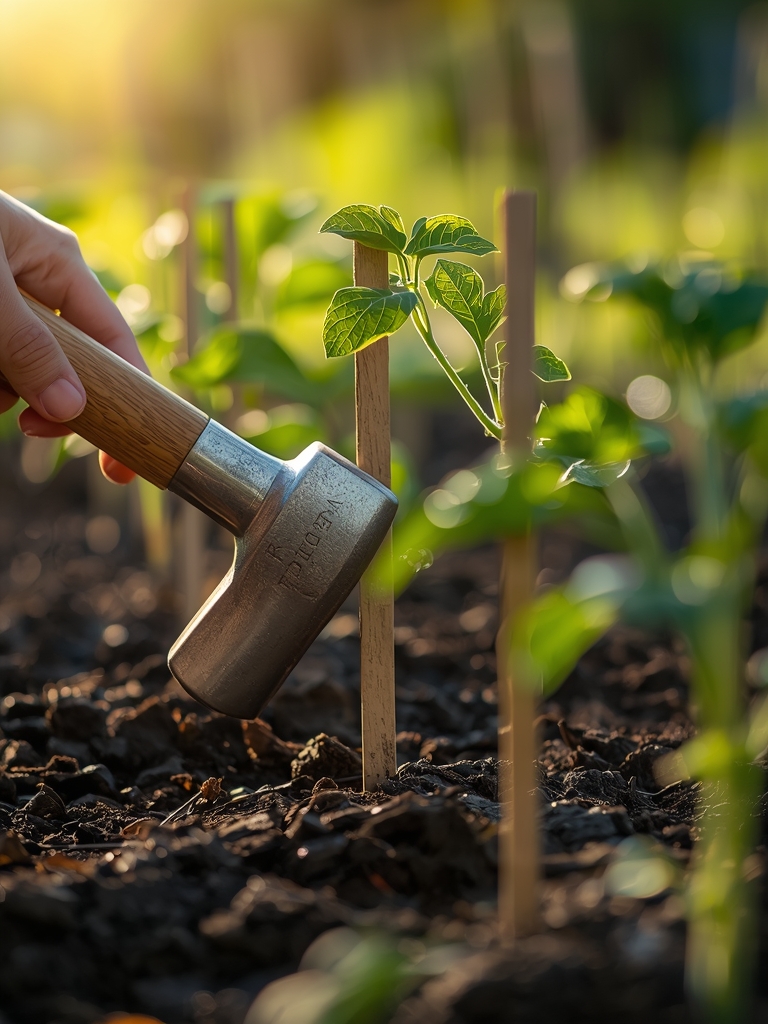
Transplanting and Establishing
When moving a plant to a larger vessel, incorporate two tablespoons of bone meal or crushed eggshells into the bottom third of the potting mix. This ensures that as the roots expand, they encounter a nutrient dense zone.
Pro-Tip: Mycorrhizal symbiosis is critical during transplanting. Adding a small amount of forest humus to your DIY mix introduces fungal hyphae that extend the root system's reach, increasing the surface area for water absorption by up to 1,000 percent.
The Vegetative Peak
During active growth, apply a liquid potassium-rich fertilizer every 14 to 21 days. Mix the liquid from soaked banana peels with water at a 1:5 ratio. Ensure the soil is already moist before application to prevent root burn.
Pro-Tip: Maintaining high potassium levels supports turgor pressure. This internal hydraulic pressure keeps the plant upright and allows the guard cells around the stomata to function correctly, facilitating efficient gas exchange.
The Clinic:
Physiological disorders often mimic pathogen attacks but are frequently rooted in nutrient imbalances.
- Symptom: Interveinal chlorosis (yellowing between green veins) on new leaves.
Solution: Iron deficiency. Lower the soil pH to 6.0 using a diluted vinegar solution (one tablespoon per gallon) to increase iron bioavailability. - Symptom: Necrosis at the leaf tips and margins.
Solution: Potassium deficiency. Apply a concentrated banana peel extract immediately. - Symptom: Lower leaves turning uniform pale yellow (Nitrogen chlorosis).
Fix-It: Apply a top-dressing of half a cup of dried coffee grounds per ten inch pot. The nitrogen will stabilize the chlorophyll production within seven to ten days. - Symptom: Purplish tint on the underside of leaves.
Solution: Phosphorus deficiency. This often occurs in cold soils below 60 degrees Fahrenheit where phosphorus becomes chemically locked. Warm the root zone and apply a liquid bone meal suspension.
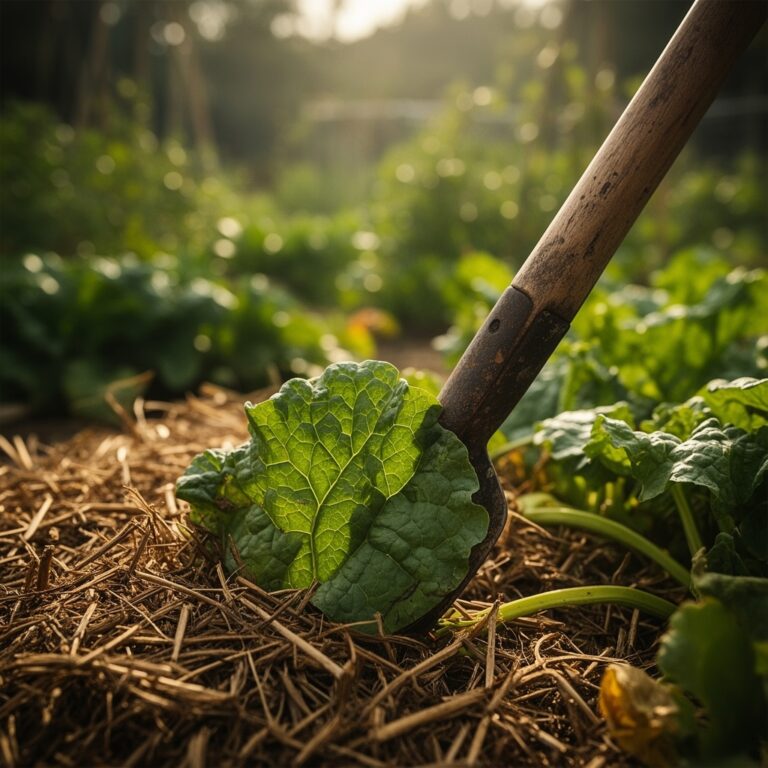
Maintenance:
Precision is the hallmark of a professional horticulturist. Use a soil moisture meter to ensure the substrate sits at a level 4 or 5 before adding liquid fertilizers. Never fertilize bone-dry soil; this causes salts to accumulate and desiccate the root hairs.
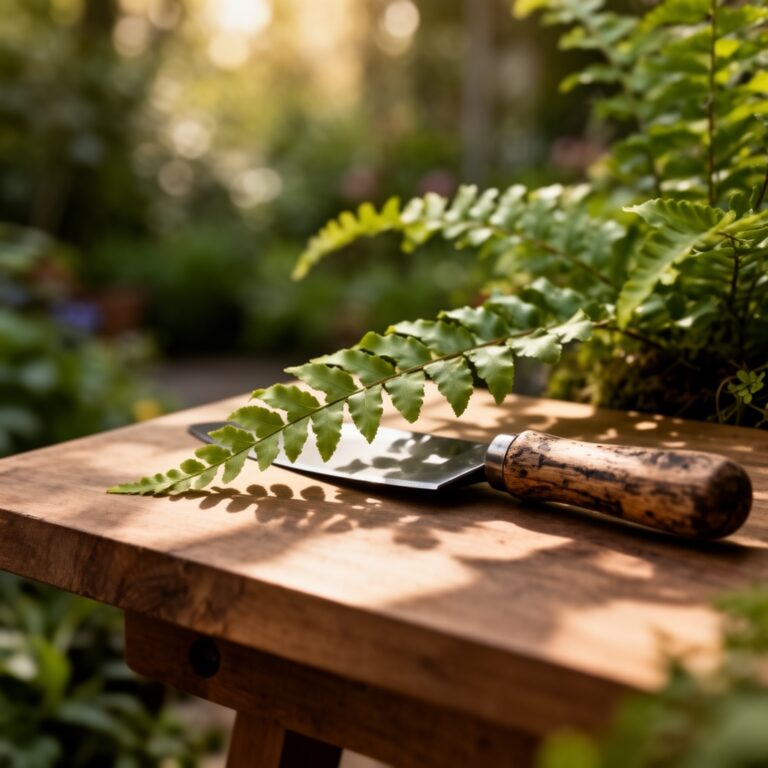
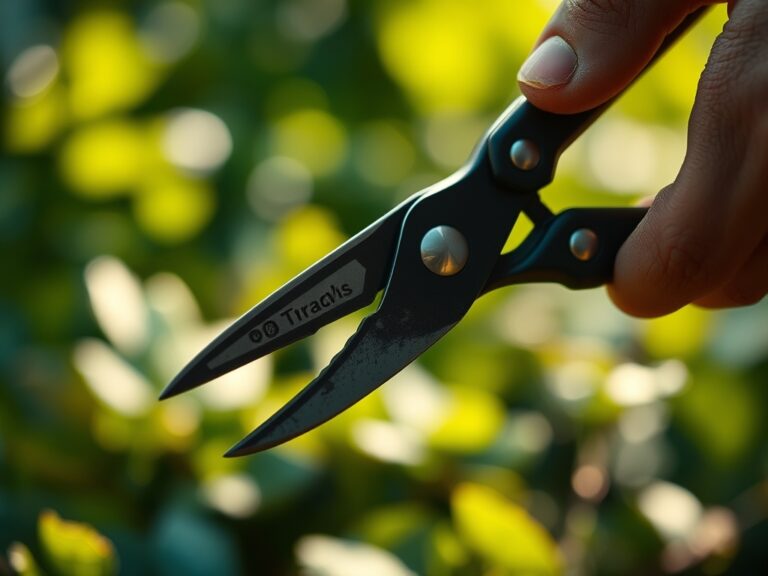
Standard maintenance requires 1.5 inches of water per week delivered at the drip line to ensure the entire root ball is hydrated. Use a hori-hori knife to gently aerate the top inch of soil once a month; this prevents compaction and allows oxygen to reach the rhizosphere. If you notice salt buildup (a white crust on the pot rim), flush the soil with distilled water equal to three times the volume of the container. Use bypass pruners to remove any senescent (dying) foliage, as these leaves consume energy without contributing to photosynthesis.
The Yield:
For indoor herbs or fruiting plants like dwarf citrus, harvest timing is determined by essential oil concentration. Harvest leafy greens in the early morning when turgor pressure is at its maximum. Use sharp snips to make a clean cut at a 45 degree angle just above a node.
To maintain "day-one" freshness, submerge the stems in 40 degree Fahrenheit water immediately after cutting. This rapid cooling slows the metabolic rate and prevents the degradation of sugars and volatile oils. For flowering indoor plants, remove spent blooms (deadheading) to prevent the plant from diverting energy into seed production, thereby extending the blooming cycle.
FAQ:
How often should I apply DIY fertilizer?
Apply liquid-based DIY fertilizers every 14 to 21 days during the active growing season. Reduce this to once every 60 days in winter. Always monitor soil moisture levels with a meter before application to prevent root rot.
Can I use coffee grounds directly on all plants?
No. Coffee grounds are slightly acidic. Use them for acid-loving species like ferns or African violets. For alkaline-preferring plants, limit coffee ground application to one tablespoon per month to avoid dropping the pH below 6.0.
Is it possible to over-fertilize with organic DIY mixes?
Yes. Excessive nitrogen causes rapid, weak growth susceptible to structural failure. High salt concentrations from over-application of Epsom salts can lead to osmotic stress, where the soil actually pulls water out of the plant roots.
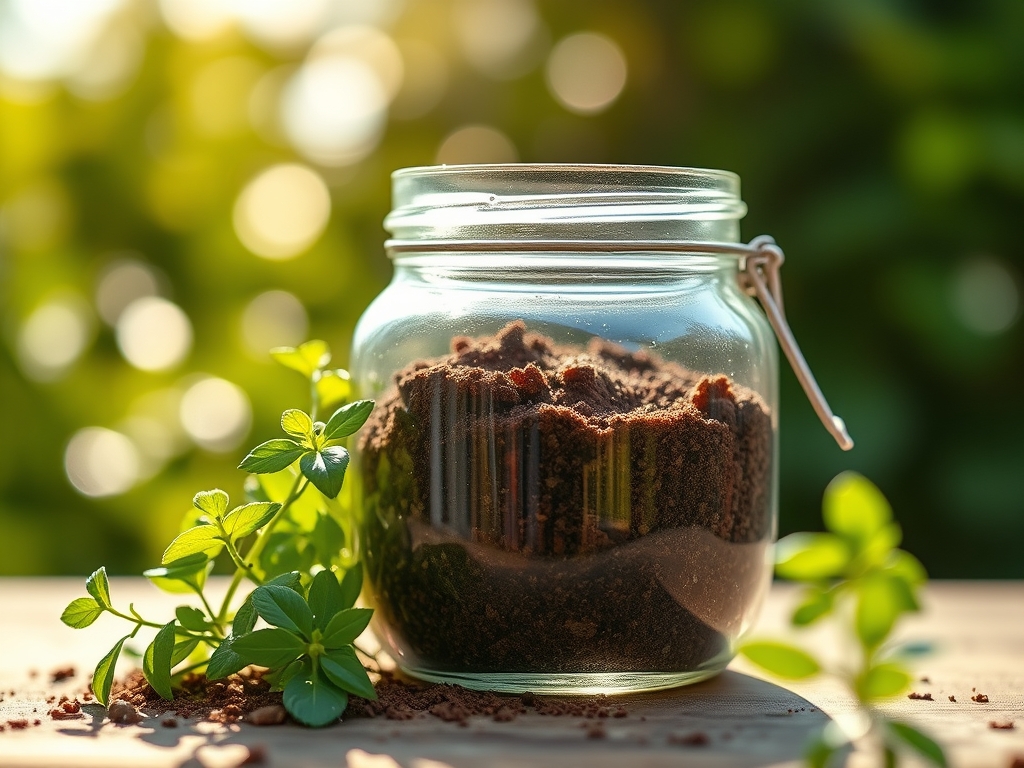
How do I store liquid DIY fertilizers?
Store liquid infusions in airtight glass containers in a cool, dark location for no more than seven days. Organic mixtures ferment rapidly; gas buildup can cause containers to rupture if left at room temperature for extended periods.