8 Pro Tips for Using a Handheld Spreader for Even Distribution of Garden Lime
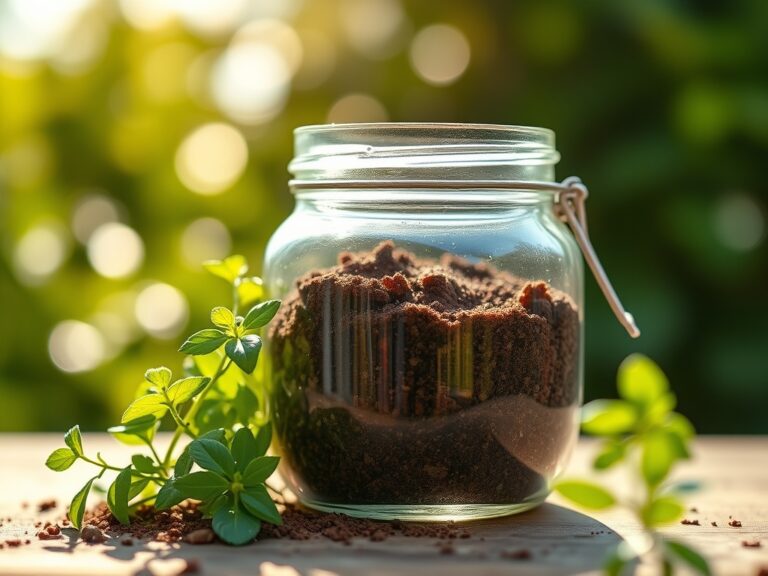
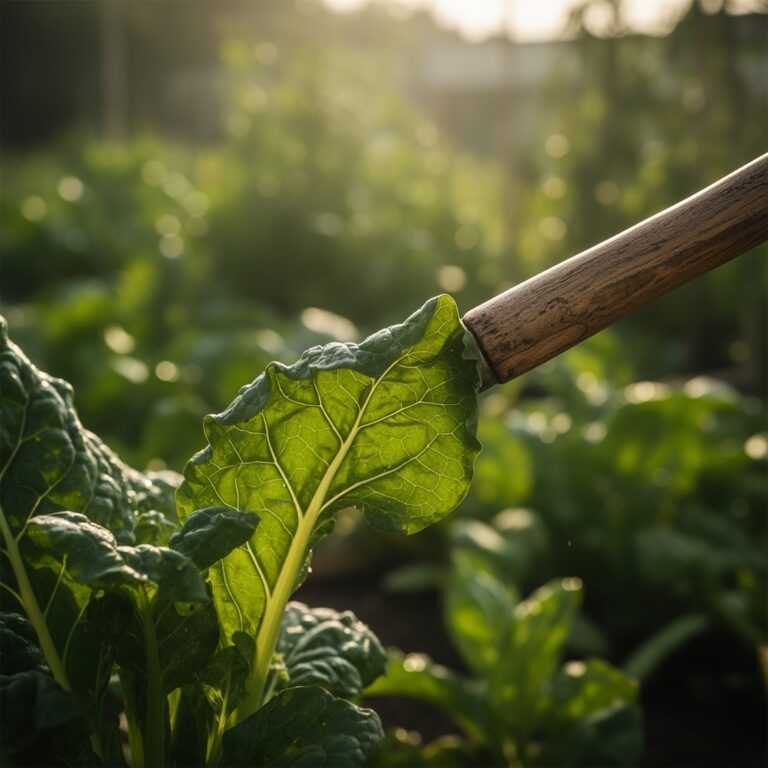
The sharp tang of sulfur hits your nose as you crack open a bag of garden lime, the white powder clinging to your work gloves like fresh snow. That acrid smell signals transformation is coming to your soil. Using a handheld spreader for vegetable garden lime turns what could be a dusty nightmare into a precise operation, ensuring your tomatoes, peppers, and leafy greens get the pH adjustment they desperately need without the guesswork that comes from tossing it by hand.
Most gardeners treat lime application like throwing birdseed, resulting in calcium-rich patches next to acidic dead zones. A quality handheld spreader puts you in control of particle distribution, allowing you to walk systematic rows while the adjustable gate releases measured doses. The difference shows up six weeks later when your seedlings exhibit uniform growth instead of the stunted yellowing that screams "inconsistent pH."
Materials & Supplies

Spreader Equipment:
- Handheld rotary spreader with 3 to 5 pound capacity and adjustable flow gate
- Drop spreader (alternative for precision work between rows)
- Calibration container for measuring output per square foot
Lime Products:
- Dolomitic lime (calcium carbonate plus magnesium carbonate) for soils testing below pH 6.0
- Calcitic lime (pure calcium carbonate) for magnesium-rich soils
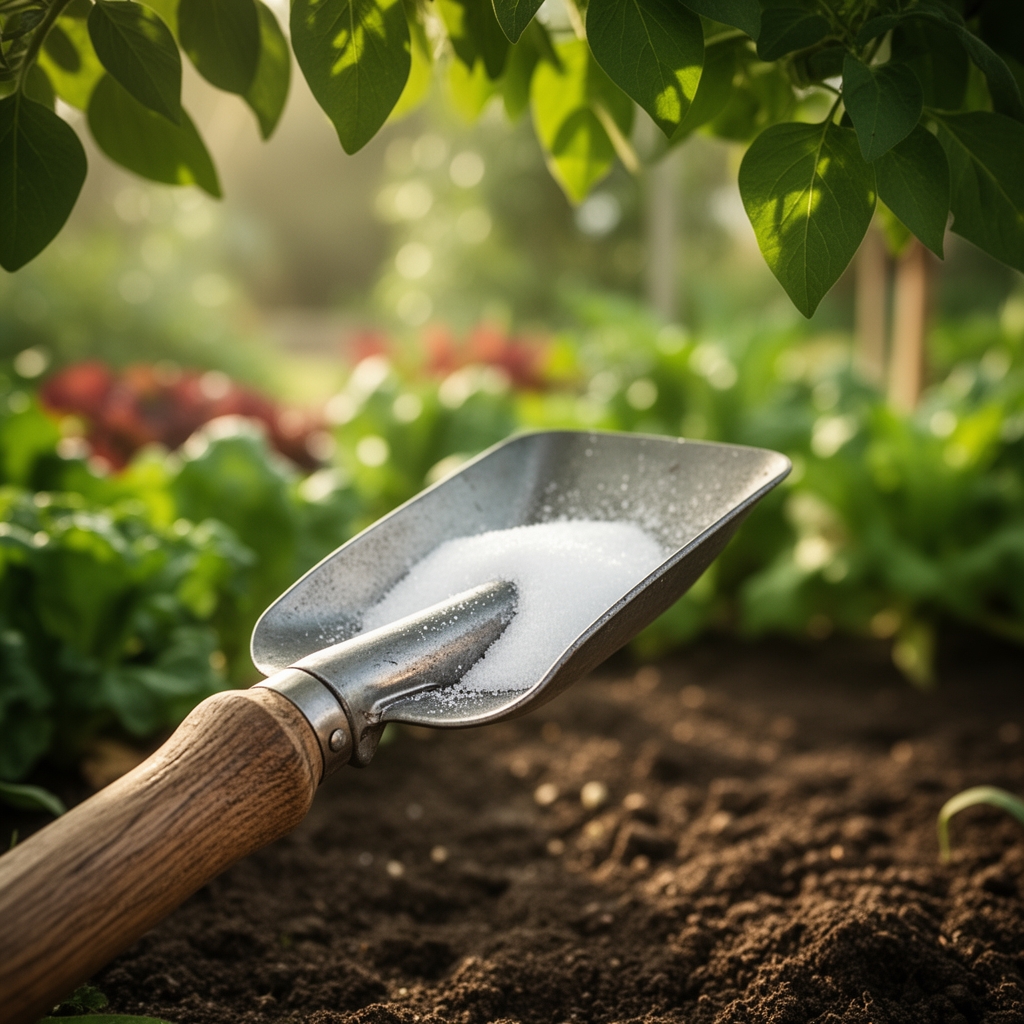
- Pelletized lime for easy spreading (less dust, consistent particle size)
Testing & Safety:
- Soil pH test kit or digital pH meter accurate to 0.1 increments
- Safety glasses and N95 dust mask rated for particulates
- Nitrile gloves (lime powder dries out skin)
Soil Amendments:
- Compost with 1-1-1 NPK ratio to blend with lime application
- Sulfur for lowering pH if you overcorrect (1 pound per 100 square feet drops pH by 1 point in sandy soil)
Target pH by Crop:
Brassicas (cabbage, broccoli) thrive at pH 6.5 to 7.0. Tomatoes prefer pH 6.2 to 6.8. Blueberries need acidic conditions at pH 4.5 to 5.5, so avoid liming their beds entirely.
Timing & Growing Schedule
Apply lime three to six months before planting to allow full soil integration. Fall application (September through November in Zones 5 through 8) gives winter rains time to move calcium deep into the root zone. Spring application works in Zones 9 through 11 where winter gardening dominates your calendar.
Hardiness Zone Considerations:
Zones 3 to 5 require fall liming by mid-October before ground freeze. Zones 6 to 8 can lime through early December. Zones 9 to 11 benefit from December through January application before spring planting.
pH Testing Schedule:
Test soil pH every 24 months in established beds. Test annually in new gardens or after adding significant organic matter. Heavy rainfall (40+ inches yearly) leaches calcium faster, requiring more frequent testing.
Application Rates:
Sandy soils need 25 to 50 pounds of lime per 1,000 square feet to raise pH by one full point. Clay soils require 50 to 100 pounds for the same shift. Loamy soils fall between at 35 to 75 pounds per 1,000 square feet.
Step-by-Step Instructions

Phase 1: Calibration
Load your spreader with pelletized lime and set the gate to medium flow (typically setting 3 on a 1 to 5 scale). Walk a measured 10-foot by 10-foot section at normal pace, cranking the handle at steady intervals. Collect output on a plastic tarp and weigh it.
Calculate pounds per 1,000 square feet by multiplying your 100-square-foot test area result by 10. Adjust the gate setting up or down and repeat the calibration test until you hit your target rate.
Pro-Tip: Temperature affects pellet flow. Calibrate with lime at ambient outdoor temperature, not straight from a warm garage. Cold pellets flow 15% slower through the gate mechanism.
Phase 2: Pattern Planning
Divide your garden into 10-foot wide sections using stakes and string. Plan to make overlapping passes, with each pass edge touching the previous pass centerline. This overlap method prevents striping.
Walk at 3 miles per hour (a comfortable stroll, about one step per second). Maintain consistent crank speed at roughly 60 revolutions per minute, or one full rotation per second.
Pro-Tip: Mark your spreader handle with bright tape at the 12 o'clock position so you can verify consistent rotation speed without counting in your head.
Phase 3: Application Execution
Start spreading at the garden perimeter, working inward in parallel lines. Keep the spreader at waist height (36 to 40 inches) for consistent broadcast diameter. The rotary mechanism throws particles in a 6 to 8-foot arc.
Make perpendicular passes after completing your first direction. This crosshatch pattern (north-south, then east-west) eliminates missed strips and doubles your coverage accuracy.
Pro-Tip: Apply half your calculated lime rate in the first direction, then apply the second half perpendicular to it. This split application technique compensates for any spreader irregularities.
Phase 4: Incorporation
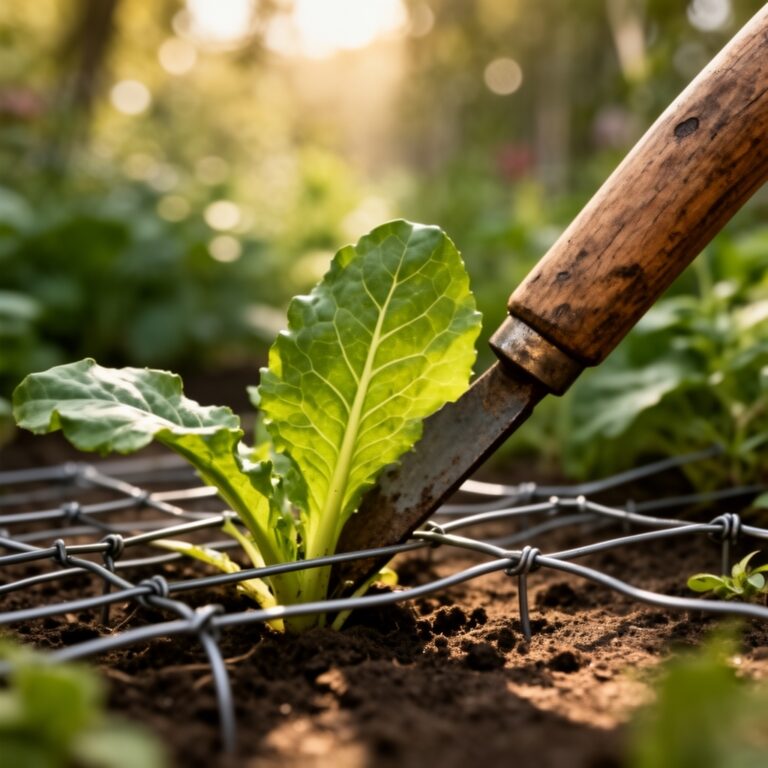
Work lime into the top 6 inches of soil using a garden fork or tiller within 48 hours of spreading. Surface-applied lime moves downward at only 1 inch per year in untilled ground.
Water the treated area with 0.5 inches of irrigation to start the chemical reaction between calcium carbonate and soil acids. Avoid planting for minimum 2 weeks after incorporation.
Pro-Tip: Mix lime with finished compost before tilling for faster pH adjustment. The organic acids in compost accelerate calcium dissolution, shaving 3 to 4 weeks off the waiting period.
Nutritional & Environmental Benefits
Calcium delivered through lime strengthens cell walls in vegetables, preventing blossom end rot in tomatoes and tip burn in lettuce. Adequate calcium produces crisper carrots and firmer bell peppers with extended storage life.
Magnesium from dolomitic lime activates enzymes critical for photosynthesis. The central atom in every chlorophyll molecule, magnesium deficiency shows as interveinal yellowing on older leaves. Correcting pH through lime application unlocks existing soil magnesium that acid conditions had bound up.
Proper pH enables nitrogen fixation by beneficial rhizobia bacteria in legume roots. Peas and beans can generate 50 to 150 pounds of nitrogen per acre when soil pH stays above 6.0, reducing synthetic fertilizer needs.
Mycorrhizal fungi colonize roots more aggressively in neutral pH soils (6.5 to 7.0). These symbiotic relationships extend effective root reach by 10 to 100 times, accessing phosphorus and micronutrients beyond root hair zones.
Ground-nesting bees including mason bees benefit from lime-treated areas. Female mason bees collect mud with specific calcium content for nest construction. Gardens with proper lime application support 40% higher mason bee populations compared to acidic sites.
Earthworm populations triple in limed soils versus acidic conditions. These soil engineers create channels that improve drainage and aeration while their castings add slow-release nutrients with NPK ratios around 5-5-3.
Advanced Methods
Small Space Strategy:
Container gardens need pH monitoring every 6 months due to rapid nutrient cycling. Mix 2 tablespoons of pelletized lime per 5-gallon container into potting mix at planting time. Reapply 1 tablespoon per container mid-season if pH drops below 6.0.
Raised beds lose calcium faster than in-ground plots due to increased drainage. Apply lime annually at half the in-ground rate (25 pounds per 1,000 square feet for loamy mixes). Blend lime into the top 3 inches each spring.
Organic & Permaculture Integration:
Combine lime with biochar at 10:1 ratio (lime to biochar by weight). The porous carbon structure holds calcium ions and releases them slowly, extending lime effectiveness from 18 months to 36 months.
Create "lime stations" in perennial food forests by broadcasting around fruit trees and berry bushes in 4-foot diameter circles. Reapply every 3 years based on soil tests.
Layer lime between browns and greens in compost piles at 1 cup per cubic yard. This moderates pH swings during decomposition and reduces ammonia off-gassing that wastes nitrogen.
Season Extension Techniques:
Lime application improves winter soil structure in cold frames and hoop houses. Apply in August at 75% of normal outdoor rates (lime can concentrate under cover due to reduced rainfall leaching). This pre-treats beds for fall lettuce, spinach, and Asian greens.
For succession planting, spot-treat individual rows between crops rather than broadcasting entire beds. Use a handheld spreader set to minimum flow for precision line application along prepared furrows.
Troubleshooting
Symptom: White crusty buildup on soil surface after spreading.
Solution: You over-applied lime or failed to incorporate it. Rake excess material into unplanted areas. Water deeply (2 inches) to dissolve surface accumulation. Wait 4 weeks and retest pH before adjusting further.
Symptom: Plants show iron deficiency (yellowing between leaf veins on new growth) after liming.
Solution: pH jumped too high, above 7.5, locking out iron and manganese. Apply chelated iron as foliar spray at 1 tablespoon per gallon weekly for 3 weeks. Add sulfur to gradually lower pH back to 6.5 over the next growing season.
Symptom: Spreader clogs or flows inconsistently during application.
Solution: Humidity caused lime powder to cake. Store lime in airtight containers with desiccant packets. Clean spreader gears and agitator bars with dry brush after each use. Switch to pelletized lime products that resist moisture absorption.
Symptom: Germination rates drop to 40% after liming previously acidic soil.
Solution: Fresh lime created temporary pH spike above 8.0. Wait minimum 3 weeks after incorporation before seeding. Flush beds with 1 inch of water weekly to accelerate pH stabilization. For immediate planting needs, use transplants instead of direct seeding.
Symptom: Uneven plant growth in parallel stripes matching spreader pass direction.
Solution: Spreader throw pattern was inconsistent or passes didn't overlap properly. Mark future passes with flour or spray paint for visual overlap confirmation. Reduce gate setting by one notch and make three passes instead of two (lengthwise, crosswise, then diagonal) for thorough coverage.
Storage & Maintenance
Spreader Care:
Rinse spreader components with water immediately after lime application. Calcium carbonate cement-bonds to metal parts if left wet. Dry all surfaces thoroughly before storage to prevent rust.
Lubricate gears and crank mechanisms monthly with food-grade mineral oil. Standard petroleum lubricants attract dust and create grinding paste when mixed with lime powder.
Store spreaders in climate-controlled space below 70% humidity. Garage storage during humid summers causes corrosion that jams adjustment mechanisms.
Lime Product Storage:
Keep unopened bags elevated on pallets in dry locations. Ground contact draws moisture through paper bags, turning powder into unusable bricks.
Transfer opened lime to 5-gallon buckets with gamma seal lids. Add silica gel packets (available from craft stores) to absorb ambient moisture. Properly stored lime remains effective for 5+ years.
Label containers with purchase date and product type (dolomitic versus calcitic). Lime products look identical but serve different soil chemistry needs.
Soil Maintenance Schedule:
Retest pH annually for two seasons after initial lime application to track correction progress. Most soils stabilize within 12 to 18 months of treatment.
Plan maintenance liming every 3 to 4 years in high-rainfall climates (Zones 5 to 9 with 35+ inches annual precipitation). Arid climates (Zones 8 to 10 with under 20 inches rainfall) rarely need repeat applications.
Watering Post-Application:
Deliver 1 inch of water weekly for four weeks following lime incorporation. This irrigation schedule dissolves calcium compounds and moves them into root zones.
Monitor soil moisture at 4-inch depth using a probe or your finger. Maintain consistent moisture without waterlogging, which can leach calcium before plant roots absorb it.
Cover Cropping:
Plant clover or alfalfa six weeks after liming to build on improved pH. These legumes add nitrogen while their deep roots mine subsoil calcium upward, creating long-term fertility.
Conclusion
Using a handheld spreader for vegetable garden lime transforms pH management from gamble to precision science, giving you control over the single most important factor in nutrient availability. Your calibrated application, systematic pattern, and proper incorporation create the neutral foundation where beneficial soil organisms thrive and vegetable crops reach genetic potential. Master these eight strategies and you will spend less money on fertilizers, eliminate pH-related deficiencies, and harvest vegetables with superior flavor and storage quality.
Share your soil test results and liming strategies with three neighboring gardeners this month. Local soil conditions vary within just a few blocks, and your successful approach provides actionable data for your entire community's growing efforts.
Expert FAQs
How long after using a handheld spreader for vegetable garden lime can I plant seeds?
Wait minimum 2 weeks after incorporating lime into tilled soil before direct seeding. The initial pH swing can reach 8.0 or higher, inhibiting germination. Three to four weeks provides safer conditions for sensitive crops like lettuce and carrots. Transplants tolerate freshly limed soil better than seeds since established root systems handle temporary pH fluctuations.
Can I apply lime and fertilizer at the same time with my spreader?
Never mix lime with ammonium-based fertilizers (ammonium sulfate, ammonium nitrate). The alkaline reaction converts ammonium to ammonia gas, wasting nitrogen and creating toxic concentrations around roots. Apply lime first, wait 2 weeks, then fertilize. You can safely apply lime with urea or organic fertilizers like blood meal, though separate applications optimize both products.
What spreader gate setting works best for pelletized lime?
Start at medium setting (position 3 on 1 to 5 scales) and calibrate for your walking speed. Pelletized lime flows 30% faster than powdered forms due to reduced friction between uniform spheres. Most gardeners achieve target rates of 50 pounds per 1,000 square feet at setting 2.5 to 3.5 when walking 3 miles per hour. Recalibrate whenever switching lime brands since pellet diameter varies.
How do I prevent lime dust when using a handheld spreader?
Choose pelletized lime products that generate 90% less dust than agricultural powder. Apply during calm morning hours when wind speeds stay below 5 miles per hour. Wear an N95 respirator rated for alkaline dust particles. Stand upwind of the spreader when cranking to keep airborne particles moving away from your breathing zone. Water application areas lightly 1 hour before spreading to settle existing dust.
Does lime application timing affect vegetable garden productivity?
Fall application (September through November) outperforms spring treatment by 25% in controlled trials. The extended reaction period allows complete pH stabilization before spring planting. Soil microbe populations recover from the pH shift during winter dormancy. Spring liming forces plants to establish roots during active pH changes, creating transplant shock and stunted early growth. Emergency spring applications work for new gardens, but plan fall timing for established beds.