9 Eco-Friendly Steps to Prepare a Sustainable Garden
The smell of damp earth after a spring rain is more than just a scent; it is the olfactory signature of geosmin, a metabolic byproduct of Actinobacteria. This compound signals a soil environment ready for cultivation. When you grasp a handful of high-quality loam, it should crumble under light pressure, indicating a balanced pore space for gas exchange. Learning how to prepare a garden for a sustainable vegetable garden requires understanding the physiological needs of the plant, from the turgor pressure of a seedling to the complex nutrient cycling within the rhizosphere. True sustainability is not an aesthetic choice but a rigorous biological commitment to soil health and resource efficiency. You must treat the soil as a living organism, managing its chemical composition and physical structure to ensure long-term productivity without synthetic intervention.
Materials:

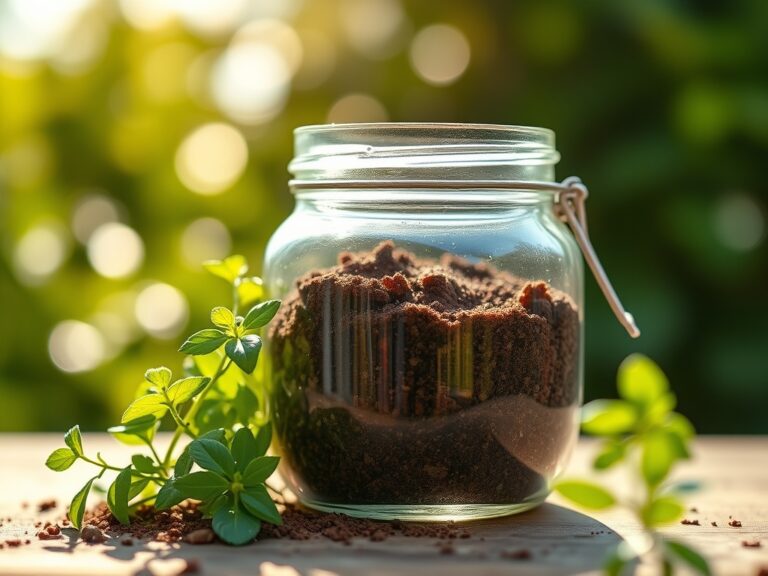
Sustainable gardening begins with a soil test to determine the Cation Exchange Capacity (CEC). This measurement dictates how well your soil holds onto essential nutrients like calcium, magnesium, and potassium. The ideal substrate is a **friable loam**, consisting of roughly **40 percent sand, 40 percent silt, and 20 percent clay**.
For a sustainable vegetable garden, target a pH range of 6.2 to 6.8. This range ensures maximum bioavailability of macronutrients. Your primary amendments should focus on specific NPK (Nitrogen, Phosphorus, Potassium) ratios derived from organic sources.
- Nitrogen (N): Use blood meal or alfalfa meal (NPK 12-0-0 or 2-1-2) to drive vegetative growth and chlorophyll production.
- Phosphorus (P): Apply bone meal or rock phosphate (NPK 0-12-0) to support robust root development and flower initiation.
- Potassium (K): Utilize kelp meal or sulfate of potash (NPK 0-0-50) to regulate stomatal opening and improve drought resistance.
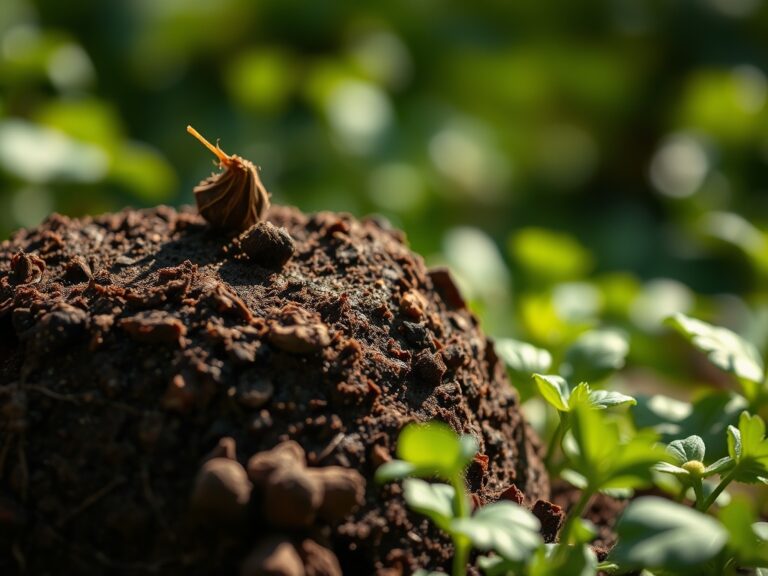
Incorporate 3 to 4 inches of well-aged compost into the top 6 inches of the soil profile. This increases the organic matter percentage, which should ideally sit between 5 and 8 percent for vegetable production.
Timing:
Success is dictated by the United States Department of Agriculture (USDA) Hardiness Zones and the specific frost dates of your microclimate. In Zones 5 through 7, the spring planting window typically opens between April 15 and May 15. You must track the "Biological Clock" of your crops, which is the transition from the vegetative stage (leaf and stem growth) to the reproductive stage (flowering and fruiting).
Cold-season crops like kale and peas require soil temperatures of at least 40 degrees Fahrenheit for germination. Conversely, warm-season crops like tomatoes and peppers require a consistent soil temperature of 65 degrees Fahrenheit. Planting too early leads to chilling injury, which disrupts the lipid composition of cell membranes, causing permanent stunting or death. Monitor the photoperiod; many plants are sensitive to day length, which triggers the production of florigen, the hormone responsible for flowering.
Phases:

Sowing
Direct sow seeds at a depth generally two to three times the width of the seed. Ensure consistent moisture to allow the seed coat to imbibe water, triggering the metabolic processes required for the radical to emerge.
Pro-Tip: Use a light dusting of cinnamon or charcoal on the soil surface to prevent "damping off." The Biological Why involves inhibiting the growth of fungal pathogens like Pythium. These fungi exploit high humidity to colonize the vascular tissue of seedlings, leading to cellular collapse.
Transplanting
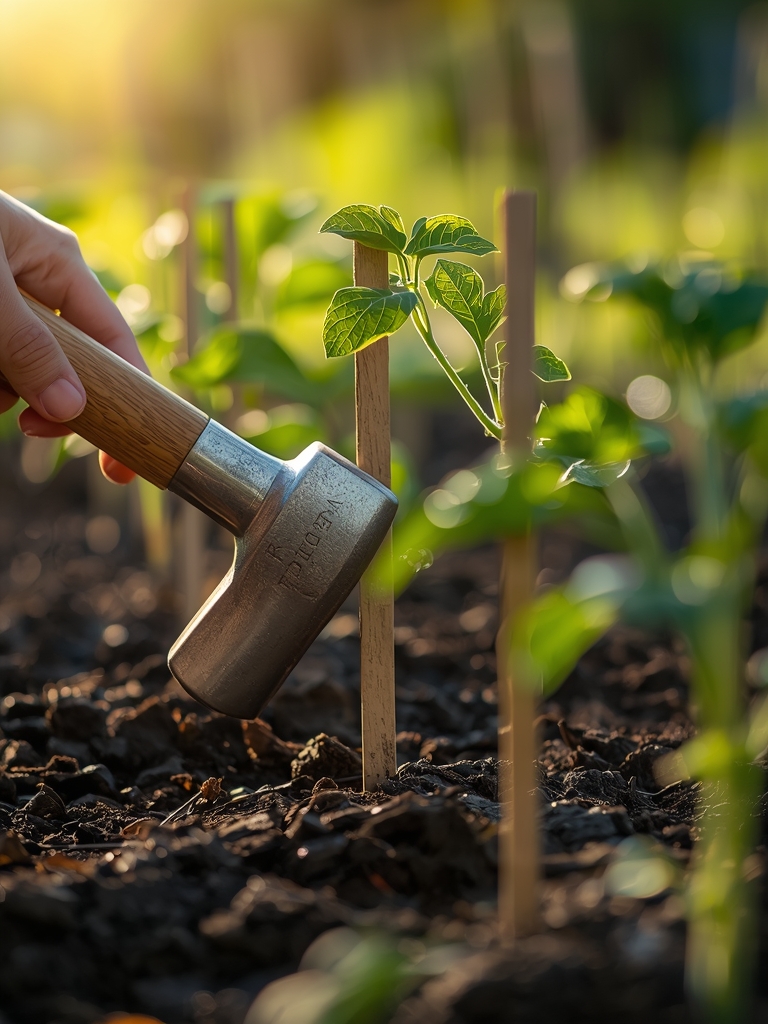
When moving starts from trays to the field, ensure they have at least two sets of true leaves. Dig a hole twice the width of the root ball to reduce mechanical resistance for new root hairs.
Pro-Tip: Inoculate the planting hole with mycorrhizal fungi. The Biological Why is mycorrhizal symbiosis; these fungi extend the reach of the root system by hundreds of times, significantly increasing the uptake of phosphorus and water through a network of hyphae.
Establishing
The first 14 to 21 days post-transplant are critical for establishment. Focus on root expansion rather than top growth. Avoid high-nitrogen fertilizers during this window to prevent "burning" tender new roots.
Pro-Tip: Pinch off the first set of flower buds on young pepper or tomato plants. The Biological Why is auxin suppression. By removing reproductive sinks, the plant redirects its energy (auxins) toward root and structural development, leading to a higher total yield later in the season.
The Clinic:
Physiological disorders often mimic disease but are usually rooted in environmental or nutritional stress.
-
Symptom: Interveinal chlorosis (yellowing between leaf veins) on older leaves.
Solution: This indicates a Magnesium deficiency.
Fix-It: Apply a foliar spray of Epsom salts (magnesium sulfate) at a rate of 1 tablespoon per gallon of water. -
Symptom: Blossom End Rot (dark, leathery spots on the bottom of fruit).
Solution: This is caused by a Calcium localized deficiency, often triggered by inconsistent watering.
Fix-It: Maintain consistent soil moisture to ensure calcium can be transported via the xylem. -
Symptom: Purpling of the undersides of leaves.
Solution: This indicates a Phosphorus deficiency, often caused by cold soil temperatures (below 55 degrees Fahrenheit) which lock out the nutrient.
Fix-It: Increase soil temperature using black plastic mulch or wait for seasonal warming. -
Symptom: General yellowing of the entire plant starting from the bottom.
Solution: Nitrogen chlorosis. The plant is scavenging nitrogen from old growth to support new growth.
Fix-It: Side-dress with a high-nitrogen organic fertilizer like fish emulsion.
Maintenance:
Precision is the hallmark of a sustainable garden. Vegetables generally require 1.5 inches of water per week, delivered directly to the drip line to minimize evaporation and prevent foliar diseases. Use a soil moisture meter to verify that the moisture has penetrated at least 6 inches deep.
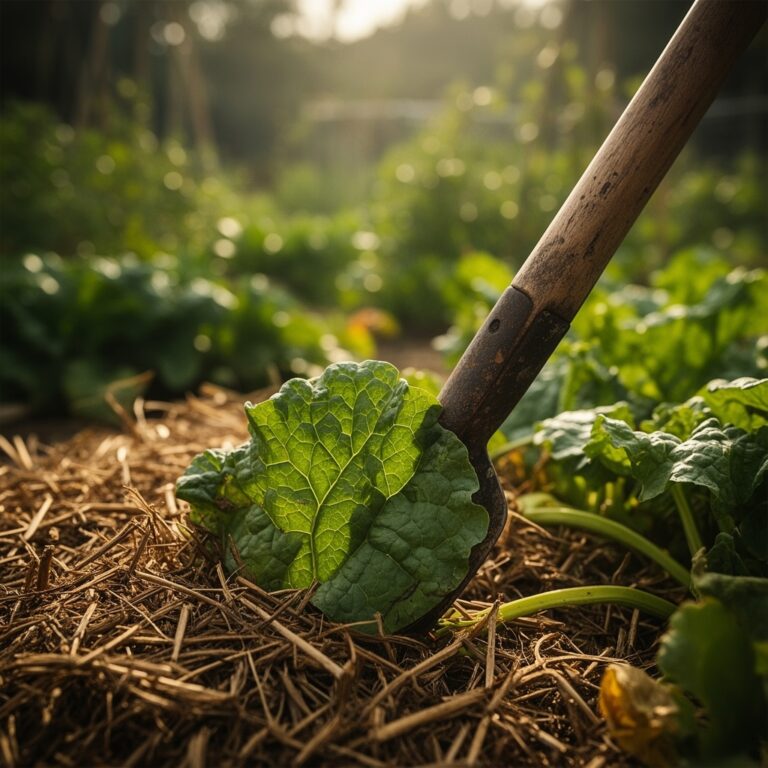
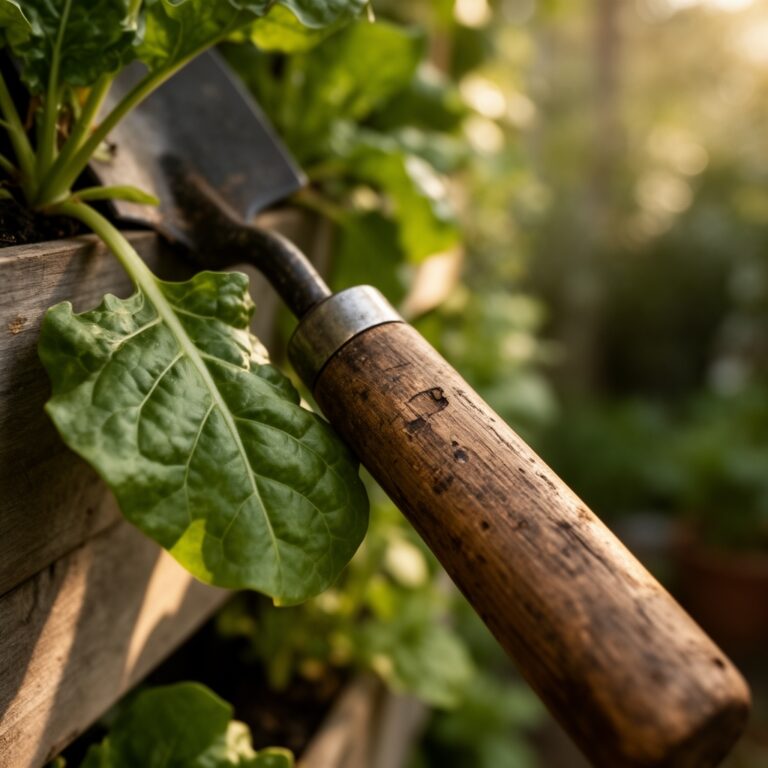
Keep your tools sharp and sanitized. Use bypass pruners for clean cuts on living tissue; anvil pruners can crush vascular bundles. A hori-hori knife is the most efficient tool for deep-root weeding and precise transplanting. Mulch with 2 inches of organic straw or shredded leaves to suppress weed seeds and regulate soil temperature. This practice protects the soil "crust" from compaction caused by heavy rain.
The Yield:
Harvesting is a biological intervention. For leafy greens, harvest in the early morning when turgor pressure is at its peak. This ensures the cells are fully hydrated, preventing immediate wilting. Use a sharp blade to make a clean cut, leaving the basal meristem intact if you desire a "cut and come again" crop.
For fruiting crops like tomatoes, harvest when the fruit reaches the "breaker stage" (about 50 percent color) to avoid splitting on the vine. To maintain "day-one" freshness, remove field heat immediately by placing the produce in a cool, shaded area. For root crops, do not wash them until right before consumption; the soil provides a protective barrier against moisture loss and microbial decay.
FAQ:
How do I fix poor soil drainage?
Incorporate organic matter like compost or expanded shale to increase macropores. This allows excess water to move through the soil profile via gravity, preventing anaerobic conditions that lead to root rot and pathogen proliferation.
What is the best way to suppress weeds sustainably?
Utilize "occultation" by covering the soil with a heavy silage tarp for 4 to 6 weeks. This triggers weed seed germination in the dark, where the seedlings quickly exhaust their energy reserves and perish without sunlight.
How often should I test my soil?
Perform a professional lab test every 2 to 3 years. This tracks changes in pH and nutrient levels, allowing for precise amendments rather than "blind" fertilizing, which can lead to nutrient runoff and environmental damage.
Can I use fresh manure in my vegetable garden?
No. Fresh manure contains high levels of ammonia and potential pathogens like E. coli. It must be hot-composted for at least 90 to 120 days to reach temperatures of 145 degrees Fahrenheit, neutralizing harmful bacteria.