9 Best Kneeling Pads for Comfort While Planting Vegetable Seeds
The sting of cold clay against bare knees cuts through every gardener's morning ritual. That dull ache transforms a joyful hour of seed sowing into a test of endurance, turning tender moments with soil into grimaces and shifting weight. Finding the best kneeling pads for planting vegetable seeds changes this equation entirely. A quality pad protects joints, maintains focus, and allows proper seed depth without distraction from pain radiating through aging cartilage.
Most gardeners sacrifice comfort for convenience, grabbing whatever folded towel or cardboard scrap sits near the shed. This approach fails within minutes. Professional-grade kneeling pads feature closed-cell foam, waterproof shells, and thickness measurements between 1.5 to 2 inches. These specifications matter when you're planting 200 carrot seeds at precise quarter-inch depths or establishing a 30-foot row of lettuce starts.
Materials & Supplies

Essential Padding Materials:
Closed-cell NBR foam (nitrile butadiene rubber) offers superior moisture resistance compared to open-cell alternatives. Look for density ratings between 40 and 60 kg/m³ for optimal support without excessive weight.
Structural Components:
Reinforced vinyl or polyurethane outer shells prevent punctures from gravel and twigs. Stitched handles add portability. Dimensions should measure at least 18 inches long by 11 inches wide to accommodate both knees simultaneously.
Companion Gardening Tools:
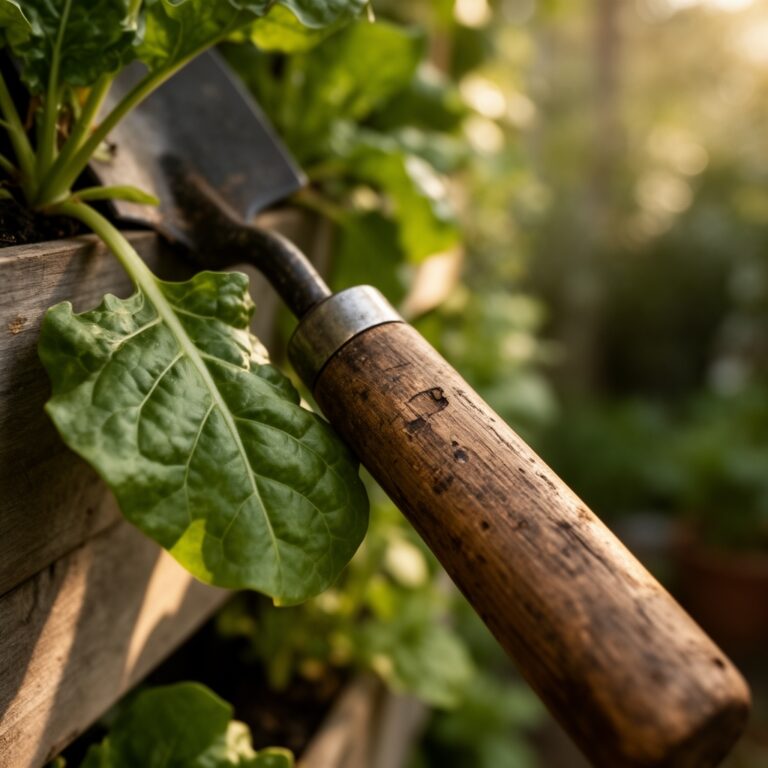
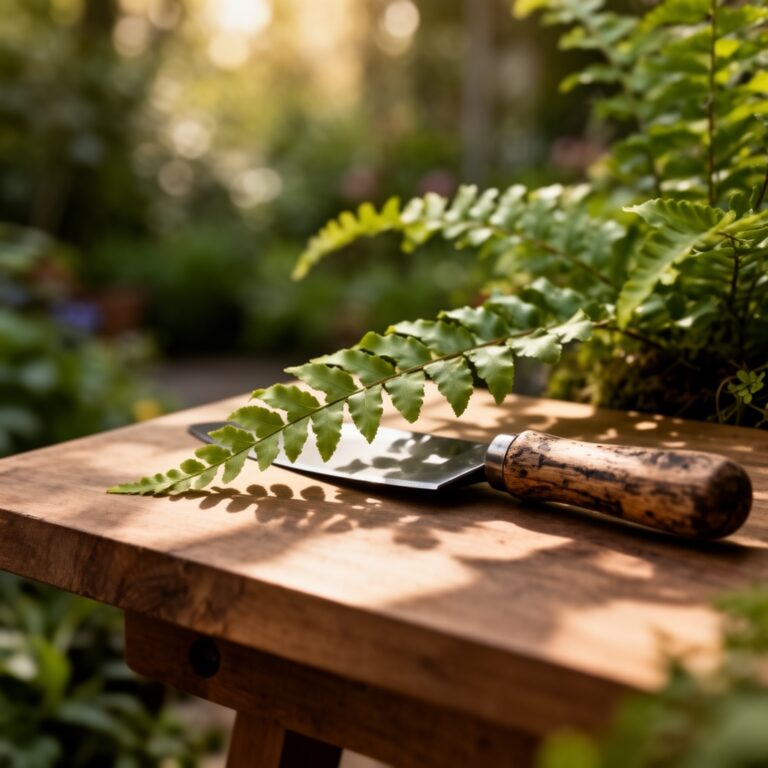
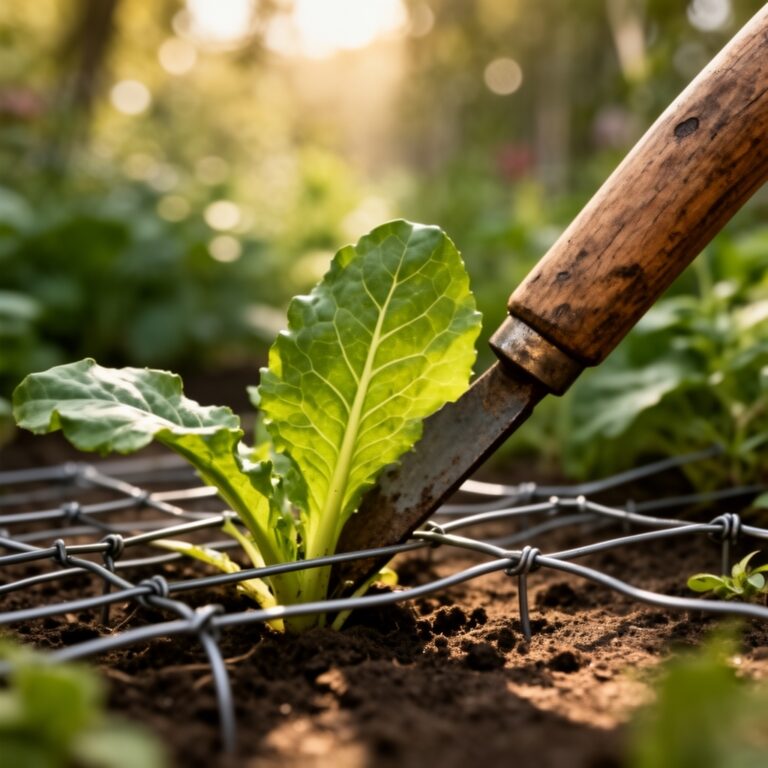
Pair your kneeling pad with a dibber or soil knife for seed placement. Keep a trowel and pH meter (targeting 6.0-7.0 for most vegetables) within arm's reach. A hand rake smooths soil after covering seeds.
Soil Amendments for Seed Beds:
Apply compost (NPK roughly 1-1-1) at 2 cubic feet per 100 square feet. Add bone meal (3-15-0) for root crops at 5 pounds per 100 square feet. Mycorrhizal fungi inoculant (0.02 ounces per seed hole) establishes beneficial partnerships.
Timing & Growing Schedule
Hardiness zones dictate everything. Zone 5 gardeners start cool-season crops like peas and spinach when soil temperatures reach 40°F in mid-April. Zone 8 growers can begin this process in February.
Days to Maturity Framework:
Radishes: 25-30 days. Lettuce: 45-55 days. Tomatoes: 65-85 days. Carrots: 70-80 days. Winter squash: 95-110 days. Count backward from your first expected frost date, adding 14 days for hardening-off transplants.
Seed-Starting Windows:
Direct sow root vegetables (carrots, parsnips, beets) 2-4 weeks before the last frost. Start brassicas (broccoli, cabbage, kale) indoors 6-8 weeks early. Warm-season crops (tomatoes, peppers, cucurbits) require soil temperatures above 60°F.
Step-by-Step Instructions

Phase 1: Sowing
Position your kneeling pad perpendicular to the prepared row. Create furrows at species-specific depths: lettuce at 1/4 inch, beans at 1 inch, squash at 1.5 inches. Space seeds according to packet instructions, typically 2-4 inches apart for most vegetables.
Cover seeds with fine soil, using your palm to firm contact. Water with a gentle mist to prevent displacement. Mark rows with labeled stakes.
Pro-Tip: Press your thumb into moist soil beside the row. If the depression holds its shape without crumbling or pooling water, moisture content sits perfect for germination.
Phase 2: Transplanting
Harden off seedlings over 7-10 days, gradually increasing outdoor exposure. Dig holes twice the root ball diameter. Position your kneeling pad to maintain ergonomic access without reaching beyond 18 inches.
Remove seedlings from containers by inverting and squeezing gently. Set at the same depth they grew in containers, except tomatoes (bury up to first true leaves for additional root development). Water immediately with diluted fish emulsion (5-1-1 at half strength).
Pro-Tip: Transplant on overcast afternoons. Bright sun stresses newly moved seedlings within 30 minutes, causing permanent wilting point damage.
Phase 3: Establishing
Monitor soil moisture daily for the first week. Apply 1/4 inch of water if the top inch feels dry. Position your kneeling pad to inspect seedlings without compacting surrounding soil. Remove competing weeds by hand while roots remain shallow.
Thin seedlings when true leaves appear. Cut rather than pull to avoid disturbing adjacent roots. Maintain spacing: 6 inches for lettuce, 12 inches for cabbage, 24 inches for tomatoes.
Pro-Tip: Scattered crushed eggshells around transplants deter cutworms. The sharp edges prevent their wrapping behavior while slowly releasing calcium (beneficial for preventing blossom end rot).
Nutritional & Environmental Benefits
Mineral Density in Homegrown Vegetables:
Garden-fresh produce contains 30-40% more vitamin C than store-bought equivalents harvested weeks earlier. Homegrown tomatoes show doubled lycopene concentrations. Leafy greens picked at sunrise retain peak iron and folate levels.
Ecosystem Services:
Flowering vegetables attract Mason bees and native pollinators. A 10×10 foot vegetable plot supports 15-20 beneficial insect species. Deep-rooted crops like tomatoes prevent soil erosion and sequester 2-3 pounds of carbon per plant annually through nitrogen fixation partnerships with soil bacteria.
Soil Health Indicators:
Earthworm populations exceeding 10 per cubic foot signal balanced microbiology. Decomposer fungi process organic matter, releasing slow-release nutrients throughout the growing season. Seed germination rates above 80% reflect optimal soil structure and biological activity.
Advanced Methods
Small Space Optimization:
Vertical trellising maximizes yields in 4×4 foot raised beds. Train cucumbers, beans, and peas upward on twine or cattle panels. Interplant fast-maturing radishes between slower crops like tomatoes. Succession plant lettuce every 2 weeks for continuous harvest.
Organic & Permaculture Practices:
Sheet mulch pathways with cardboard and wood chips to suppress weeds while building soil. Plant nitrogen-fixing cover crops (crimson clover, hairy vetch) in fall for spring incorporation. Create guild plantings: tomatoes with basil and marigolds, squash with nasturtiums and borage.
Season Extension Techniques:
Install row covers when nighttime temperatures drop below 45°F. Low tunnels extend harvests 4-6 weeks. Cold frames protect lettuce and spinach through Zone 6 winters. Apply 4-6 inches of straw mulch around root vegetables for in-ground storage.
Troubleshooting
Symptom: Seeds fail to germinate after 14 days.
Solution: Soil temperature likely fell below minimum threshold. Use a soil thermometer at 2-inch depth. Delay sowing cool-season crops until 40°F, warm-season until 60°F. Old seed loses viability; test germination rates on damp paper towels before sowing.
Symptom: Seedlings develop yellow lower leaves and stunted growth.
Solution: Nitrogen deficiency. Side-dress with blood meal (12-0-0) at 1 tablespoon per plant, working into top 2 inches of soil. Water deeply. Reapply every 3 weeks for heavy feeders like tomatoes and squash.
Symptom: Transplants wilt despite adequate moisture.
Solution: Root shock or transplant damage. Trim outer leaves by 20% to reduce transpiration demands. Apply shade cloth for 3-5 days. Water with kelp extract (0-0-1 plus growth hormones) to stimulate root regeneration.
Symptom: Mature plants produce abundant foliage but few fruits.
Solution: Excess nitrogen promotes vegetative growth over reproduction. Cease nitrogen applications. Apply bone meal (3-15-0) or rock phosphate to boost phosphorus. Reduce watering by 25% to stress plants into flowering mode.
Symptom: Uneven germination creates patchy rows.
Solution: Soil compaction or improper depth. Use your kneeling pad to distribute weight while loosening soil with a broadfork. Sow at exact depths using a marked dibber. Maintain consistent moisture; dry pockets prevent germination.
Storage & Maintenance
Watering Protocols:
Deliver 1 inch per week through rainfall and irrigation combined. Install a rain gauge to track accumulation. Water deeply twice weekly rather than shallow daily applications. This encourages roots to penetrate 12-18 inches, improving drought tolerance.
Feeding Schedules:
Apply balanced fertilizer (10-10-10) at planting. Switch to low-nitrogen formulas (5-10-10) when flowering begins. Side-dress heavy feeders every 3-4 weeks. Foliar spray with liquid kelp bi-weekly for trace minerals.
Kneeling Pad Care:
Rinse pads with a hose after use. Scrub stubborn soil with a stiff brush and mild soap. Store hanging or standing on edge to prevent mildew. Inspect seams monthly; repair small tears with vinyl adhesive patches before expansion.
Post-Harvest Storage:
Cure winter squash at 80°F for 10 days before storage. Keep root vegetables in damp sand at 32-40°F. Freeze or can excess produce within 2 hours of harvest to preserve nutrients. Save seeds from open-pollinated varieties for next season.
Conclusion
Success in vegetable gardening flows from attention to precise depths, temperatures, and timing paired with equipment that supports rather than hinders the process. The best kneeling pads for planting vegetable seeds transform joint stress into sustained comfort, allowing focus on the intricate work of establishing healthy crops. Proper tools, informed techniques, and consistent care create abundance from tiny seeds. Share your germination rates and favorite kneeling pad discoveries with local gardening groups to strengthen community knowledge and encourage new growers to start their first plots this season.
Expert FAQs
What thickness kneeling pad works best for rocky soil?
Choose 2-inch thickness with high-density foam (60 kg/m³ rating). Add a rigid plastic base plate for uneven terrain. Double-layer pads by stacking two 1-inch versions if rocks exceed 3 inches in diameter.
How do I prevent my kneeling pad from sliding on slopes?
Select models with textured rubber bottom surfaces. Place a rubber shelf liner underneath for additional grip. Position your body perpendicular to the slope rather than parallel to distribute weight evenly.
Can kneeling pads damage soil structure?
Quality pads distribute pressure across 200 square inches, reducing compaction compared to boot soles (30 square inches). Avoid kneeling on freshly tilled or saturated soil. Work from permanent pathways when possible.
What's the difference between gardening knee pads and kneeling pads?
Knee pads strap directly to legs, offering mobility but less cushioning (typically 0.5-inch foam). Kneeling pads provide superior thickness (1.5-2 inches) and stability for stationary tasks like seed sowing. Use knee pads for weeding, kneeling pads for planting.
How long should a professional-grade kneeling pad last?
Expect 5-7 years with proper care. UV exposure and temperature extremes degrade foam. Store indoors during winter. Replace when compression exceeds 25% of original thickness or when cracks appear in the outer shell.