8 Steps to Make a DIY Compost Tea Brewer to Feed Your Vegetables
I’ve tasted liquid gold straight from a five-gallon bucket, and let me tell you, your vegetables will grow faster and healthier when you feed them actively aerated compost tea. This nutrient-dense brew introduces billions of beneficial microorganisms—including mycorrhizal fungi and nitrogen-fixing bacteria—directly to your plant roots. Learning the steps for making a DIY compost tea for vegetables transforms finished compost from a static soil amendment into a living, breathing microbial inoculant that supercharges plant growth without the sticker shock of commercial liquid fertilizers.
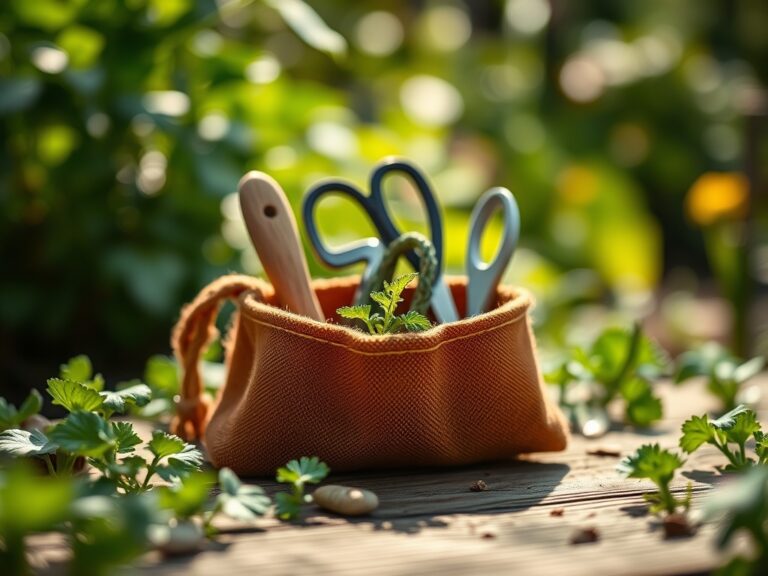
Materials & Supplies
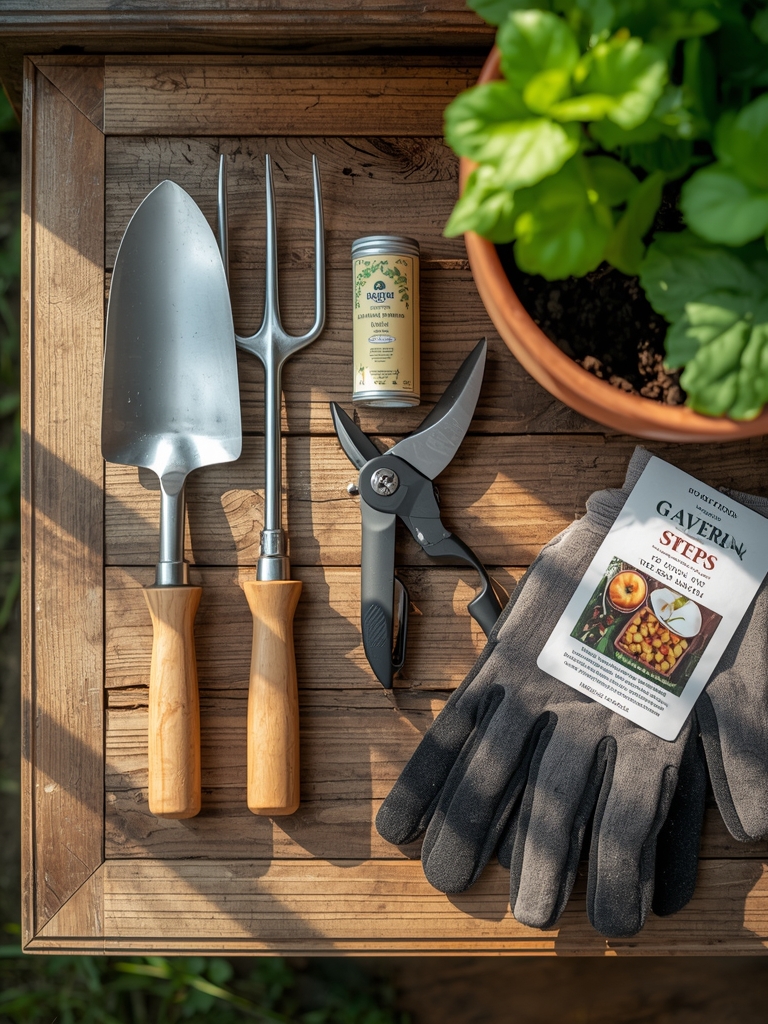
Brewing Equipment:
- Food-grade 5-gallon bucket (never use one that held chemicals)
- Aquarium air pump rated for at least 20 gallons (single outlet, 2-3 watts minimum)
- 24 inches of airline tubing
- Two air stones (the ceramic variety, not plastic bubble wands)
- Mesh paint strainer bag or old pillowcase
Tea Ingredients:
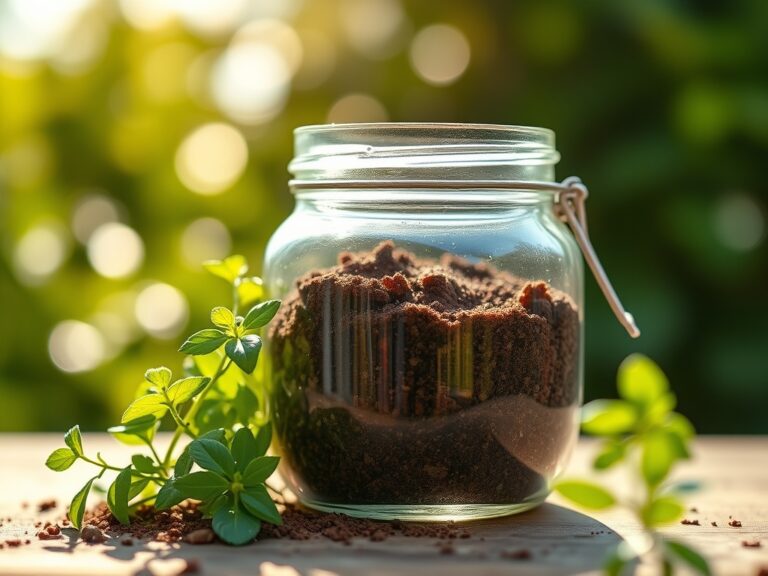
- 2 cups high-quality finished compost (fully decomposed, earthy-smelling, crumbly texture)
- 2 tablespoons unsulfured blackstrap molasses
- 1 tablespoon kelp meal or liquid kelp extract
- 4.5 gallons dechlorinated water (let tap water sit 24 hours or use rainwater)
Application Tools:
- Watering can with rose attachment or backpack sprayer
- pH test strips (target range: 6.5–7.5)
Timing & Brewing Schedule
Brew compost tea during the active growing season when soil temperatures exceed 60°F and your vegetables are establishing roots or flowering. The brewing process takes 24–36 hours from start to finish.
Best Application Windows:
- Early morning (before 9 AM) when stomata are open
- Cloudy days to prevent UV degradation of beneficial bacteria
- Within 4 hours of brewing completion—microbial populations crash after that window
Apply compost tea every 14–21 days throughout the growing season. For heavy feeders like tomatoes, squash, and brassicas, increase to weekly applications during peak fruiting. In USDA Hardiness Zones 8–11, you can brew year-round. Gardeners in Zones 3–7 should focus brewing efforts from late spring through early fall when soil biology is most active.
Step-by-Step Instructions

Phase 1: System Assembly (15 minutes)
Fill your 5-gallon bucket with 4.5 gallons of dechlorinated water. Attach both air stones to the airline tubing and connect to your pump. Submerge the air stones at the bottom of the bucket—they should rest on opposite sides for maximum circulation.
Pro-Tip: Run the pump for 5 minutes before adding compost to ensure oxygen saturation starts high. Anaerobic conditions breed plant pathogens, not beneficial microbes.
Phase 2: Loading the Tea Bag (10 minutes)
Place your 2 cups of compost into the mesh strainer bag. Squeeze and massage the bag under water for 30 seconds to release microorganisms, then secure it to the bucket handle so it dangles in the upper third of the water column. The bubbling action will continuously agitate it.
Pro-Tip: Check your compost’s moisture content first. Squeeze a handful—it should feel like a wrung-out sponge. Too dry means dormant microbes; too wet signals anaerobic decomposition.
Phase 3: Adding Microbial Foods (5 minutes)
Dissolve 2 tablespoons of molasses in a cup of warm water, then pour into your brewing bucket. Add the kelp meal directly to the water. These ingredients feed bacterial and fungal populations, causing them to multiply exponentially.
Pro-Tip: Molasses feeds bacteria preferentially; if you want a fungal-dominant tea for woody perennials, reduce molasses to 1 tablespoon and add 1 tablespoon of fish hydrolysate.
Phase 4: Brewing Period (24-36 hours)
Let the pump run continuously. The water should have a rolling boil appearance from aeration. Check after 12 hours—the tea should smell earthy and slightly sweet. Any sulfur or rotten odor means you’ve gone anaerobic; dump it on your compost pile and start over.
Pro-Tip: Water temperature matters. Ideal brewing temperature is 65–75°F. Below 60°F, microbial reproduction slows dramatically. Above 85°F, you’ll kill beneficial organisms.
Phase 5: Harvesting & Dilution (10 minutes)
After 24–36 hours, remove the compost bag and squeeze out excess liquid back into the bucket. Turn off the pump. The finished tea should be dark brown with a foamy surface layer—that foam contains billions of living organisms.
Use the tea at full strength as a soil drench or dilute 1:1 with water for foliar feeding.
Pro-Tip: Save the spent compost from the bag. It still contains valuable organic matter—spread it as mulch around plant bases.
Phase 6: Application Method
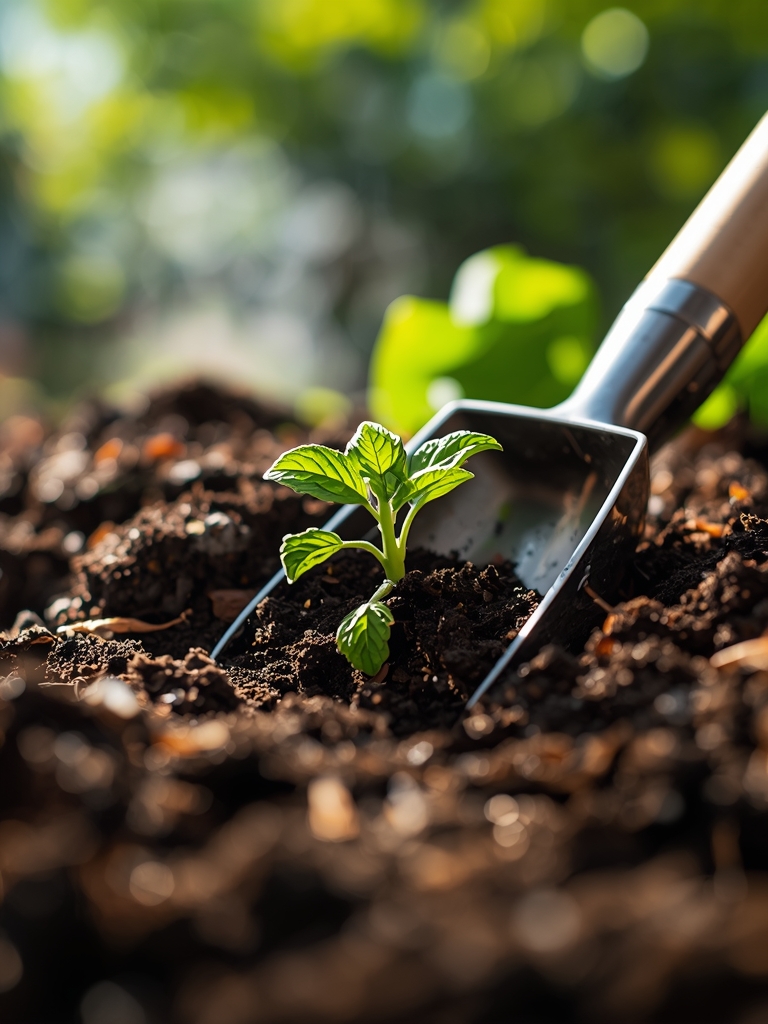
Pour tea directly at the root zone, saturating the top 4–6 inches of soil. Each mature vegetable plant needs 1–2 quarts. For foliar application, strain the tea through cheesecloth first to prevent sprayer clogs, then mist leaf surfaces until droplets run off.
Pro-Tip: Apply foliar spray to leaf undersides where stomata are most concentrated. This is where nutrient and microbial uptake happens most efficiently.
Nutritional & Environmental Benefits
Compost tea delivers soluble nutrients including nitrogen (1–3%), phosphorus, and potassium along with micronutrients like iron, manganese, and zinc. But the real magic lies in the biological component. A single teaspoon of quality compost tea contains more beneficial bacteria than there are people on Earth.
These microorganisms colonize root surfaces and leaf tissue, outcompeting pathogens like Pythium root rot, powdery mildew, and early blight. Specific species like Bacillus subtilis produce natural antibiotics. Protozoa in the tea consume bacteria and excrete plant-available nitrogen through a process called the microbial loop—essentially creating a living fertilizer factory in your soil.
Advanced Methods & Variations
Small Space/Container Gardens:
Scale down to a 1-gallon batch using a small aquarium pump. Use 1/3 cup compost, 1 teaspoon molasses, and 1 teaspoon kelp meal. Container plants benefit enormously because potting mix lacks diverse soil biology.
Organic/Permaculture Systems:
Add 1 tablespoon of vermicompost (worm castings) to your standard recipe for increased fungal diversity. Include a handful of aged leaf mold to boost actinomycetes—bacteria that produce that characteristic forest floor smell and suppress soil-borne diseases.
Cold-Season Brewing:
In spring when soil is still cool, add 1 tablespoon of glacial rock dust to your brew. This introduces beneficial bacteria that help plants access locked-up phosphorus in cold soils. Brew indoors where temperatures stay above 65°F.
Troubleshooting: Common Mistakes
Problem: Tea smells like rotten eggs or sewage
Symptom: Sulfur odor, flat appearance without foam
Solution: Anaerobic conditions developed. Your pump wasn’t strong enough or failed mid-brew. Never apply anaerobic tea—it contains plant pathogens. Increase pump wattage or add a second air stone.
Problem: Minimal foam production
Symptom: Thin or absent foam layer after 24 hours
Solution: Low-quality compost or insufficient food source. Your compost may have been too old, stored improperly, or thermally dead from overheating. Source fresh, actively managed compost. Add an extra tablespoon of molasses.
Problem: Plants show leaf burn after foliar application
Symptom: Brown crispy edges on leaves within 48 hours
Solution: Too much dissolved salt or you sprayed during hot midday sun. Always apply foliar sprays before 9 AM or after 6 PM. Test your base compost—EC levels above 4.0 mS/cm indicate excess salts.
Problem: No visible plant response after multiple applications
Symptom: Vegetables show no improvement in growth rate or leaf color
Solution: Your soil may be biologically dead from chemical fertilizer use or low in organic matter. Compost tea works best when soil already contains 3–5% organic matter. Top-dress beds with 2 inches of finished compost first, then resume tea applications.
Problem: Pump stops working mid-brew
Symptom: Bubbles cease, often after 12–18 hours
Solution: Molasses can clog air stones. Clean stones weekly with a vinegar soak. Replace cheap aquarium pumps with vibrating diaphragm models rated for continuous operation.
Storage & Ongoing Maintenance
Use brewed compost tea within 4 hours for maximum microbial benefit. After 6 hours, populations begin declining as oxygen depletes and food runs out. Never store brewed tea overnight—aerobic organisms die and anaerobic pathogens proliferate.
Brewer Maintenance:
Rinse all equipment with clean water immediately after use. Once monthly, sanitize the bucket and air stones with a 10% hydrogen peroxide solution, then rinse thoroughly. Replace air stones every 3 months—mineral buildup reduces bubble production and oxygen transfer efficiency.
Application Schedule:
Water vegetables with compost tea every 14 days during vegetative growth. Increase to weekly applications when plants begin flowering and fruiting—this is when nutrient demand peaks. Alternate between soil drenching and foliar feeding for comprehensive coverage.
After applying compost tea as a soil drench, follow up with regular water to drive microorganisms deeper into the root zone.
Success Blueprint
Master these eight steps and you’ll establish a self-sustaining cycle where beneficial microbes continuously colonize your vegetable roots, suppressing disease and making nutrients more available. Your vegetables will show darker green foliage, increased fruit set, and improved flavor from enhanced nutrient uptake. The initial equipment investment of $25–30 pays for itself after three brews compared to commercial microbial inoculants.
Start your first batch this weekend and apply it to your heaviest feeders—you’ll see measurable differences in growth within 10 days. Share your results in the comments below, especially any pest or disease pressure reductions you observe.
Expert FAQs
Can I use garden soil instead of finished compost for brewing tea?
No. Garden soil contains dormant weed seeds, disease spores, and potentially harmful bacteria. Finished compost has been through thermophilic decomposition that kills pathogens while preserving beneficial organisms. The compost must be fully cured—no ammonia smell, no visible food scraps, completely crumbly texture.
How do I know if my compost tea has enough beneficial organisms?
Professional microscopy is the only definitive test, but sensory indicators work well. Quality tea smells earthy-sweet like forest soil, produces thick white or tan foam, and has dark brown coloration. If you have access to a microscope at 400x magnification, you should see active bacteria darting around and hyphal strands of fungi.
Will compost tea burn my vegetable plants like synthetic fertilizer?
Properly brewed aerobic compost tea cannot burn plants—the nutrient concentration is too low. However, anaerobic tea or tea made from extremely salty compost can cause damage. Always pH test your finished brew. Readings below 6.0 or above 8.0 indicate problems. Target range is 6.5–7.5.
Can I add fish emulsion or seaweed extract to my brewing recipe?
Yes, but reduce molasses to 1 tablespoon to avoid over-feeding bacteria. Fish emulsion (1 tablespoon per 5 gallons) boosts nitrogen and feeds fungal populations. Liquid kelp adds growth hormones and micronutrients. Don’t exceed three ingredients plus compost—too many food sources can cause an ammonia spike that kills beneficial organisms.
Does compost tea replace regular fertilization for heavy feeders like tomatoes?
Compost tea supplements but doesn’t fully replace solid organic fertilizer for nutrient-demanding crops. Use tea for its microbial inoculation benefits and quick nutrient access between regular feedings. Heavy feeders still need baseline nutrition from compost, aged manure, or organic granular fertilizers applied according to soil test results. Think of tea as a probiotic supplement, not a complete meal replacement.