8 Precise Steps for Dividing an Overgrown Spider Plant
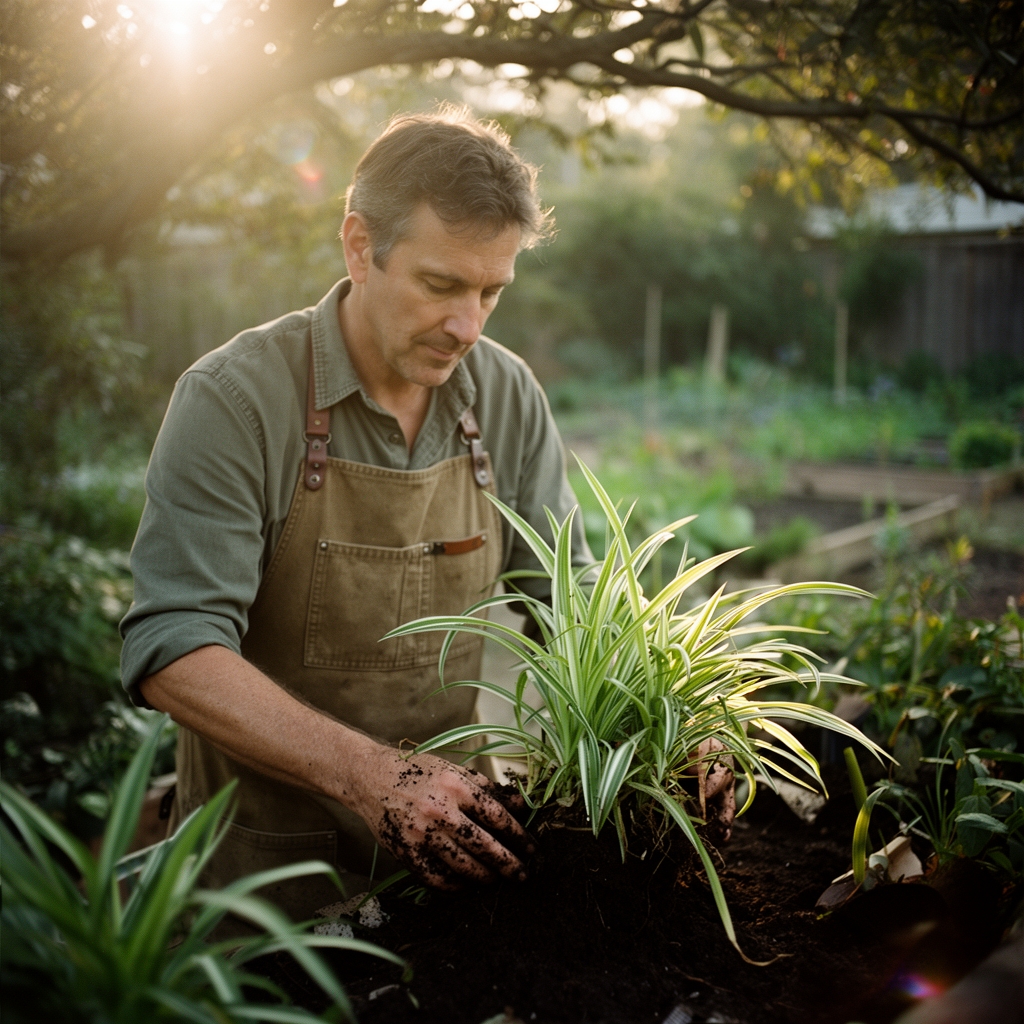
The dense crown of an overgrown spider plant (Chlorophytum comosum) collapses under its own weight, roots circling the pot's interior in a strangled mass. Leaves yellow at the base. New plantlets dangle on stolons with nowhere to root. These are the signals that division is no longer optional. The steps for dividing an overgrown spider plant restore vigor by separating congested rhizomes, redistributing auxin flow, and giving each division access to fresh substrate with functional cation exchange capacity.
Materials

Assemble containers with drainage holes, sized 6 to 8 inches in diameter for standard divisions. The potting medium should be soilless: 2 parts peat or coir, 1 part perlite, 1 part vermiculite. Target pH sits between 6.0 and 6.5. Incorporate a balanced organic fertilizer at 4-4-4 NPK ratio, applied at 1 tablespoon per gallon of mix. This slow-release formulation supports root establishment without the salt accumulation common to synthetic blends.
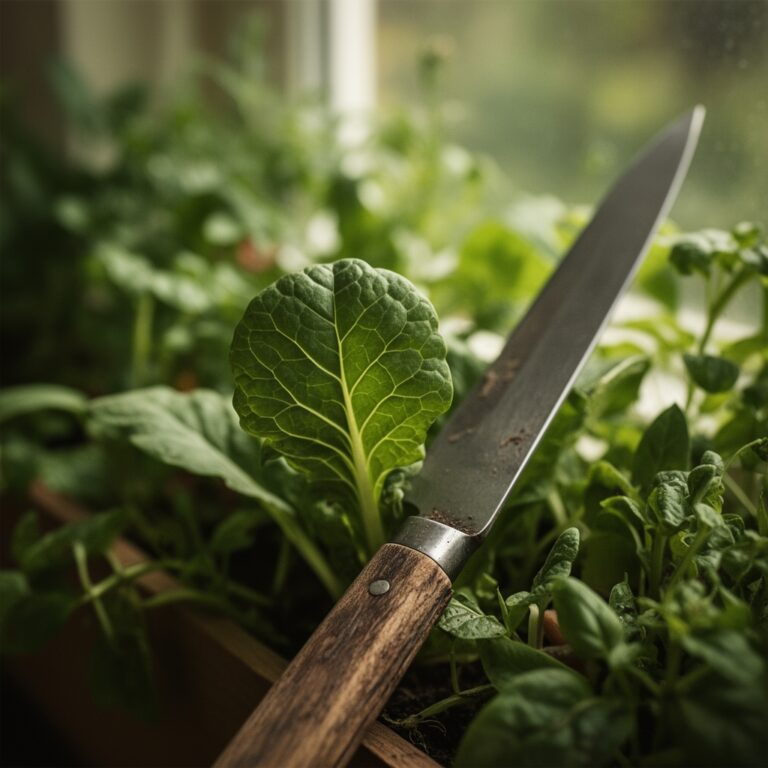
Sharp pruning shears or a sterile knife are non-negotiable. Sterilize blades with 70% isopropyl alcohol between cuts to prevent transmission of Erwinia or Fusarium pathogens. A spray bottle filled with dechlorinated water helps rinse exposed roots. Mycorrhizal inoculant, specifically Glomus species formulated for ornamental herbaceous plants, accelerates colonization of new root tissue and enhances phosphorus uptake.
Timing
Spider plants tolerate division year-round indoors, but optimal windows align with active growth phases. In USDA Hardiness Zones 9 through 11, where outdoor cultivation is feasible, divide after the final spring frost date when soil temperatures stabilize above 60°F. For indoor specimens across all zones, early spring through mid-summer provides peak metabolic activity. Avoid division during winter dormancy when photosynthetic rates drop and carbohydrate reserves are lowest.
Ambient temperatures between 65°F and 75°F during the two weeks post-division minimize transplant shock. Lower temperatures slow root regeneration. Higher temperatures increase transpiration stress before new roots establish functional xylem connections.
Phases
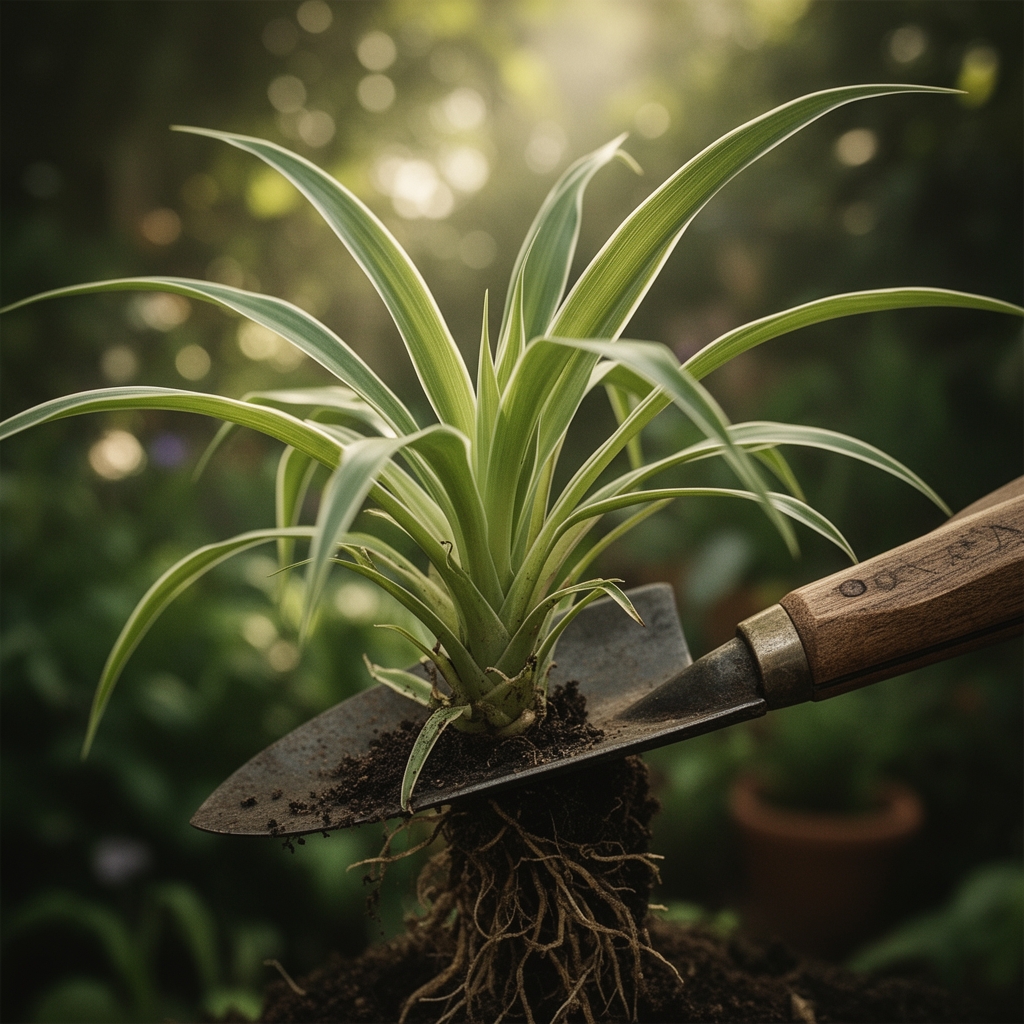
Phase 1: Extraction and Assessment
Water the parent plant 24 hours before division to hydrate tissues and reduce root brittleness. Invert the pot and tap the rim against a solid surface. Slide the root ball free. Examine the root structure. Healthy roots appear white to cream-colored with firm texture. Brown, mushy roots indicate rot and require removal.
Pro-Tip: Roots that have circled the pot perimeter for extended periods develop lignified cell walls.Score these roots vertically with a sterile blade at four equidistant points around the circumference to stimulate lateral branching.
Phase 2: Separation
Identify natural division points where individual crowns emerge from the rhizome cluster. Each division must contain at least three to five mature leaves and an intact root segment measuring 2 inches minimum in length. Use fingers to tease apart loosely connected roots. Deploy the knife only when rhizomes fuse too tightly for manual separation.
Cut through rhizomes at 90-degree angles to minimize surface area exposed to pathogens. Dust cut surfaces with powdered sulfur or cinnamon, both of which exhibit antifungal properties without phytotoxicity. Rinse soil from roots under lukewarm water to expose damage or pest presence.
Pro-Tip: Submerge roots in a dilute solution of 1 part hydrogen peroxide (3% concentration) to 10 parts water for 60 seconds. This oxidizes surface pathogens and aerates root tissue without harming beneficial microbes embedded in root cortex layers.
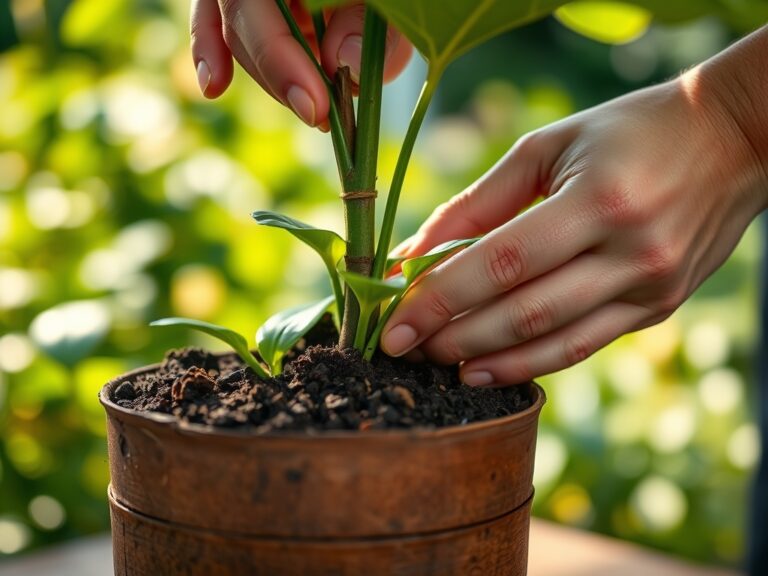
Phase 3: Potting and Establishment
Fill containers halfway with prepared potting mix. Position each division so the crown sits level with the final soil surface. Burying the crown invites rot. Backfill with remaining mix, firming gently to eliminate air pockets that desiccate roots. Water until drainage begins, then allow excess to escape completely.
Place divisions in bright, indirect light for 10 to 14 days. Direct sun during this period overwhelms the reduced root system's capacity to supply water to leaf surfaces, causing marginal necrosis. Maintain relative humidity between 50% and 60%. Apply mycorrhizal inoculant directly to root zones at planting by dusting roots or incorporating into the immediate planting hole at manufacturer-specified rates.
Pro-Tip: Trim back one-third of leaf length on each division using cuts angled at 45 degrees. This reduces transpirational load while the root system regenerates, balancing water loss with uptake capacity.
Troubleshooting
Symptom: Leaf tips brown and crispy within one week post-division.
Solution: Excess soluble salts in tap water or overfertilization. Flush pots with distilled water at twice the container volume. Resume fertilization at half-strength after four weeks.
Symptom: Yellowing leaves with green veins (interveinal chlorosis).
Solution: Iron deficiency induced by alkaline pH. Test substrate pH. Amend with elemental sulfur at 1 teaspoon per gallon of mix to lower pH, or apply chelated iron (Fe-EDTA) at 1 gram per liter in irrigation water.
Symptom: White, cottony masses on leaf bases and crowns.
Solution: Mealybug (Pseudococcidae) infestation. Isolate affected plant. Dab insects with cotton swabs dipped in 70% isopropyl alcohol. Follow with insecticidal soap at 2% concentration, applied every five days for three applications.
Symptom: Wilting despite moist substrate.
Solution: Root rot from Pythium or Phytophthora. Unpot division, remove all brown roots, and repot in fresh, sterile medium. Water only when the top inch of substrate is dry to the touch.
Symptom: Stunted growth with no new leaf emergence after three weeks.
Solution: Insufficient light or depleted carbohydrate reserves. Increase light intensity to 200 to 400 foot-candles. Apply dilute liquid fertilizer at 1-1-1 NPK ratio weekly for four weeks to rebuild energy stores.
Maintenance
Water when the top 1 inch of substrate is dry. Spider plant roots store water in tuberous structures, making them drought-tolerant but intolerant of waterlogged conditions. Apply 0.5 inches of water per irrigation event, measured with a rain gauge placed in the saucer.
Fertilize every four weeks during active growth with a balanced 10-10-10 NPK fertilizer diluted to one-quarter label strength. Flush substrate every three months to prevent salt accumulation. Maintain temperatures between 60°F and 80°F. Avoid cold drafts below 50°F, which cause leaf dieback.
Repot divisions when roots fill 80% of container volume, typically 12 to 18 months post-division. Prune dead or damaged leaves at the base with sterilized shears. Remove spent stolons after harvesting plantlets to redirect energy toward foliage production.
FAQ
How many divisions can I make from one overgrown plant?
A severely potbound specimen with a 10-inch root ball typically yields four to six viable divisions, each containing adequate root mass and foliage for independent survival.
Can I divide a spider plant with active plantlets on stolons?
Yes. Detach plantlets at the stolon junction before dividing the parent. Root plantlets separately in water or moist vermiculite for seven to ten days before potting.
Do divisions require fertilizer immediately after potting?
No. The incorporated 4-4-4 organic amendment provides sufficient nutrients for four to six weeks. Premature fertilization increases salt stress on regenerating roots.
What light intensity promotes fastest recovery?
Indirect light measuring 200 to 400 foot-candles, equivalent to a position 3 to 5 feet from an east- or west-facing window, balances photosynthesis with reduced transpirational demand.
How long until divisions produce new plantlets?
Expect stolon production six to nine months post-division once root systems occupy 60% of container volume and foliage reaches mature density. Photoperiod and nutrient availability influence timing significantly.