8 Organized Steps to Prepare a DIY Plant Tray
The sharp, metallic scent of wet vermiculite signals the start of the propagation cycle. You feel the grit of perlite against your palms as you mix the substrate; a tactile reminder that successful germination begins with physical texture. Healthy seedlings depend on high turgor pressure within their cellular walls to push through the soil surface. To achieve this, you must master how to prepare a DIY plant tray with clinical precision. This process is not about aesthetics. It is an engineering task focused on the rhizosphere. You are building a controlled environment where moisture, gas exchange, and nutrient availability are optimized for the vulnerable transition from seed to sapling. Every gram of soil and every milliliter of water determines the structural integrity of the future plant.
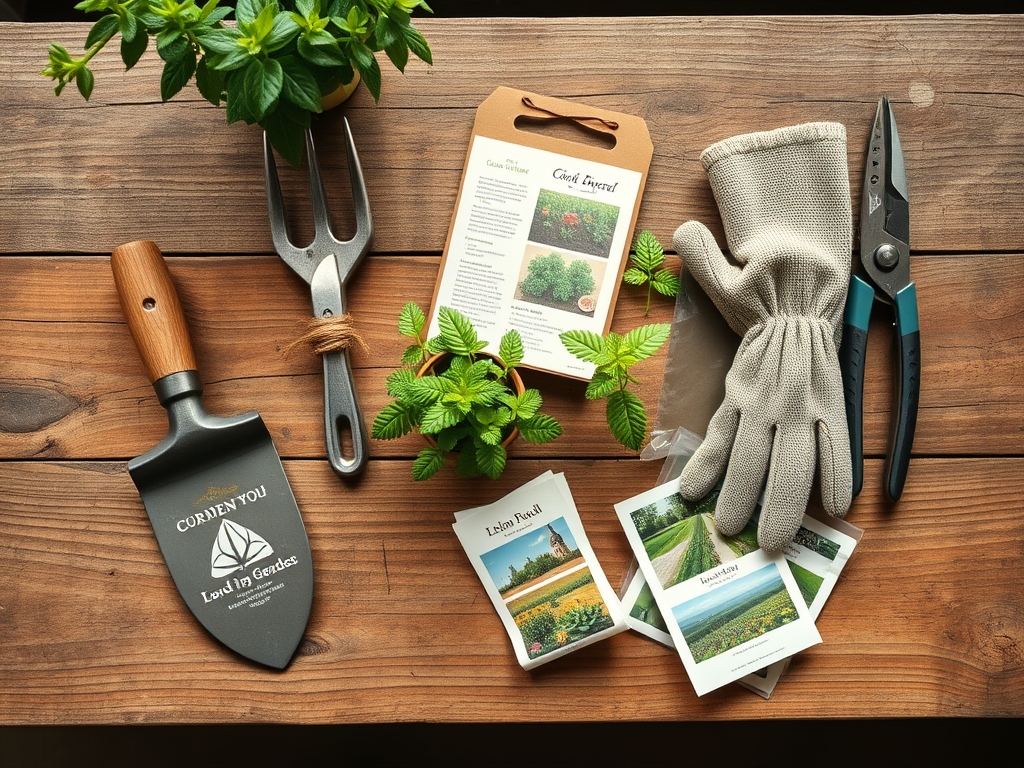
Materials:
The foundation of a DIY plant tray is the substrate. Avoid standard garden soil; it is too heavy and lacks the necessary pore space for gas exchange. You require a friable loam or a soilless mix with a pH between 5.8 and 6.5. This range ensures that micronutrients remain bioavailable to the developing root system.
Your primary components should include:
- Peat Moss or Coconut Coir: These provide high Cation Exchange Capacity (CEC), allowing the medium to hold and release nutrients effectively.
- Perlite or Coarse Sand: These increase aeration and drainage.
- NPK Ratios: For early-stage growth, use a starter fertilizer with a low NPK ratio of 1-2-1 (such as 5-10-5). High nitrogen at this stage can cause leggy, weak stems. Phosphorus is prioritized to stimulate rapid root elongation.
- Trays: Use heavy-duty plastic or recycled wood with a minimum depth of 2.5 inches. Ensure drainage holes are at least 0.25 inches in diameter to prevent anaerobic conditions and root rot.
Timing:
Success is governed by the frost-date windows of your specific Hardiness Zone. In Zones 5 through 7, seeds are typically started indoors 6 to 8 weeks before the last predicted frost. This timing aligns with the plant's biological clock, ensuring the transition from the vegetative stage to the reproductive stage occurs during peak solar radiation.
Pay close attention to the photoperiod. Most seedlings require 12 to 16 hours of light per day to prevent the production of excess gibberellins, which leads to etiolation (stretching). Monitoring the soil temperature is equally vital. Most temperate species require a consistent soil temperature of 65 to 75 degrees Fahrenheit for optimal enzyme activity during germination.
Phases:
Sowing
Fill your trays with pre-moistened substrate. Compress the media lightly to remove large air pockets but do not pack it tight. Sow seeds at a depth generally two times the diameter of the seed. Fine seeds may require surface sowing if they are photoblastic (light-responsive).
Pro-Tip: Use a heat mat to maintain bottom heat. This stimulates auxin production in the radicle, the first root to emerge, which accelerates the establishment of the root architecture.
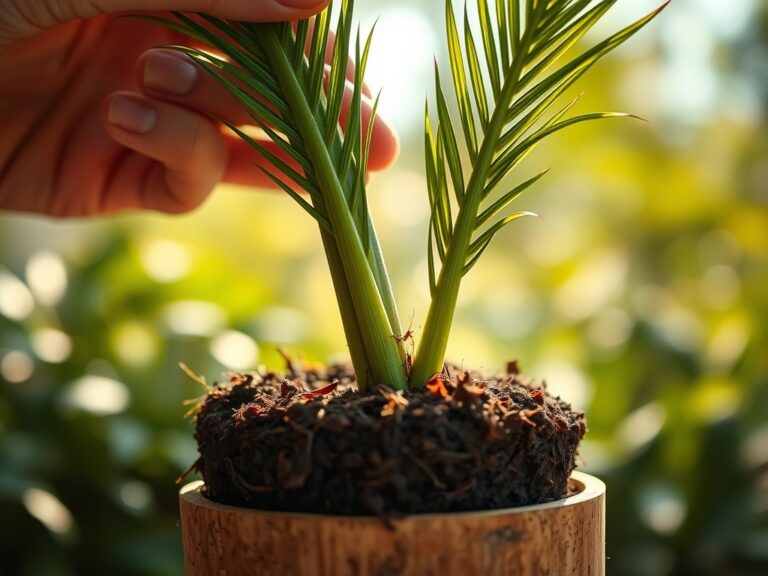
Transplanting
Once the seedlings develop their first set of "true leaves," they have moved beyond the energy reserves stored in the endosperm. This is the time to move them to larger cells if necessary. Handle the plants only by the leaves or the root ball; never the stem. The stem contains the vascular cambium, and even slight pressure can collapse the xylem and phloem.
Pro-Tip: Inoculate the roots with mycorrhizal fungi during this phase. This symbiotic relationship extends the root's reach, increasing the surface area for water and phosphorus absorption by up to 100 times.
Establishing
The establishment phase focuses on hardening the plant. Gradually expose the tray to outdoor conditions over 7 to 10 days. This process thickens the cuticle layer on the leaves, reducing water loss through transpiration when the plant is finally moved to the field.
Pro-Tip: Maintain air circulation with a small fan. The mechanical stress of the moving air triggers thigmomorphogenesis, a biological response that results in shorter, thicker, and more resilient stems.
The Clinic:
Physiological disorders in a tray environment are often a result of environmental stressors rather than pathogens.
- Damping Off: Seedlings collapse at the soil line.
- Solution: Increase airflow and reduce surface moisture. Use a sterilized starting mix to eliminate fungal spores.
- Nitrogen Chlorosis: Older leaves turn pale yellow while veins remain green.
- Fix-It: Apply a water-soluble fertilizer with a higher Nitrogen (N) fraction. Ensure the pH is not above 7.0, as this can lock out nitrogen.
- Purple Leaf Undersides: Often indicates Phosphorus deficiency or cold stress.
- Fix-It: Raise the ambient temperature above 60 degrees Fahrenheit and check that the P-value in your NPK mix is sufficient for root development.
- Tip Burn: Edges of new leaves appear scorched.
- Solution: This is often a Calcium transport issue caused by inconsistent watering. Maintain steady moisture levels to ensure calcium moves through the transpiration stream.
Maintenance:
Precision maintenance prevents the failure of the entire tray. Use a soil moisture meter daily to ensure the substrate remains at 60% to 70% field capacity. Never allow the tray to dry out completely, as this causes permanent wilting point damage.
Watering should be done from the bottom when possible to keep the foliage dry. If top-watering, provide 1.5 inches of water per week at the drip line. Use a hori-hori knife for precision weeding or to check soil compaction. If the seedlings become overcrowded, use bypass pruners to snip the weakest plants at the soil level rather than pulling them, which protects the root systems of the survivors.
The Yield:
If you are growing microgreens or edible starts in your DIY tray, harvest timing is critical. Harvest microgreens when the first true leaves appear, typically 14 to 21 days after sowing. Use sterilized shears to cut the stems 0.5 inches above the soil line.
To maintain "day-one" freshness, harvest during the coolest part of the morning when the plants are at peak turgidity. Immediately place the harvested greens in a high-humidity, low-temperature environment (34 to 38 degrees Fahrenheit). This slows down senescence, the biological aging process, and preserves the nutritional density of the tissue.
FAQ:
What is the best soil for a DIY plant tray?
A sterile, soilless mix containing peat moss, perlite, and vermiculite is best. It provides the necessary porosity and a neutral pH (5.8-6.5) for nutrient uptake. Avoid garden soil, which is too dense and may harbor pathogens.
How deep should I sow seeds in the tray?
Sow seeds at a depth of two to three times their width. Extremely small seeds should be pressed onto the surface, as they often require light to trigger the germination process. Always check the specific requirements for each species.
How do I prevent leggy seedlings?
Legginess is caused by insufficient light. Provide 12 to 16 hours of high-intensity light daily. Keep the light source 2 to 4 inches above the seedlings to prevent the elongation of the hypocotyl, ensuring a sturdy, thick stem.
When should I start fertilizing my seedlings?
Begin fertilization once the first true leaves appear. Use a balanced, water-soluble fertilizer diluted to half-strength. Early fertilization is unnecessary because the seed's endosperm provides all the nutrients required for the initial germination phase.
How often should I water my plant tray?
Check the tray daily with a soil moisture meter. The substrate should remain consistently moist but not saturated. Aim for a moisture level that feels like a wrung-out sponge, typically requiring light watering every 24 to 48 hours depending on humidity.