7 Steps for Safely Cleaning and Maintaining Your Garden Sprayer Tank
The acrid smell of stale pesticide residue hits your nostrils the moment you unscrew a neglected sprayer tank cap. That lingering chemical film isn’t just unpleasant; it’s a garden hazard waiting to contaminate your next batch of organic foliar spray or compost tea. Understanding the proper steps for cleaning a vegetable garden sprayer tank protects your plants from chemical cross-contamination, extends equipment lifespan, and ensures that beneficial treatments reach your crops without unintended phytotoxic reactions.
Most gardeners underestimate how persistent chemical residues cling to polyethylene tank walls, rubber seals, and spray nozzles. A single application of synthetic herbicide can leave trace amounts that damage sensitive crops like tomatoes or peppers weeks later. Professional applicators follow strict decontamination protocols, and home gardeners should adopt the same rigor. This guide walks through seven essential steps that transform a contaminated sprayer into a clean, reliable tool.
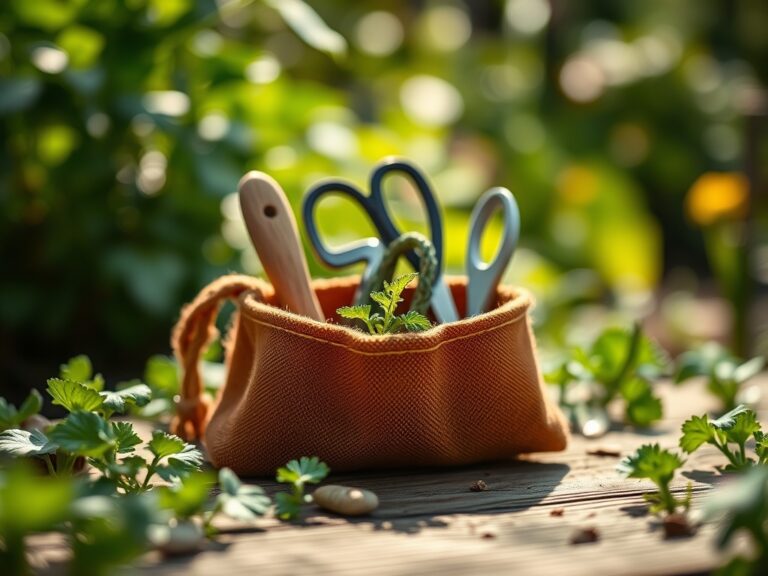
Materials & Supplies

Cleaning Agents:
- Ammonia solution (household strength, 5-10% concentration)
- Trisodium phosphate (TSP) at 1 tablespoon per gallon ratio
- White vinegar (5% acidity) for mineral deposit removal
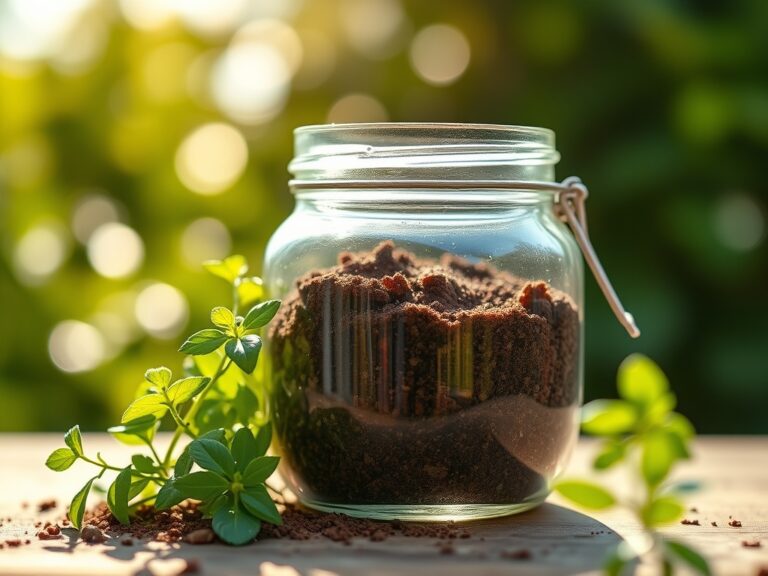
- Activated charcoal powder (food grade, 1/4 cup per gallon)
- Dish detergent (phosphate-free, biodegradable formula)
Equipment:
- Scrub brushes with nylon bristles (avoid metal that scratches)
- Clean spray nozzles and filters (purchase duplicates for rotation)
- pH test strips (range 4.0-9.0)
- Measuring cups marked in fluid ounces
- Safety goggles and nitrile gloves
Disposal Materials:
- 5-gallon bucket for initial rinse water collection
- Absorbent material (sawdust or cat litter) for spill management
- Sealed containers for hazardous waste transport
Proper pH management during cleaning matters significantly. Alkaline cleaners (pH 9-11) neutralize acidic herbicides, while acidic solutions (pH 3-5) dissolve mineral buildup from hard water.
Timing & Application Schedule
Execute thorough sprayer cleaning immediately after each use, not days later when residues harden. Temperature affects cleaning efficacy; perform maintenance when ambient temperatures reach 60-75°F for optimal chemical breakdown.
Seasonal Cleaning Intensity:
- Spring preparation: Deep clean with triple-rinse protocol before first application
- Growing season: Quick rinse after each use, deep clean monthly
- Fall storage prep: Complete decontamination with ammonia treatment
- Winter storage check: Inspect seals and gaskets bi-monthly
For gardeners in USDA Hardiness Zones 3-7, store cleaned sprayers indoors during freezing months. Zones 8-10 require extra attention to algae growth in warm, humid conditions.
Plan cleaning sessions for 45-60 minutes. Rushed procedures leave residues that compromise future applications.
Step-by-Step Cleaning Instructions

Step 1: Initial Disposal and Pre-Rinse
Empty remaining spray solution into appropriate waste container. Never dump chemicals near vegetable beds, water sources, or areas where mycorrhizal fungi colonize plant roots. Fill tank one-quarter full with clean water, agitate vigorously for 30 seconds, then spray through wand and nozzle for 15 seconds. This removes 60-70% of residual chemicals.
Pro-Tip: Spray the initial rinse onto gravel driveways or non-planted areas designated for chemical neutralization, never onto lawn or garden soil.
Step 2: Detergent Wash Cycle
Add 2 tablespoons phosphate-free dish detergent per gallon of warm water (90-100°F). Fill tank halfway. Agitate solution for 2 minutes, ensuring liquid contacts all interior surfaces. Let solution sit for 10 minutes, then spray half the mixture through the entire system. Use remaining solution to scrub tank interior with nylon brush, paying attention to corners and seams where residue accumulates.
Pro-Tip: Remove and separately soak all removable components (filters, nozzles, gaskets) in detergent solution while cleaning the main tank.
Step 3: Ammonia Neutralization Treatment
For herbicide or synthetic pesticide residues, prepare ammonia solution at 1 cup household ammonia per 5 gallons water. Fill tank completely. Agitate for 1 minute. Allow solution to sit for 30 minutes minimum (overnight for persistent chemicals like glyphosate). Spray solution through system until tank empties.
Pro-Tip: Ammonia breaks down phenoxy herbicides (2,4-D compounds) that cause growth abnormalities in tomatoes and legumes even at parts-per-million concentrations.
Step 4: Activated Charcoal Absorption
Mix 1/4 cup food-grade activated charcoal powder per gallon of water. Fill tank halfway. Agitate vigorously for 3 minutes. The adsorptive properties of activated charcoal bind to organic chemical residues that other cleaners miss. Let mixture sit for 20 minutes, then spray through system. This step proves critical after using oil-based pesticides or fungicides.
Pro-Tip: Charcoal-treated rinse water can be filtered and the solid charcoal added to compost piles, where it improves cation exchange capacity in finished compost.
Step 5: Acid Rinse for Mineral Deposits
Hard water leaves calcium and magnesium deposits that clog nozzles. Fill tank with solution of 1 cup white vinegar per gallon of water. Agitate for 1 minute. Let sit for 15 minutes. Spray through system. Check pH of rinse water; it should read 3.5-4.5. This acidity dissolves alkaline mineral scale without damaging tank materials.
Pro-Tip: If water pH exceeds 7.5 in your area, perform acid rinses bi-weekly during active growing season to prevent nozzle blockage.
Step 6: Triple-Rinse Protocol
Fill tank completely with clean water. Agitate 1 minute. Spray half through system, dump remainder. Repeat this process three times total. Professional agricultural standards require triple-rinsing to achieve 99.9% residue removal. Test final rinse water pH; it should match your source water pH (typically 6.5-8.0).
Pro-Tip: Collect final rinse water in clean bucket and use for non-edible ornamental plants rather than wasting treated water.
Step 7: Drying and Component Inspection
Invert tank to drain completely. Allow to air-dry in shaded, ventilated area for 24 hours. Direct sunlight degrades polyethylene tank material over time. While drying, inspect all rubber seals for cracks or swelling (indicates chemical damage). Check nozzle tips for wear using magnifying glass; replace if orifice shows elongation. Examine pump gaskets and O-rings; these fail first from chemical exposure.
Pro-Tip: Apply food-grade silicone lubricant to pump seals after drying to extend component lifespan by 40-60%.
Nutritional & Environmental Benefits
Clean sprayers ensure that beneficial foliar feeds reach plants without contamination. Nitrogen fixation in legumes suffers when herbicide residues damage root nodule bacteria. Trace amounts of synthetic pesticides kill Mason bees and other native pollinators that visit treated foliage.
Properly cleaned equipment allows effective application of:
- Compost tea rich in beneficial bacteria (Bacillus and Pseudomonas species)
- Kelp solutions providing trace minerals (iron, manganese, zinc)
- Fish emulsion (typical analysis 5-1-1 NPK) for rapid nitrogen uptake
- Calcium chloride sprays preventing blossom end rot in tomatoes
Cross-contamination from dirty sprayers reduces nutrient absorption efficiency by up to 35%. Chemical residues alter leaf surface pH, disrupting the cuticle layer that regulates nutrient entry.
Local ecosystems benefit when gardeners prevent pesticide runoff through proper equipment maintenance. Ground beetles, lacewings, and parasitic wasps thrive in gardens where cleaning protocols eliminate broad-spectrum insecticide carryover.
Advanced Maintenance Methods
For Small Space Gardeners:
Use 1-gallon pump sprayers dedicated to specific applications (one for organic treatments, one for occasional synthetic products). Label each unit permanently with waterproof marker. Store separately to prevent confusion. Smaller volumes clean faster and reduce water waste during rinse cycles.
Organic and Permaculture Approaches:
Create a dedicated cleaning station with three-bin system: initial rinse, soap wash, final rinse. Filter final rinse water through sand and biochar filter before using on established ornamental plantings. The rhizosphere of mature shrubs contains diverse microorganisms capable of degrading diluted chemical residues.
Install catch basin beneath cleaning area with liner of absorbent clay material. Once saturated, clay can be properly disposed at hazardous waste facilities rather than allowing chemicals to leach into groundwater.
Season Extension Considerations:
Clean sprayers used for anti-transpirant applications (used to protect plants during cold snaps) require only detergent wash. These products contain polymers that need hot water (110-120°F) for complete removal. Cold water leaves sticky residue that clogs fine-mist nozzles.
Before storing sprayers for winter in unheated spaces, add 1 cup propylene glycol (non-toxic RV antifreeze) to pump chamber. This prevents freeze damage to internal components.
Troubleshooting Common Cleaning Issues
Symptom: Persistent chemical odor after cleaning
Solution: Repeat ammonia treatment with extended 4-hour soak time. Chemical bonds to plastic require longer exposure to alkaline solution for complete breakdown. Follow with baking soda rinse (2 tablespoons per gallon) to neutralize ammonia smell.
Symptom: Clogged nozzles after cleaning
Solution: Mineral deposits from hard water calcify during drying. Soak nozzle tips in undiluted white vinegar for 30 minutes. Use thin wire or nozzle cleaning tool to mechanically remove deposits. Flush with distilled water.
Symptom: Pump loses pressure after reassembly
Solution: Check all gaskets and O-rings for proper seating. Cleaning chemicals cause rubber to swell temporarily. Wait 48 hours for components to return to original size, or replace with new seals if permanent deformation occurred.
Symptom: White residue on tank interior after drying
Solution: Hard water minerals concentrated during evaporation. Not harmful but reduces tank transparency. Wipe with vinegar-dampened cloth or perform additional acid rinse cycle.
Symptom: Spray pattern becomes irregular
Solution: Nozzle tip wear from abrasive particles or chemical corrosion. Replace nozzles annually for consistent application. Keep spare tips rated for different flow rates (0.5-2.0 gallons per minute range covers most garden needs).
Storage & Post-Season Maintenance
Store cleaned sprayers in climate-controlled spaces between 40-80°F. Temperature extremes degrade plastic and rubber components. Mount sprayers on wall brackets to prevent tank deformation from sitting on uneven surfaces.
Maintenance Schedule:
- After each use: Quick rinse protocol (Steps 1-2)
- Monthly during season: Full cleaning sequence (Steps 1-7)
- Bi-annually: Replace all seals, gaskets, and filters
- Annually: Replace spray tips and inspect hose for cracks
Check pump pressure gauge accuracy every six months using known pressure source. Inaccurate gauges lead to over-application or under-application of treatments.
Before storage periods exceeding one month, coat pump cylinder with light machine oil. Remove batteries from battery-powered models. Drain all water from tanks to prevent algae growth and freeze damage.
Label tanks clearly with last chemical used and cleaning date. This prevents accidental use of contaminated equipment after storage.
Conclusion
Mastering these seven steps for cleaning a vegetable garden sprayer tank transforms equipment maintenance from tedious chore to essential garden practice. Clean sprayers protect beneficial soil biology, prevent crop damage, and ensure that every foliar application delivers intended benefits without harmful contamination. Implement this protocol consistently and your equipment will provide decades of reliable service while safeguarding your garden ecosystem.
Share your cleaning protocols and troubleshooting discoveries with fellow gardeners in your local extension office workshops or community garden meetings. Collective knowledge strengthens regional food production resilience.
Expert FAQs
How long can cleaning solutions safely sit in sprayer tanks during treatment?
Ammonia solutions remain effective for up to 12 hours without degrading tank materials. Detergent solutions lose surfactant effectiveness after 2 hours as water temperature drops. Vinegar solutions maintain acidity for 24 hours. Never store cleaning solutions longer than 24 hours total, as stagnant water promotes bacterial growth.
Can I use bleach instead of ammonia for cleaning sprayers?
Bleach (sodium hypochlorite) effectively sanitizes but doesn’t break down pesticide residues like ammonia does. Use bleach only for biological contamination (algae, bacteria) at 1 tablespoon per gallon ratio. Never mix bleach with ammonia; this produces toxic chloramine gas. Choose one or the other based on previous tank contents.
What’s the minimum cleaning required between organic spray applications?
Between compatible organic treatments (compost tea to fish emulsion), perform Steps 1-2 only. Between incompatible combinations (copper fungicide to sulfur spray), complete full protocol including charcoal treatment. Copper and sulfur react to form phytotoxic compounds.
How do I clean sprayers used for vinegar-based herbicides?
Vinegar herbicides (20-30% acetic acid) require neutralization with baking soda solution (3 tablespoons per gallon) before standard cleaning. Acid residues etch metal pump components. Follow neutralization with detergent wash and triple rinse.
Should I clean my sprayer differently after using neem oil?
Oil-based products require hot water (110°F) and extra detergent during Step 2. Add 1 tablespoon TSP per gallon to break oil emulsion. Perform double detergent wash cycle. Skip ammonia treatment (unnecessary for oils). Always include activated charcoal step to absorb residual oils.