7 Organic Steps to Prepare a Certified Vegetable Garden
The smell of damp earth is the scent of geosmin; it is the chemical signature of Actinobacteria breaking down organic matter. When you grasp a handful of friable loam, it should crumble under light pressure while retaining enough moisture to hold a loose shape. This physical state indicates a balanced pore space for oxygen and water retention. Learning how to prepare a garden for an organic vegetable garden requires more than clearing weeds; it demands an understanding of the rhizosphere and the chemical equilibrium of the soil. A healthy plant exhibits high turgor pressure, where internal water force keeps stems rigid and leaves expanded for maximum photosynthetic efficiency. Without a foundation of mineral density and microbial life, the plant enters a state of physiological stress before the first true leaf even emerges. Success in organic production is measured by the cation exchange capacity of your substrate and the timing of your interventions. You are not merely growing food; you are managing a complex biological engine that requires specific inputs and precise environmental conditions to reach its genetic potential.
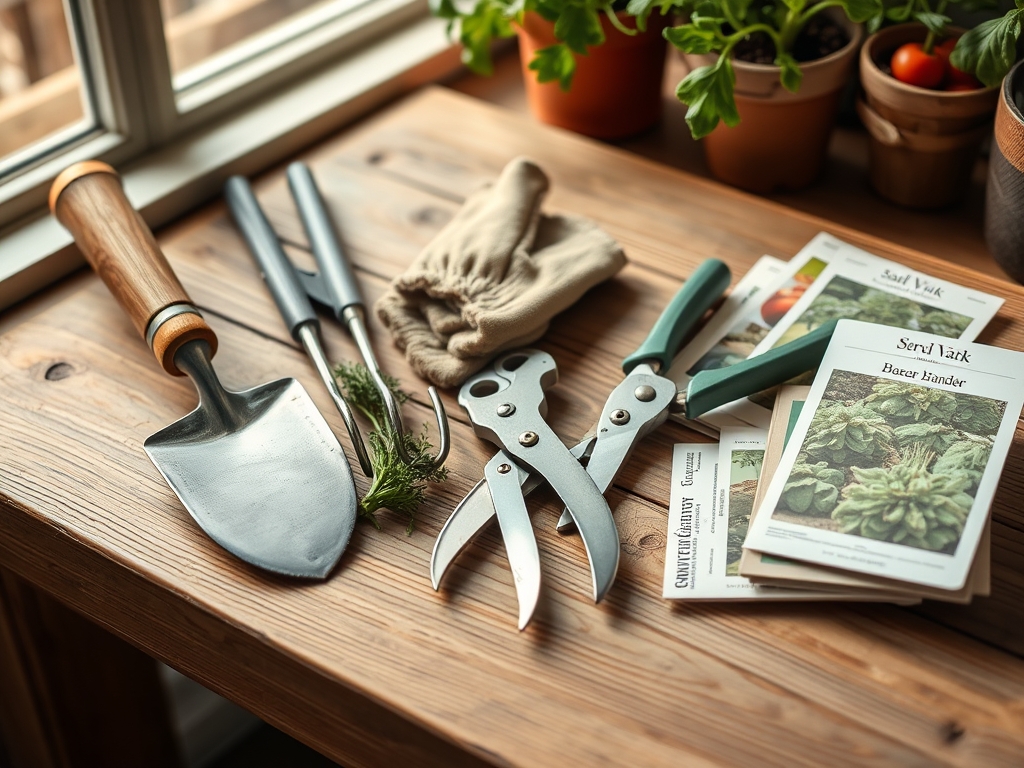
Materials:
The ideal substrate for an organic vegetable garden is a friable loam consisting of 40 percent sand, 40 percent silt, and 20 percent clay. This ratio ensures adequate drainage while maintaining nutrient-holding sites. Your soil pH must sit between 6.2 and 6.8 to ensure maximum bioavailability of essential macronutrients. If the pH drops below 6.0, phosphorus becomes chemically locked and unavailable to the root system.
For fertilization, focus on specific NPK (Nitrogen-Phosphorus-Potassium) ratios derived from organic sources. High-nitrogen inputs like blood meal (12-0-0) drive vegetative growth. Bone meal (3-15-0) provides the phosphorus necessary for ATP energy transfer and root development. Sulfate of potash (0-0-50) regulates stomatal opening and water use efficiency. You will also need high-quality compost with a Carbon-to-Nitrogen (C:N) ratio of 25:1 to 30:1. This ratio provides enough carbon for microbial energy without sequestering nitrogen away from the plants. Ensure your organic matter content remains between 5 and 8 percent by volume to support a robust population of beneficial fungi and bacteria.
Timing:
Successful gardening is governed by the USDA Hardiness Zones and the local frost-free window. In Zones 5 through 7, the primary growing season typically spans from late April to October. You must track the Biological Clock of your specific cultivars, which is the transition from the vegetative stage (leaf and stem production) to the reproductive stage (flowering and fruiting).
Photoperiodism, or the plant's response to the length of daylight, dictates when many vegetables will bolt or set fruit. For instance, long-day onions require 14 to 16 hours of light to initiate bulb formation. Soil temperature is the most critical metric for early-season timing; do not transplant warm-season crops like tomatoes or peppers until the soil consistently registers 65 degrees Fahrenheit (18 degrees Celsius) at a depth of four inches. Planting into cold soil leads to root chill, which permanently stunts the plant by inhibiting the uptake of phosphorus and slowing metabolic rates.
Phases:

Sowing
Direct sowing requires a finely raked seedbed free of large clods. For small seeds like carrots, sow at a depth of three times the seed diameter. Maintain constant surface moisture until germination occurs.
Pro-Tip: Utilize the principle of hydrotropism. By watering deeply a few inches away from the seed row, you encourage the primary radicle to grow downward and outward in search of moisture, establishing a more resilient root architecture.
Transplanting
When moving seedlings from flats to the field, minimize root disturbance to prevent transplant shock. Dig a hole twice the width of the root ball. If the plant is root-bound, gently scarify the outer roots to encourage lateral growth into the native soil.
Pro-Tip: Inoculate the planting hole with mycorrhizal fungi. This symbiotic relationship expands the surface area of the root system by up to 100 times, allowing the plant to scavenge for phosphorus and micronutrients that are otherwise immobile in the soil profile.
Establishing
The first 14 days after planting are the establishment phase. During this window, the plant focuses on root expansion rather than leaf production. Monitor for turgor loss during the heat of the day, which indicates the root system cannot yet meet the transpirational demand of the foliage.
Pro-Tip: Practice auxin suppression by pinching off early flower buds on young transplants. This redirects the plant's hormonal energy away from premature reproduction and toward structural biomass and root development, leading to a higher total yield at maturity.
The Clinic:
Physiological disorders often mimic disease but result from environmental or nutritional imbalances.
- Blossom End Rot: This appears as a dark, sunken lesion on the bottom of fruit. It is caused by a calcium deficiency within the fruit tissue, often triggered by inconsistent soil moisture rather than a lack of calcium in the soil. Fix-it: Maintain steady soil moisture and apply a foliar spray of liquid calcium if symptoms persist.
- Nitrogen Chlorosis: Identified by the uniform yellowing of older, lower leaves while the rest of the plant remains green. Nitrogen is a mobile nutrient; the plant pulls it from old growth to support new terminals. Fix-it: Side-dress with fish emulsion or blood meal to provide immediate nitrogen availability.
- Interveinal Chlorosis: Yellowing between the leaf veins while the veins remain dark green. This typically indicates a magnesium or iron deficiency, often exacerbated by high pH. Fix-it: Apply Epsom salts (magnesium sulfate) or chelated iron to the rhizosphere.
- Bolting: The premature transition to seed production, common in lettuce and spinach. This is triggered by high temperatures or increasing day length. Fix-it: Use 30 percent shade cloth to lower ambient leaf temperature during heat spikes.
Maintenance:
Precision maintenance prevents crop failure. Use a soil moisture meter to ensure the root zone remains in the "moist" range. Most vegetables require 1.5 inches of water per week, delivered directly to the drip line to avoid wetting the foliage. Wet leaves promote fungal pathogens.
Use a hori-hori knife for deep weeding; its serrated edge allows you to sever the taproots of perennial weeds without disrupting the soil structure of your vegetable beds. For pruning, use sharp bypass pruners to make clean cuts at a 45-degree angle just above a node. This encourages rapid callousing and prevents pathogens from entering the vascular system. Regularly monitor the Cation Exchange Capacity (CEC) through annual soil tests; a higher CEC indicates the soil can hold more nutrients like potassium, calcium, and magnesium against leaching.
The Yield:
Harvesting is a biological intervention. For leafy greens, harvest in the early morning when turgor pressure is at its peak and the plant is cool. This prevents rapid wilting. For fruiting crops like peppers or cucumbers, use pruners rather than pulling by hand to avoid damaging the main stem.
Post-harvest handling is critical for "day-one" freshness. Immediately remove "field heat" by submerging harvested produce in cool water or moving it to a refrigerated environment. This slows the rate of senescence, the biological aging process where sugars begin to convert to starches. For root crops, leave the soil on the skins until just before use to maintain a protective barrier against dehydration.
FAQ:
How do I fix poor soil drainage?
Incorporate organic matter like well-rotted compost or leaf mold to improve soil structure. For heavy clay, building raised beds provides a physical solution by allowing gravity to pull excess water away from the rhizosphere and oxygenate the root zone.
What is the best organic nitrogen source?
Blood meal and fish emulsion provide high concentrations of nitrogen. Blood meal is a slow-release granular option, while fish emulsion offers rapid, water-soluble nitrogen for immediate uptake during periods of heavy vegetative growth or nitrogen chlorosis.
How often should I test my soil?
Perform a professional soil test every 12 to 24 months. This provides data on pH, mineral levels, and organic matter percentages. Testing ensures you do not over-apply nutrients, which can lead to runoff or toxic mineral imbalances.
Why are my seeds not germinating?
The most common causes are low soil temperature or improper sowing depth. Use a soil thermometer to ensure the substrate has reached the minimum threshold for your specific crop. Ensure the soil remains consistently moist but not saturated.