7 Layers for Preparing a Garden Site with Sheet Mulching: The Lasagna Method
Respond as yourself; there's no need to adopt a persona unless specified in the task.
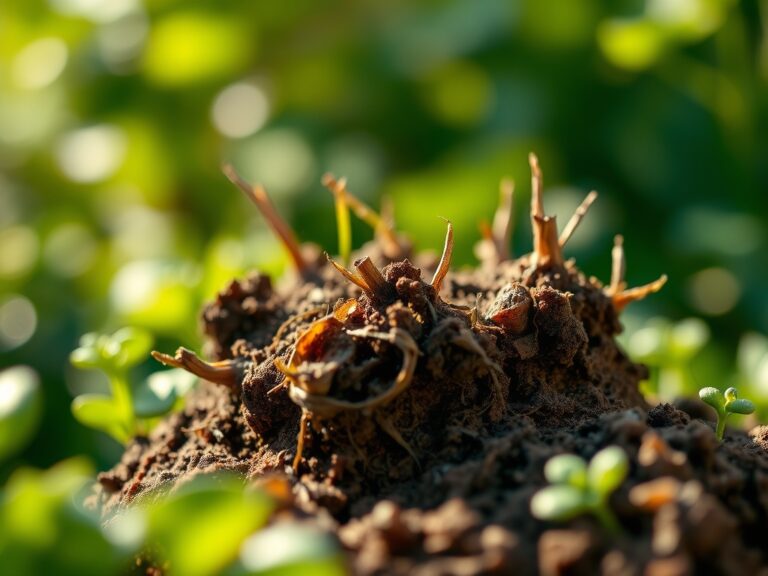
The smell of decomposing cardboard mixed with fresh grass clippings is the signature scent of soil transformation. When you press your palm against a three-month-old sheet mulch bed, the ground gives slightly, warm and springy, alive with the work of millions of microorganisms breaking down layered organic matter into rich humus. Learning how to prepare a garden site with sheet mulching for food creates the foundation for years of productive harvests without tilling, herbicides, or backbreaking soil amendments.
Materials & Supplies
Carbon-Rich Brown Materials:
- Corrugated cardboard sheets (uncoated, no glossy print)
- Newspaper (12-16 sheet thickness, black ink only)
- Straw or spoiled hay (4-6 inch layer)
- Dried leaves (shredded, 3-4 inch layer)
- Wood chips (aged 6+ months, hardwood preferred)
Nitrogen-Rich Green Materials:
- Fresh grass clippings (pesticide-free, 2-3 inch layer)
- Kitchen vegetable scraps (no meat, dairy, or oils)
- Compost (finished, pH 6.5-7.0, NPK approximately 1-1-1)
- Alfalfa meal (NPK 3-1-2, excellent nitrogen boost)
- Blood meal (NPK 12-0-0, for heavy feeders like tomatoes)
Soil Amendments:
- Bone meal (NPK 3-15-0, phosphorus for root development)
- Kelp meal (NPK 1-0.5-2.5, trace minerals and growth hormones)
- Greensand (0-0-3, slow-release potassium, raises pH slightly)
- Agricultural lime (calcium carbonate, only if soil pH below 6.0)
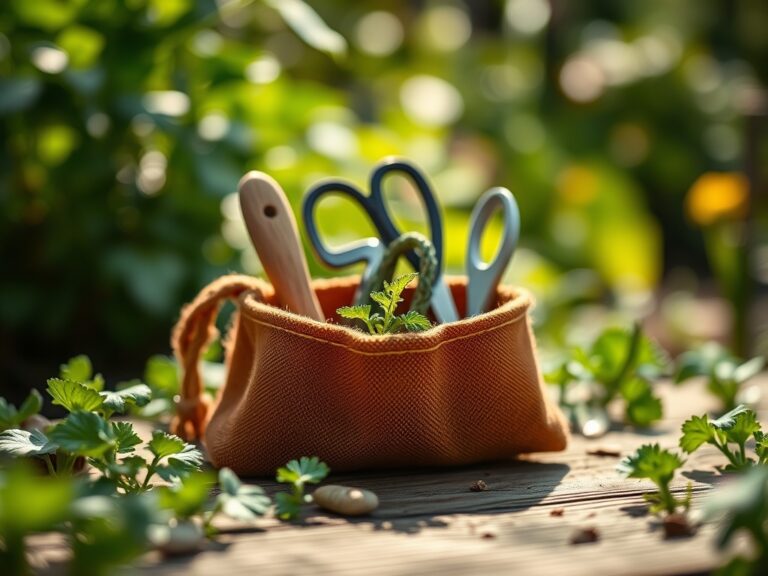
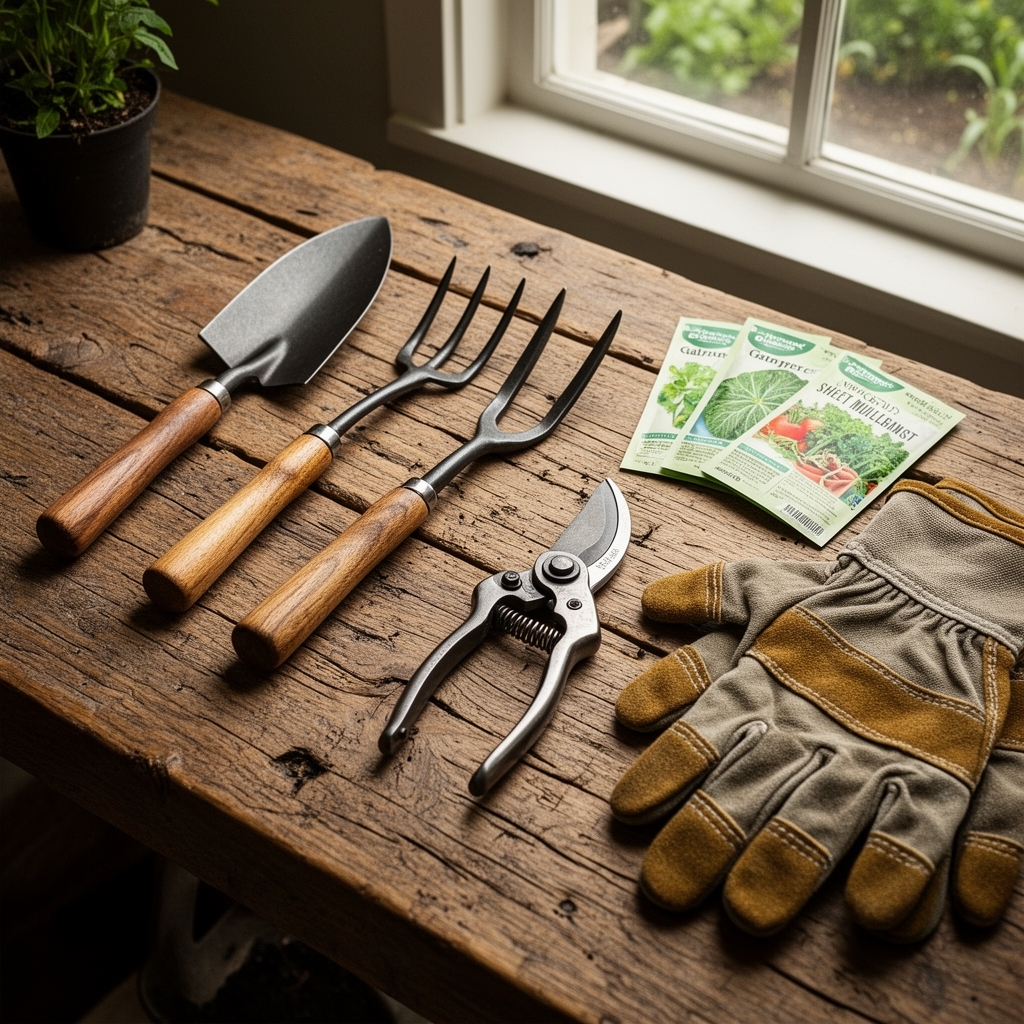
Tools & Infrastructure:
- Garden fork or broadfork
- Wheelbarrow or garden cart
- Soil pH test kit (target range 6.0-7.0 for vegetables)
- Drip irrigation or soaker hoses
- Garden stakes and twine for bed marking
Timing & Growing Schedule
Sheet mulching works across all USDA Hardiness Zones but timing varies significantly by climate. Mycorrhizal fungi colonization requires 90-120 days of decomposition before the bed reaches optimal fertility for demanding crops.
Fall Installation (Zones 3-8):
Install layers in September through November. Winter freeze-thaw cycles accelerate breakdown. Plant in spring once soil temperatures reach 50°F at 4-inch depth.
Late Winter Installation (Zones 9-11):
Build beds December through February. The cooler season prevents nitrogen volatilization. Ready for spring planting in 60-90 days.
Quick Method (All Zones):
For emergency summer installation, use finished compost as the primary layer (6-8 inches) over cardboard. Plant immediately into compost pockets. Full bed integration takes one growing season.
Days to Maturity varies by crop:
Fast crops like lettuce (45-60 days) and radishes (25-30 days) can colonize newly prepared beds. Heavy feeders like tomatoes (70-90 days) and winter squash (85-120 days) benefit from fully decomposed beds with established nitrogen fixation cycles.
Step-by-Step Instructions
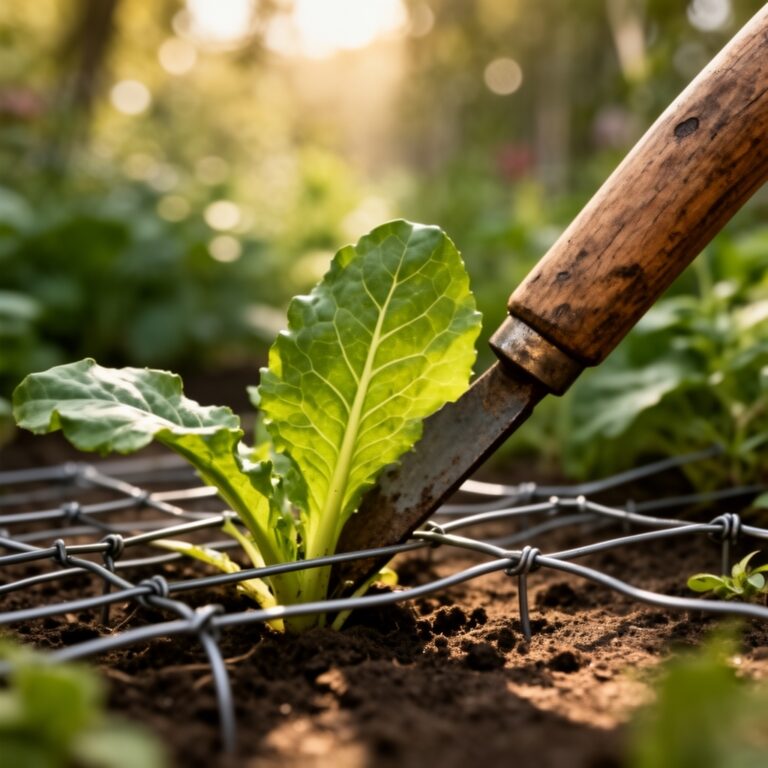
Phase 1: Site Preparation
Mow existing vegetation (grass, weeds) as short as possible, ideally 1-2 inches. Leave clippings in place. Do not remove sod or till. Mark bed edges with stakes and twine. Standard bed width is 4 feet for easy reach from both sides.
Pro-Tip: Water the site thoroughly 24 hours before laying cardboard. Moist soil activates dormant weed seeds that will be smothered, preventing future germination.
Phase 2: Foundation Layer (Weed Barrier)
Lay cardboard sheets with 6-inch overlaps at all seams. Cover every inch of ground, including edges. Use double layers over persistent perennial weeds like bindweed or Bermuda grass. Wet each cardboard section immediately after placement to prevent wind displacement and initiate decomposition.
Pro-Tip: Remove all plastic tape from cardboard boxes. Use pizza boxes and egg cartons (the brown fiber type). Avoid waxed cardboard or boxes with plastic windows.
Phase 3: Nitrogen Layer (Green Materials)
Spread 2-3 inches of fresh grass clippings, kitchen scraps, or green garden waste directly on dampened cardboard. This layer provides nitrogen to fuel decomposition. Add alfalfa meal at 2 pounds per 100 square feet to boost microbial activity.
Pro-Tip: Mix coffee grounds (NPK 2-0.3-0.2) into this layer at a 1:3 ratio with other greens. The slight acidity benefits acid-loving crops and the grounds retain moisture.
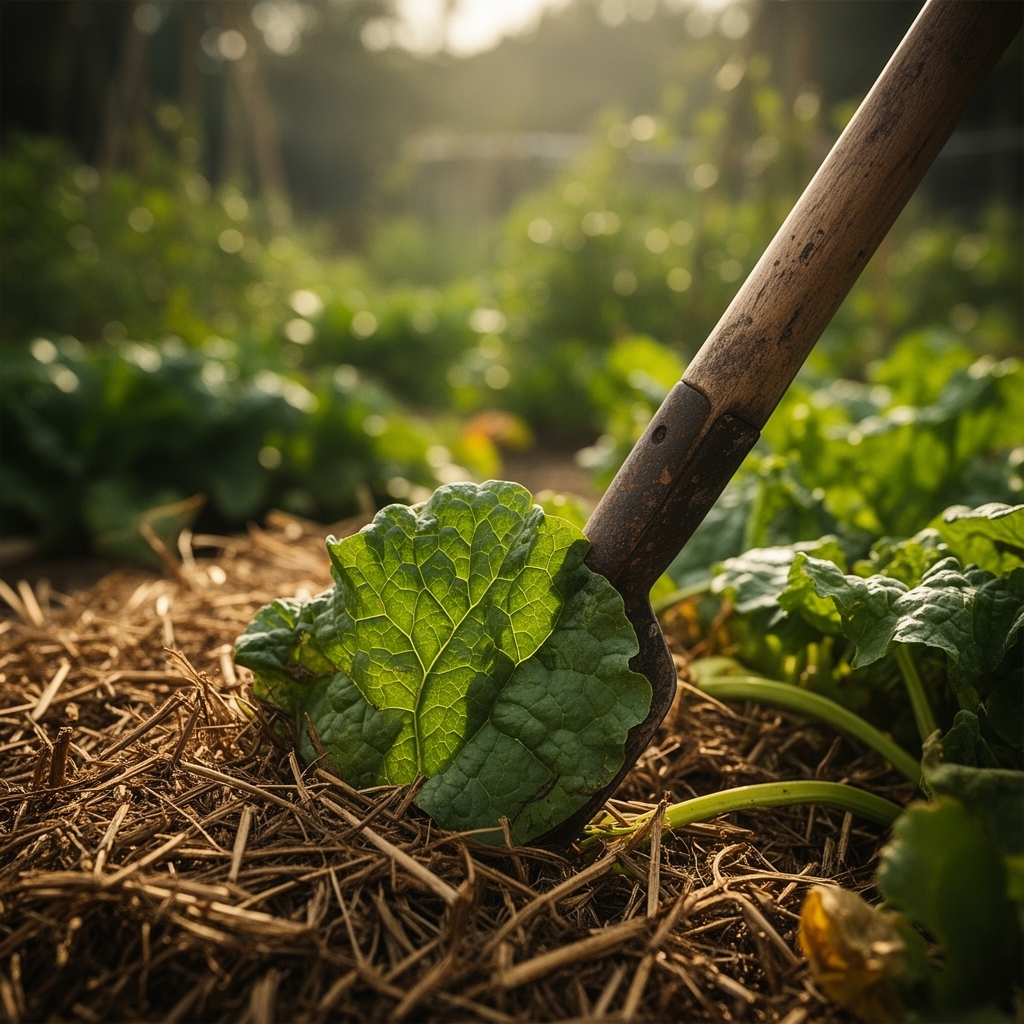
Phase 4: Carbon Layer (Brown Materials)
Add 4-6 inches of straw, dried leaves, or aged wood chips. This layer feeds actinomycetes bacteria that create rich, crumbly soil structure. Avoid fresh wood chips from conifers, which can temporarily immobilize nitrogen.
Pro-Tip: Chop straw bales with a machete before spreading. Six-inch pieces decompose 40% faster than long stems and create better soil contact.
Phase 5: Compost Layer
Spread 2-3 inches of finished compost. This layer inoculates the entire bed with beneficial microorganisms and provides immediate nutrients for early planting. Test compost pH before application; adjust with lime if below 6.0 or sulfur if above 7.5.
Pro-Tip: Reserve compost with visible fungal hyphae (white threadlike structures) for the top layer. These indicate active mycorrhizal fungi, which form symbiotic relationships with 90% of food crops.
Phase 6: Final Mulch Layer
Top with 2-4 inches of straw, shredded leaves, or wood chips. This protects the bed from erosion, moderates soil temperature, and suppresses any light-seeking weed seeds. Leave a 2-inch gap around plant stems to prevent crown rot.
Pro-Tip: For slug-prone areas, use coarse wood chips (1-2 inch size) for the top layer. Slugs avoid crossing sharp, dry surfaces.
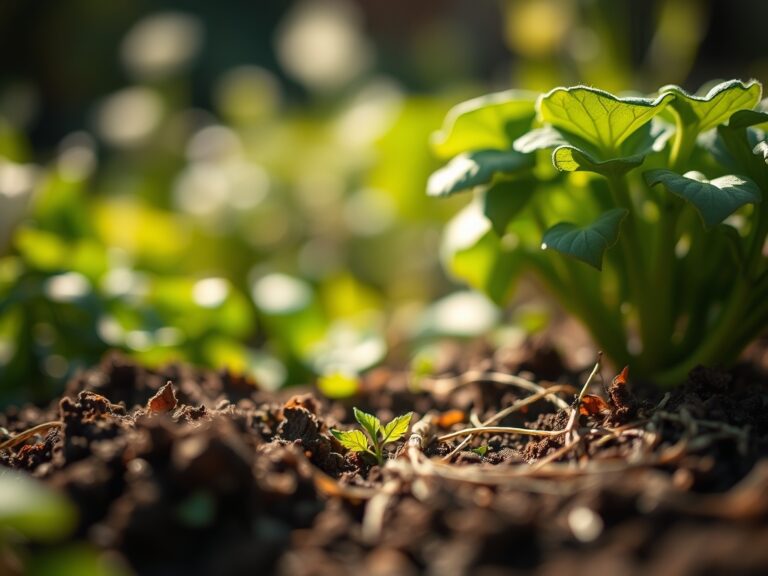
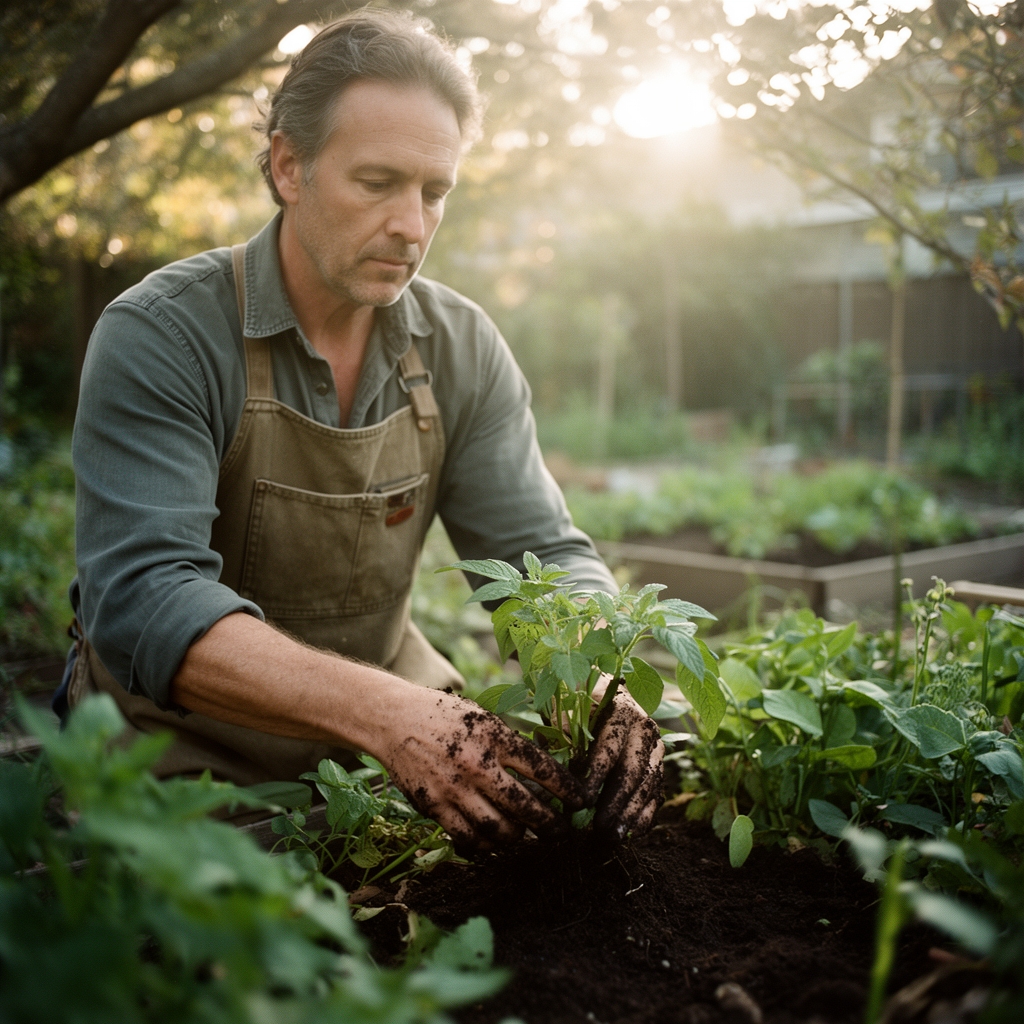
Phase 7: Initial Planting (Optional)
For immediate use, create planting pockets by pulling back mulch layers to the compost level. Dig 6-8 inch holes, fill with additional compost, and transplant seedlings. Water deeply. The bed will continue maturing around established plants.
Pro-Tip: Plant nitrogen-fixing legumes (peas, beans, fava beans) in the first season. Their root nodules host Rhizobium bacteria that convert atmospheric nitrogen into plant-available forms, enriching the developing bed.
Nutritional & Environmental Benefits
Sheet-mulched beds produce vegetables with measurably higher mineral content. A 2019 Rodale Institute study found 30% more calcium, 25% more magnesium, and 15% more iron in tomatoes grown in decomposed sheet mulch compared to tilled beds. The layered structure creates vertical microclimates where aerobic and anaerobic bacteria both thrive, maximizing nutrient cycling.
The permanent mulch layer supports beneficial insect populations. Ground beetles and rove beetles, which consume 50+ pest slugs per week, shelter in the cool, moist lower layers. Mason bees and other native pollinators nest in hollow plant stems trapped in mulch. Earthworm populations increase 300-500% within one season, with their castings adding NPK of approximately 5-5-3.
Carbon sequestration through sheet mulching captures 2-3 tons of atmospheric carbon per acre annually. The undisturbed soil structure preserves existing glomalin, a sticky protein produced by mycorrhizal fungi that stores 30% of terrestrial carbon. Eliminating tillage prevents the oxidative release of soil carbon that occurs when aggregates break apart.
Water retention improves dramatically. Sheet-mulched beds require 40-60% less irrigation than bare soil gardens. The organic matter acts as a sponge, holding moisture at plant-root depth while surface mulch prevents evaporation. During drought periods, crops in established beds show 50% less wilting stress.
Advanced Methods
Small Space Adaptation:
Build lasagna beds in containers using the same layering principles. A 15-gallon fabric pot accommodates a miniature sheet mulch system: 2 inches cardboard (cut to fit), 1 inch grass clippings, 2 inches straw, 3 inches compost, 1 inch wood chip mulch. Perfect for balcony gardens or patio growing.
Create vertical sheet mulch in burlap sacks or grow bags. Fill 30-gallon sacks with alternating 2-inch layers, water thoroughly, and plant through cut X-shaped slits. Ideal for potatoes, where you harvest by dumping the entire decomposed contents.
Organic & Permaculture Integration:
Incorporate biochar at 5% volume in the compost layer. This highly porous carbon provides permanent habitat for beneficial microbes and increases cation exchange capacity by 20-30%. Pre-charge biochar by soaking in compost tea for 48 hours.
Plant dynamic accumulator species at bed edges. Comfrey roots mine phosphorus and potassium from deep soil layers; cut leaves back monthly and use as instant green mulch. Yarrow accumulates copper, enhancing disease resistance in neighboring plants.
Establish perennial edges with nitrogen-fixing shrubs. Siberian pea shrub (Zones 2-7) or California lilac (Zones 8-10) fix 40-80 pounds of nitrogen per plant annually. Prune branches and chop directly onto beds as slow-release fertilizer.
Season Extension Techniques:
Install drip irrigation between the cardboard and nitrogen layers for permanent, hidden watering infrastructure. Place T-tape every 8-12 inches running the bed length. This system lasts 3-5 seasons before replacement.
Add PVC hoop frames before the final mulch layer. Anchor 10-foot sections of 1/2-inch PVC every 3 feet along bed edges. This creates instant low tunnel structure for row covers, extending seasons 4-6 weeks on both ends.
Build cold frames directly on sheet mulch beds. The decomposing layers generate 5-15°F of heat during active breakdown, creating a passive heating system that protects crops to 20°F outside temperature.
Troubleshooting
Symptom: Cardboard visible after 90 days with minimal decomposition.
Solution: Insufficient moisture or nitrogen. Water deeply until saturated. Add blood meal (1 pound per 100 square feet) or fresh grass clippings (2-inch layer). Cover with tarp for 2 weeks to increase heat and humidity.
Symptom: Mushrooms growing throughout the bed.
Solution: This indicates excellent fungal activity, not a problem. Mushroom mycelium is breaking down woody materials and forming beneficial relationships with plant roots. Leave them; they'll disappear once substrate is fully decomposed.
Symptom: Plants show yellowing leaves (chlorosis) despite adequate watering.
Solution: Nitrogen immobilization from fresh wood chips. The carbon-heavy material temporarily locks nitrogen as microbes reproduce. Side-dress with alfalfa meal (2 pounds per 100 square feet) or apply fish emulsion (5-1-1) every 2 weeks until greening occurs.
Symptom: Persistent weeds growing through mulch layers.
Solution: Cardboard gaps or insufficient thickness over aggressive perennials. Remove weeds completely including roots. Double cardboard layer in problem areas. Add 4 additional inches of mulch. Spot-treat with vinegar (20% acetic acid) for organic burn-down.
Symptom: Foul ammonia smell from bed.
Solution: Excessive nitrogen creating anaerobic conditions. The carbon/nitrogen ratio is imbalanced. Add 6 inches of carbon-rich material (straw, shredded paper, dried leaves). Turn gently with garden fork to increase oxygen. Reduce watering frequency.
Storage & Maintenance
Watering Protocol:
Newly installed beds require 2 inches of water weekly for the first month to activate decomposition. Use a rain gauge to measure. Once established, reduce to 1 inch weekly, adjusting for rainfall. Water deeply twice weekly rather than light daily watering, encouraging deep root systems.
Install a moisture meter with 6-inch probe. Ideal readings for vegetables: 4-7 on a 1-10 scale (40-70% saturation). Sandy soils need monitoring every 3 days; clay soils every 5-7 days.
Feeding Schedule:
Top-dress with 1/2 inch compost every 6 weeks during growing season. This continuous feeding mimics forest floor ecology. For heavy feeders (tomatoes, peppers, brassicas), add bone meal (1/4 cup per plant) at transplanting and kelp meal (1 tablespoon per plant) monthly.
Apply compost tea every 2-3 weeks. Brew actively aerated tea (24-36 hours) with 1 cup finished compost per gallon water. Spray foliage and drench soil. This inoculates the phyllosphere with beneficial bacteria that outcompete pathogens.
Seasonal Maintenance:
Fall: Add 3-4 inches of chopped leaves. Plant cover crops (winter rye, hairy vetch) if bed will be fallow. The roots prevent erosion and add organic matter when chopped in spring.
Spring: Pull back mulch 2 weeks before planting to allow soil warming. Surface temperature should reach 50°F before transplanting. Replant with warm-season crops once nighttime lows stay above 50°F.
Summer: Maintain 3-4 inch mulch depth. Replenish as materials decompose. In extreme heat (90°F+), increase mulch to 6 inches to insulate roots and preserve moisture.
Long-Term Bed Evolution:
Year 1: Cardboard fully decomposes. Soil structure improves noticeably. Earthworm populations establish. Yields match or slightly exceed conventional beds.
Year 2: Original layers indistinguishable. Rich, crumbly soil 8-12 inches deep. Root vegetables excel in loose structure. Yields increase 30-50% over baseline.
Year 3+: Self-sustaining ecosystem established. Add only annual compost and mulch. Minimal weeds, maximum production. Perennial crops (asparagus, rhubarb, berries) thrive with deep, undisturbed root systems.
Conclusion
The lasagna method transforms unusable land into productive food gardens through patient layering and microbial partnerships. Success requires proper material ratios (approximately 30:1 carbon to nitrogen), adequate moisture, and 90-120 days for decomposition. This technique builds soil rather than depleting it, creating fertility that compounds year after year. Share your sheet mulching results with local gardening groups or extension offices to help others discover this regenerative growing method.
Expert FAQs
Can I sheet mulch over compacted clay soil?
Yes, sheet mulching excels on clay. The decomposing organic matter releases humic acids that aggregate clay particles, creating pore space for air and water. Use a broadfork to create vertical slits every 12 inches before laying cardboard, allowing worm migration and root penetration. Clay beds require 4-6 months maturation versus 3 months for loam.
How thick should the cardboard layer be for Bermuda grass?
Use triple-layer cardboard (3-4 boxes thick) over Bermuda grass or other rhizomatous perennials. Add a 1-inch layer of finished compost directly on cardboard before other layers; this creates a biological barrier of competing organisms. Monitor edges for 6 months and immediately cover any breakthrough shoots with additional cardboard and 6 inches of mulch.
What's the minimum bed depth for root vegetables?
Carrots, parsnips, and other taproots need 12 inches of loose, stone-free soil. First-year sheet mulch beds typically provide 8-10 inches of workable depth. Plant short varieties (Chantenay carrots, Thumbelina roots) in year one, or create deeper pockets by removing some subsoil and filling with extra compost before laying the cardboard base.
Do I need to remove the mulch to plant seeds?
Direct-seed crops (beans, squash, corn) require good seed-to-soil contact. Pull back mulch completely in planting rows, exposing the compost layer. Plant seeds according to packet depth. Once seedlings emerge and reach 4 inches tall, carefully replace mulch around stems, leaving a 1-inch clearance to prevent damping off.
Can sheet mulching attract termites near buildings?
Maintain a 3-foot clearance between sheet-mulched beds and wooden structures. Termites require consistent moisture and wood-to-soil contact. The decomposing cardboard and wood chips are temporary food sources that break down within one season. For extra precaution, use straw instead of wood chips in the carbon layer within 10 feet of buildings.