6 Steps to Prepare a Small Apartment Potting Station
Living in tight quarters does not mean surrendering the satisfaction of working bare hands through loam, perlite, and organic matter. Learning how to prepare a potting station in an apartment transforms a cramped corner or balcony edge into a functional nursery where seedlings take root and houseplants receive fresh substrate. The scent of damp peat moss, the grit of coarse sand under fingernails, and the quiet rustle of vermiculite signal that even the smallest urban space can support serious horticultural work.
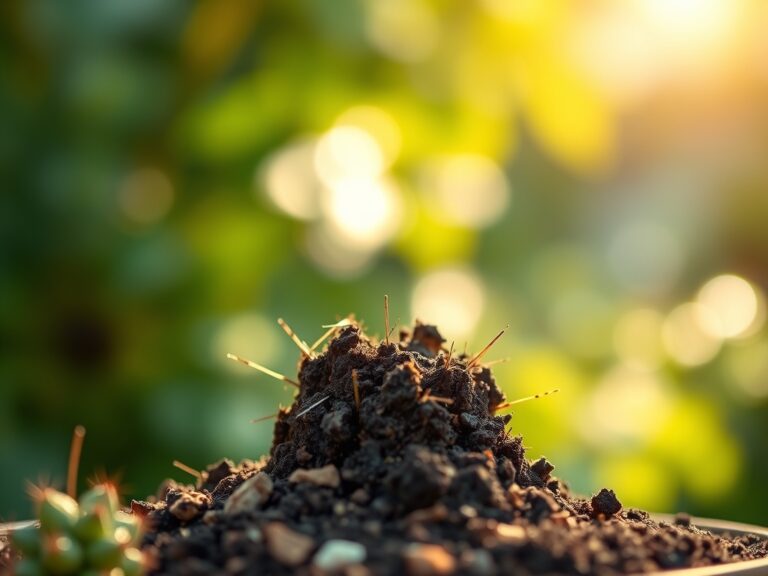
Materials
The substrate foundation begins with a balanced blend: one part sphagnum peat moss (pH 3.5-4.5), one part perlite (neutral pH), and one part aged compost (pH 6.0-7.0). This combination yields a final pH near 6.2, ideal for most container-grown ornamentals and edibles. For nitrogen-sensitive herbs, incorporate a 4-4-4 organic fertilizer at a rate of two tablespoons per gallon of mix. The first numeral represents nitrogen for foliage, the second phosphorus for root development, and the third potassium for disease resistance and cellular function.
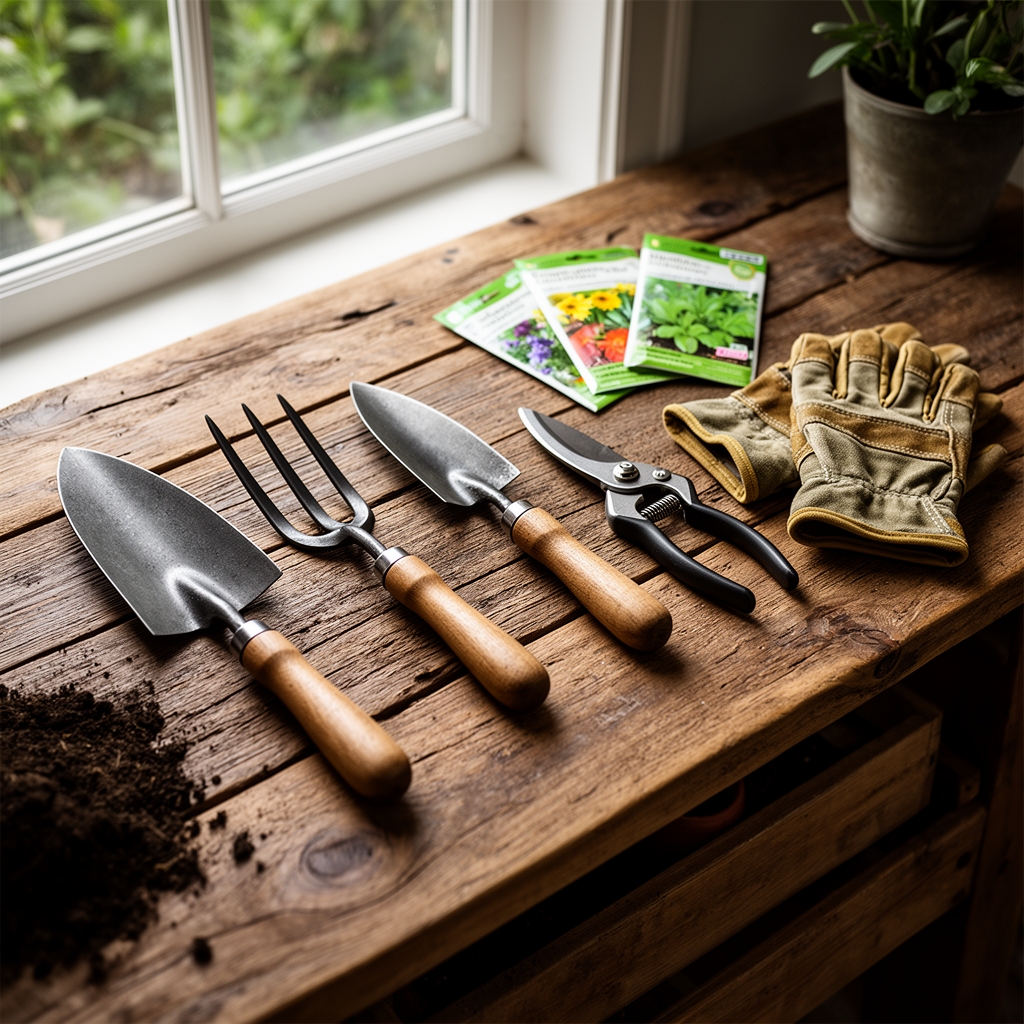
Purchase worm castings to introduce humic acids and elevate cation exchange capacity, the soil's ability to retain and release nutrients. A three-gallon bucket with a tight-sealing lid stores the base mix and prevents moisture loss. Acquire a stainless steel soil scoop, a handheld sieve with quarter-inch mesh to remove debris, and a spray bottle for controlled hydration. Newspaper or a vinyl tablecloth protects flooring from spills. Nitrile gloves guard against pH burns from lime amendments, while a dust mask filters fine particulates during mixing.
Stock mycorrhizal inoculant powder, which contains endomycorrhizal fungi such as Glomus intraradices. These organisms colonize root cortices and extend hyphal networks, improving phosphorus uptake in exchange for plant carbohydrates. Mix one teaspoon per gallon of substrate before potting. A bottle of dilute kelp extract (0-0-1 NPK) provides auxins and cytokinins that stimulate lateral root emergence.
Timing
Apartment potting stations operate year-round, but aligning repotting tasks with seasonal rhythms reduces transplant shock. In USDA Hardiness Zones 5 through 7, initiate seed starts indoors eight to ten weeks before the last spring frost, typically mid-March to early April. Zones 8 and 9 permit earlier starts in late February. Hardening off begins two weeks before the frost-free date, when daytime temperatures stabilize above 50 degrees Fahrenheit.
Repot root-bound houseplants in early spring when photoperiods lengthen and auxin distribution shifts toward apical growth. Fall repotting is acceptable for tropical species that lack dormancy, but avoid disturbing temperate perennials after September in northern zones. Winter months suit propagation of cuttings under supplemental LED grow lights, which deliver 400 to 600 micromoles per square meter per second.
Phases
Sowing
Fill cell trays or four-inch pots to within half an inch of the rim. Firm substrate gently to eliminate large air pockets, which disrupt capillary water movement. Sow seeds at a depth equal to twice their diameter. Lettuce and petunia require light for germination and should rest on the surface. Cover trays with humidity domes or clear plastic wrap until radicles emerge, usually within five to fourteen days depending on species.
Pro-Tip: Dust seeds with Trichoderma harzianum before sowing. This beneficial fungus colonizes the rhizosphere and suppresses damping-off pathogens such as Pythium and Rhizoctonia.
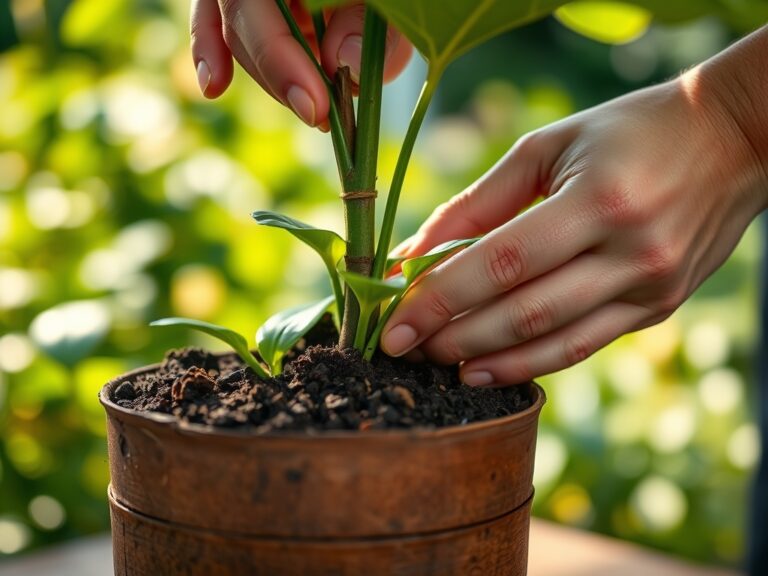
Transplanting
Transplant when seedlings develop two sets of true leaves. The initial cotyledons are storage organs, not photosynthetic powerhouses. True leaves indicate established vascular systems capable of supporting independent growth. Water seedlings two hours before transplanting to increase turgor pressure and reduce root hair breakage.
Dig a hole in the new container slightly larger than the root ball. Position the seedling so the original soil line matches the new substrate level. Backfill and tamp lightly. Water immediately with half-strength liquid fertilizer (1-1-1 ratio) to settle roots and deliver soluble nutrients.
Pro-Tip: Angle tomato seedlings at 30 degrees during transplant, burying two-thirds of the stem. Adventitious roots will form along buried nodes, creating a more robust anchor.
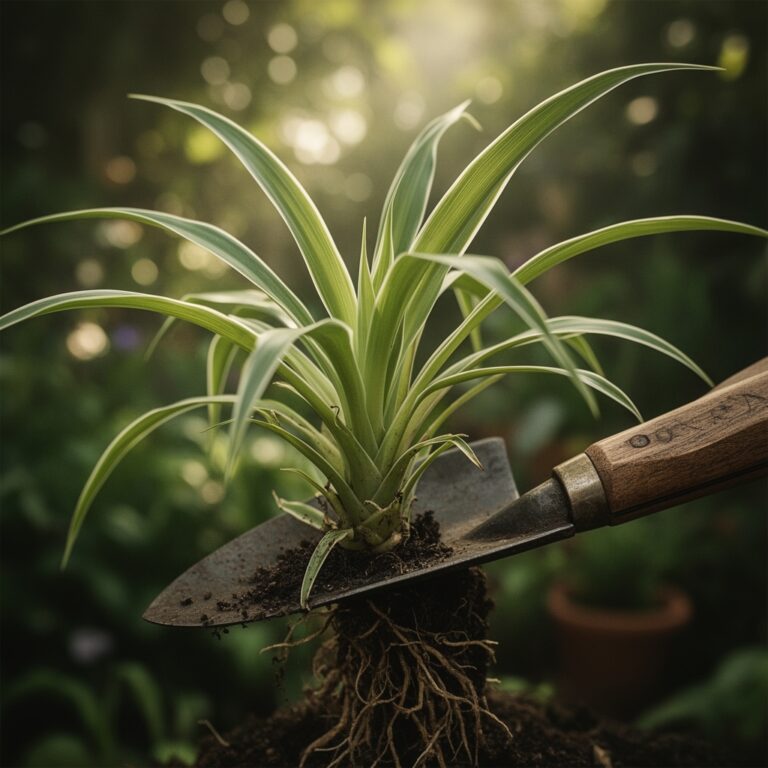
Establishing
Monitor soil moisture with a finger test: insert to the second knuckle. If substrate feels dry, apply water until drainage begins. New transplants require consistent moisture for three weeks while root systems expand. Gradually reduce watering frequency to encourage deeper rooting. Position containers to receive six hours of direct light daily, rotating them 90 degrees every three days to promote symmetrical canopy development.
Pro-Tip: Apply a one-inch layer of pine bark mulch to container surfaces. Mulch moderates substrate temperature swings and reduces evaporation by up to 30 percent.
Troubleshooting
Symptom: Yellowing lower leaves with green veins.
Solution: Iron chlorosis caused by high substrate pH. Drench with chelated iron solution (1 tablespoon per gallon) and incorporate sulfur to lower pH by 0.5 units.
Symptom: White, cottony clusters on leaf axils.
Solution: Mealybug infestation. Dab insects with isopropyl alcohol on a cotton swab. Spray foliage with insecticidal soap (2 percent potassium salts of fatty acids) weekly for three weeks.
Symptom: Crispy brown leaf margins.
Solution: Salt accumulation from over-fertilization or chlorinated tap water. Leach containers with distilled water at twice the pot volume. Reduce fertilizer concentration by half.
Symptom: Sudden wilting despite moist soil.
Solution: Root rot from Phytophthora or Fusarium. Remove plant, trim necrotic roots with sterilized shears, and repot in fresh substrate amended with Bacillus subtilis biocontrol agent.
Symptom: Stunted growth with purplish stems.
Solution: Phosphorus deficiency. Apply bone meal (0-12-0) at one tablespoon per gallon or drench with monoammonium phosphate solution (10 ppm).
Maintenance
Fertilize established container plants every two weeks during active growth with a balanced 10-10-10 liquid formula diluted to half the label rate. Apply one cup per six-inch pot. Flush containers monthly with plain water to prevent salt buildup. Prune leggy stems at 45-degree angles just above a node to redirect auxin flow and encourage bushier growth.
Inspect undersides of leaves weekly for aphids, spider mites, and thrips. Wipe foliage with a damp cloth to remove dust and improve gas exchange. Rotate potting mix inventory every six months, as microbial populations decline in storage.
FAQ
How often should I replace potting mix?
Annually for vegetables and annuals. Perennials tolerate the same substrate for two years if top-dressed with fresh compost each spring.
Can I reuse old potting soil?
Yes, after pasteurizing it in an oven at 180 degrees Fahrenheit for 30 minutes to eliminate pathogens. Amend with fresh perlite to restore drainage.
What is the ideal container size for tomatoes?
Five-gallon minimum. Determinate varieties tolerate three-gallon pots. Indeterminate types require seven gallons for adequate root expansion.
Do I need grow lights indoors?
South-facing windows suffice for low-light tropicals. Fruiting plants and seedlings require supplemental LED or fluorescent tubes delivering 14 to 16 hours of light daily.
How do I prevent fungus gnats?
Allow the top inch of substrate to dry between waterings. Apply a quarter-inch layer of coarse sand to the surface to disrupt larval habitat. Steinernema feltiae nematodes provide biological control.