6 Steps to Install a Gopher Wire Barrier Under Your Raised Garden Beds
The metallic clang of a shovel hitting galvanized wire echoes across the garden bed while rich, loamy soil crumbles between your fingers, releasing that distinct petrichor scent of fresh earth. If you've lost seedlings to subterranean raiders tunneling beneath your beds, you already know the frustration of watching entire root systems vanish overnight. The steps for installing a gopher wire barrier under beds transform vulnerable garden spaces into fortified growing zones where roots establish deep without interference. This installation requires precision, the right materials, and attention to soil structure. Within a single afternoon, you can create an impenetrable barrier that lasts 15 to 20 years while maintaining proper drainage and soil aeration. The process demands physical effort but delivers permanent protection for perennials, vegetables, and fruit-bearing plants alike.
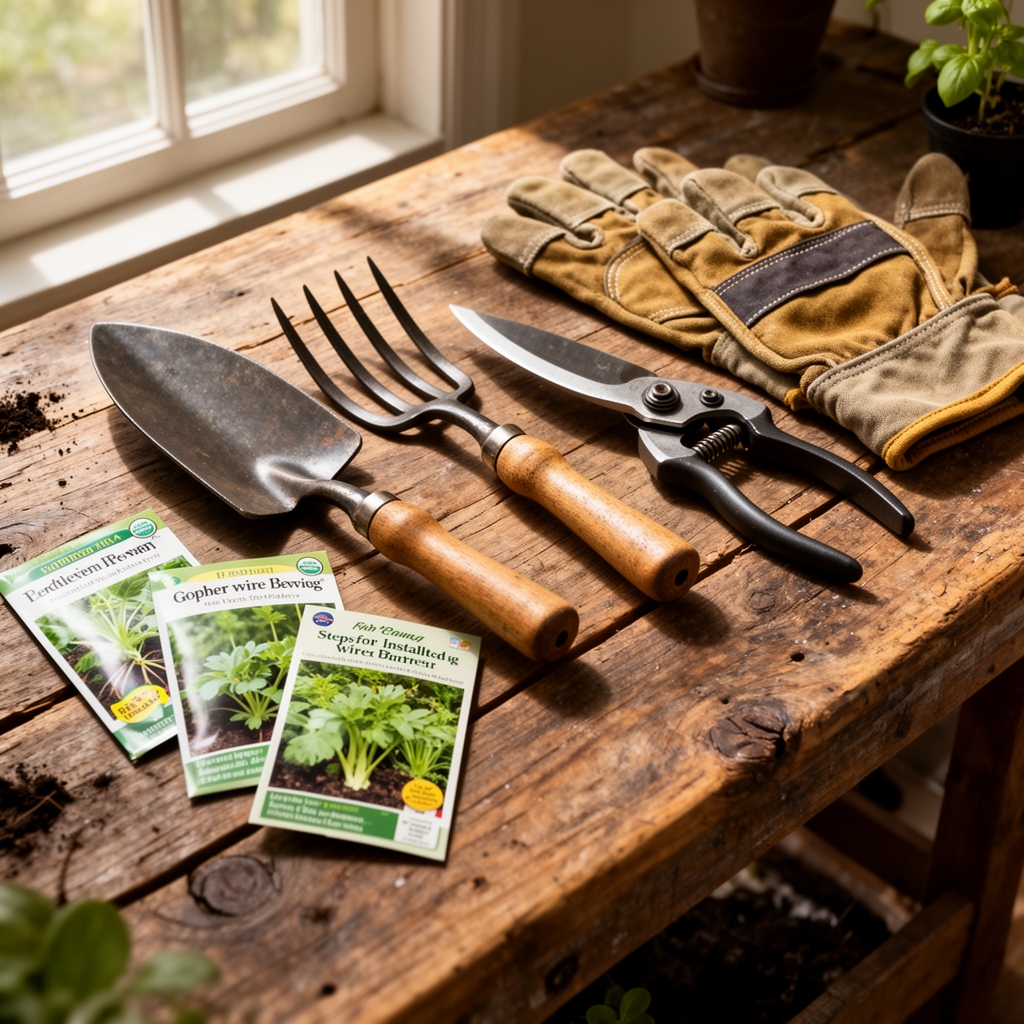
Materials & Supplies
Barrier Materials:
- 3/4-inch galvanized welded wire mesh (not chicken wire, which gophers chew through)
- Heavy-duty wire cutters or angle grinder
- 1-inch galvanized staples or fencing staples
- Landscape fabric staples (6-inch length)
Installation Tools:
- Flat-blade shovel for excavation
- Wheelbarrow for soil removal
- Carpenter's square for corner measurements
- Work gloves (leather palms resist wire punctures)
Soil Amendment Supplies:
- Compost (pH 6.5-7.0) at 2 cubic feet per 4×8 bed
- Mycorrhizal fungi inoculant (2 oz per bed)
- Slow-release organic fertilizer (5-10-5 NPK ratio)
- Bone meal for phosphorus supplementation (3-15-0)
Frame Construction:
- Cedar or redwood boards (untreated, 2×8 or 2×10)
- Exterior-grade deck screws (3-inch)
- Corner brackets (galvanized steel)
Timing & Growing Schedule
Install gopher wire barriers during early spring (March through April in Zones 5-8) or late fall (October through November) when soil moisture levels allow easy digging without creating compaction. Avoid installation during summer months when ground temperatures exceed 85°F, making physical labor unsafe and soil too dry for proper excavation.
Hardiness Zone Considerations:
- Zones 3-5: Install after final frost when soil thaws to 6 inches deep
- Zones 6-8: Year-round installation possible except during frozen ground periods
- Zones 9-11: Optimal installation during dry season when gopher activity peaks
Allow 14 days after barrier installation before planting to let soil settle and beneficial microorganisms recolonize disturbed areas. This settling period prevents root damage from shifting substrate and allows nitrogen-fixing bacteria to re-establish populations.
Step-by-Step Instructions

Step 1: Site Excavation and Leveling
Remove existing vegetation and excavate to 10 inches below finished bed height. Clear a footprint 6 inches wider than your final bed dimensions on all sides. Use a carpenter's level to ensure the base sits perfectly flat, preventing water pooling that drowns roots.
Pro-Tip: Spray excavated areas with water 24 hours before digging to identify existing gopher tunnels through soil collapse patterns.
Step 2: Wire Mesh Cutting and Layout
Cut galvanized welded wire mesh to extend 6 inches beyond bed perimeter on all sides. This overhang prevents gophers from burrowing along edges. Overlap multiple sheets by 4 inches minimum, securing with 16-gauge galvanized wire twisted every 6 inches.
Pro-Tip: Wear safety glasses when cutting mesh. Use an angle grinder instead of wire cutters for clean edges that won't snag gloves or puncture irrigation lines.
Step 3: Barrier Positioning and Securing
Lay wire mesh flat against excavated base. Bend edges upward at 90-degree angles where they meet future bed walls. Secure mesh center with landscape staples every 12 inches to prevent shifting during soil backfill.
Pro-Tip: Place cardboard sheets over mesh before adding soil to prevent fine particles from sifting through openings and creating air pockets beneath roots.
Step 4: Frame Assembly and Attachment
Construct raised bed frame using rot-resistant cedar or redwood. Position frame over wire mesh, ensuring bent edges align with interior walls. Drive 1-inch galvanized staples through bent wire into wooden frame every 8 inches, creating a sealed barrier.
Pro-Tip: Pre-drill staple holes to prevent wood splitting, especially near board ends where structural integrity matters most.
Step 5: Soil Filling and Amendment
Add amended topsoil in 3-inch layers, watering each layer lightly to eliminate air pockets. Mix compost at 30% volume ratio with native soil. Incorporate mycorrhizal fungi inoculant into root zone depth (top 6 inches) where beneficial fungal networks colonize plant roots.
Pro-Tip: Leave soil level 2 inches below bed rim to prevent erosion during heavy rainfall and accommodate mulch layers.
Step 6: Perimeter Inspection and Finishing
Walk the bed perimeter, checking for gaps where wire meets frame. Fill any spaces with hardware cloth scraps. Apply 2-inch mulch layer (shredded bark or straw) to suppress weeds and retain moisture. Water deeply to 8-inch depth, settling soil around newly installed barrier.
Pro-Tip: Mark barrier locations on a garden map. Future soil amendments require knowing wire depth to avoid damaging the barrier with aggressive tilling.
Nutritional & Environmental Benefits
A properly installed gopher wire barrier protects root vegetables rich in essential minerals. Carrots grown without rodent pressure develop higher beta-carotene concentrations (up to 12 mg per 100g) compared to stressed plants. Undisturbed potato tubers accumulate 45% more potassium, reaching 420 mg per medium tuber.
Protected beds support stable soil ecosystems where earthworm populations increase by 60% within two growing seasons. These decomposers aerate soil and produce castings containing nitrogen (5%), phosphorus (2.5%), and potassium (1.8%) in plant-available forms. Stable root systems emit consistent chemical signals that attract Mason bees and native pollinators, increasing fruit set by 35% in adjacent crops.
The barrier's 3/4-inch mesh permits beneficial soil organisms passage while excluding destructive rodents. Ground beetles (Carabidae family) access beds to hunt aphids and cutworm larvae. Microscopic nematodes migrate freely, controlling soil-dwelling pest populations through parasitism.
Advanced Methods
Small Space Optimization:
Install barriers under 4×4 foot intensive beds arranged in grid patterns. These compact units maximize gopher protection per square foot while allowing crop rotation within protected zones. Vertical growing on trellises attached to bed frames increases yields without expanding vulnerable ground footprint.
Organic and Permaculture Integration:
Combine gopher wire with hugelkultur principles by placing rotting logs beneath wire mesh. This creates long-term carbon storage while the barrier prevents gophers from colonizing decomposing wood cavities. The logs release nutrients gradually, reducing fertilizer needs by 40% over five years.
Season Extension Techniques:
Attach hoop house frames directly to protected bed structures. The secured barrier foundation supports row cover weight without ground stakes that compromise protection. This combination extends growing seasons by 6 weeks in spring and 8 weeks in fall across Zones 5-7.
Troubleshooting
Symptom: Wire mesh develops rust spots within two years.
Solution: Replace with true galvanized welded wire (G90 coating minimum). Avoid "galvanized-after-welding" products that corrode at weld points. Apply zinc-rich paint to compromised areas as temporary repair.
Symptom: Plants show wilting despite adequate watering.
Solution: Check for drainage blockage. Wire mesh plus degraded cardboard underlayer can create impermeable zones. Drill 1/2-inch drainage holes through wire at 18-inch intervals using a masonry bit.
Symptom: Gophers tunnel along bed exterior walls.
Solution: Install L-shaped wire extensions. Dig 8-inch trenches beside beds, bend mesh outward at 90 degrees, and bury horizontally. This "apron" forces gophers to dig 18 inches deep, deterring most attempts.
Symptom: Soil level drops 3 inches after first season.
Solution: Natural settling occurred. Top-dress with compost/soil blend (70/30 ratio) each spring. Avoid compacting during installation by limiting foot traffic on freshly filled beds.
Symptom: Tree roots penetrate through mesh openings.
Solution: Expected behavior for established trees. Use 1/2-inch mesh in beds within 15 feet of mature trees. The smaller openings exclude fine feeder roots while maintaining gopher protection.
Storage & Maintenance
Watering Requirements:
Apply 1 inch of water weekly during active growing season, measured with rain gauge placed at soil level. Protected beds retain 25% more moisture than ground-level plantings due to reduced evaporation from elevated positions. Water deeply twice weekly rather than daily shallow watering to encourage roots to utilize full soil depth above barrier.
Feeding Schedule:
Apply granular organic fertilizer (5-10-5 NPK) at 2 lbs per 4×8 bed every 6 weeks during growing season. Side-dress heavy feeders (tomatoes, squash) with additional compost tea biweekly. The barrier prevents nutrient loss through gopher tunnel drainage channels that normally leach dissolved minerals.
Seasonal Maintenance:
Inspect wire mesh integrity each spring by probing soil perimeter with a screwdriver. Check for ground settling that exposes wire edges. Add soil or mulch to maintain 2-inch coverage over all barrier sections. Reapply mycorrhizal fungi inoculant annually in early spring to maintain symbiotic networks that support 90% of crop species.
Post-Harvest Care:
Remove spent plant material to compost bins rather than tilling into protected beds. Excessive disruption damages beneficial fungal networks and risks puncturing irrigation lines against wire mesh. Plant cover crops (crimson clover, winter rye) in fall to prevent erosion and fix atmospheric nitrogen at rates reaching 150 lbs per acre.
Conclusion
The success blueprint for gopher-proof gardening combines strategic barrier installation with ongoing soil health practices. Protected beds deliver consistent yields by eliminating the single largest cause of root crop failure in suburban and rural gardens. This investment in permanent infrastructure pays dividends through decades of undisturbed growing seasons.
Share your barrier installation photos with local gardening groups to inspire neighbors facing similar pest pressure. Community-wide adoption creates protected corridors where beneficial insects thrive and local food production expands without chemical interventions.
Expert FAQs
Q: Can I install gopher wire under existing raised beds without dismantling them?
No. Effective installation requires complete bed removal to properly position and secure wire mesh. Attempting to slide barriers under established beds leaves gaps that gophers exploit within weeks. Budget for full reconstruction when retrofitting existing gardens.
Q: Does gopher wire interfere with deep-rooted crops like parsnips or carrots?
The 3/4-inch mesh openings allow taproots to penetrate freely. Carrots develop straight roots through openings, and parsnips extend 18 inches deep without deformation. Wire positioned 10 inches below soil surface sits well below most vegetable root zones.
Q: How long does galvanized gopher wire last in acidic soils?
Quality G90-coated welded wire endures 15-20 years in soils with pH 5.5-7.5. Highly acidic conditions (pH below 5.0) accelerate zinc coating degradation. Test soil annually and apply lime (calcium carbonate) to maintain optimal pH range for both barrier longevity and plant health.
Q: Can I use hardware cloth instead of welded wire for gopher barriers?
Hardware cloth (1/2-inch or 1/4-inch mesh) works but costs 3-4 times more than agricultural-grade welded wire. The finer mesh restricts beneficial organism passage and requires more frequent drainage checks. Reserve hardware cloth for small beds or areas with extreme gopher pressure.
Q: Will the barrier prevent beneficial earthworms from colonizing my beds?
Earthworms pass through 3/4-inch openings easily during juvenile stages. Adult worms deposit cocoons in upper soil layers that hatch above the barrier. Studies show protected beds reach earthworm densities of 250 per cubic yard within three years, matching unprotected garden areas.