6 Pruning Steps for Indoor Ivy for Bushier Growth
Indoor ivy stretches toward light, producing long, spindly vines with sparse foliage that cling desperately to vertical surfaces. Proper pruning reverses this tendency, redirecting auxin distribution from apical dominance to lateral bud activation. The steps for pruning indoor ivy for bushier growth transform leggy specimens into dense, self-supporting mounds within eight weeks. Each cut stimulates dormant nodes along the stem, forcing the plant to abandon its climbing strategy in favor of compact, shrub-like architecture that requires no stakes or trellises.
Materials
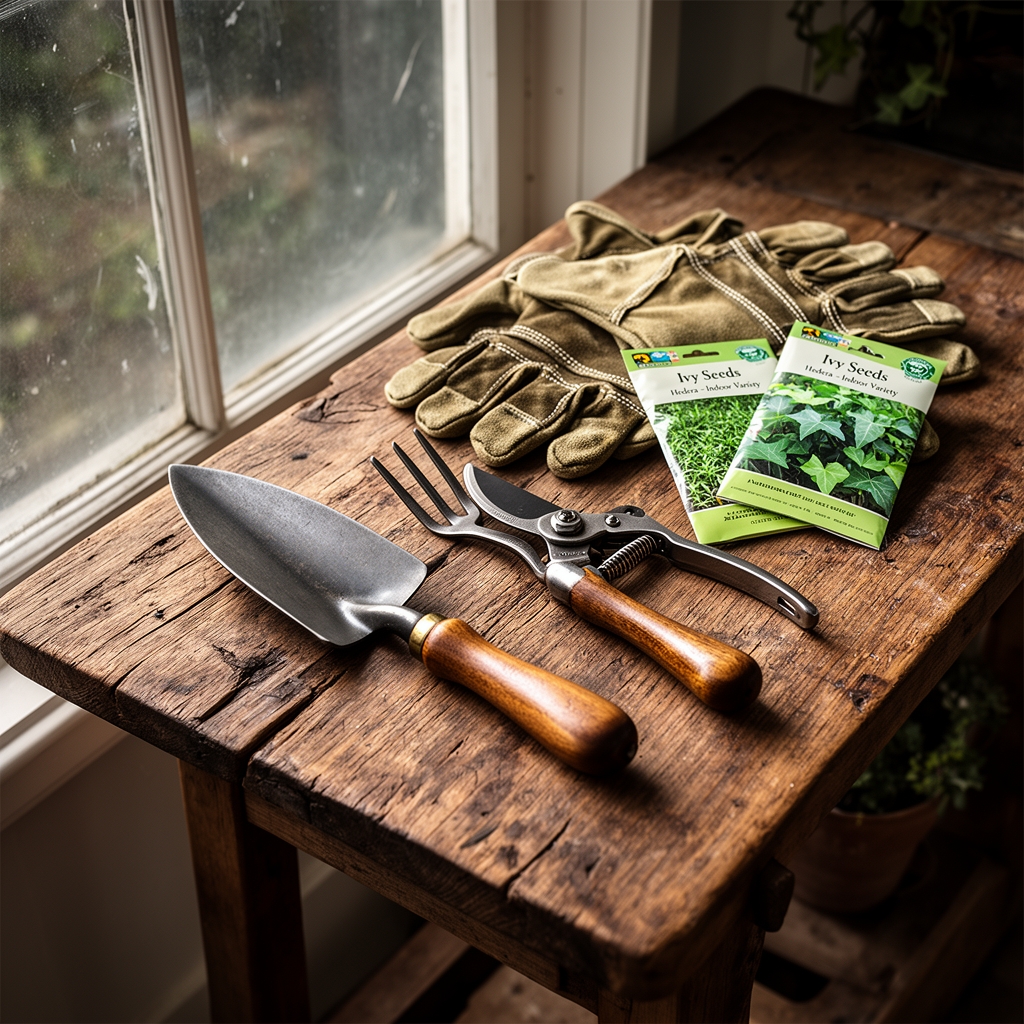
Sharp bypass pruners with stainless steel blades prevent tissue crushing that invites fungal colonization. Sterilize blades between cuts using 70% isopropyl alcohol to avoid spreading bacterial leaf spot. A rooting medium of 2 parts perlite to 1 part peat (pH 5.5-6.5) accepts cuttings from pruned stems. A balanced 10-10-10 NPK liquid fertilizer diluted to quarter strength supports recovery without forcing excessive elongation. Ivy thrives in slightly acidic conditions where cation exchange capacity allows efficient uptake of nitrogen, phosphorus, and potassium. Organic alternatives include 4-4-4 composted poultry meal applied as a top dressing at 1 tablespoon per 6-inch pot diameter. Rooting hormone powder containing 0.1% indole-3-butyric acid accelerates adventitious root formation on cuttings, though ivy roots readily without supplementation.
Timing
Hedera species grow continuously indoors but exhibit peak metabolic activity from March through September in USDA hardiness zones 5-11. Schedule major pruning sessions in early spring when increasing photoperiod triggers endogenous cytokinin production. Indoor ivy ignores frost dates but responds to seasonal light shifts detectable even through windows. Prune 6-8 weeks before your region's last expected frost date to allow recovery before the outdoor growing season. Secondary shaping cuts occur in late summer, 8-10 weeks before first frost, preventing autumn dieback from compromising winter appearance. Avoid heavy pruning from November through January when respiration rates drop and wound closure slows. Monthly tip pinching maintains shape year-round without triggering stress responses.
Phases
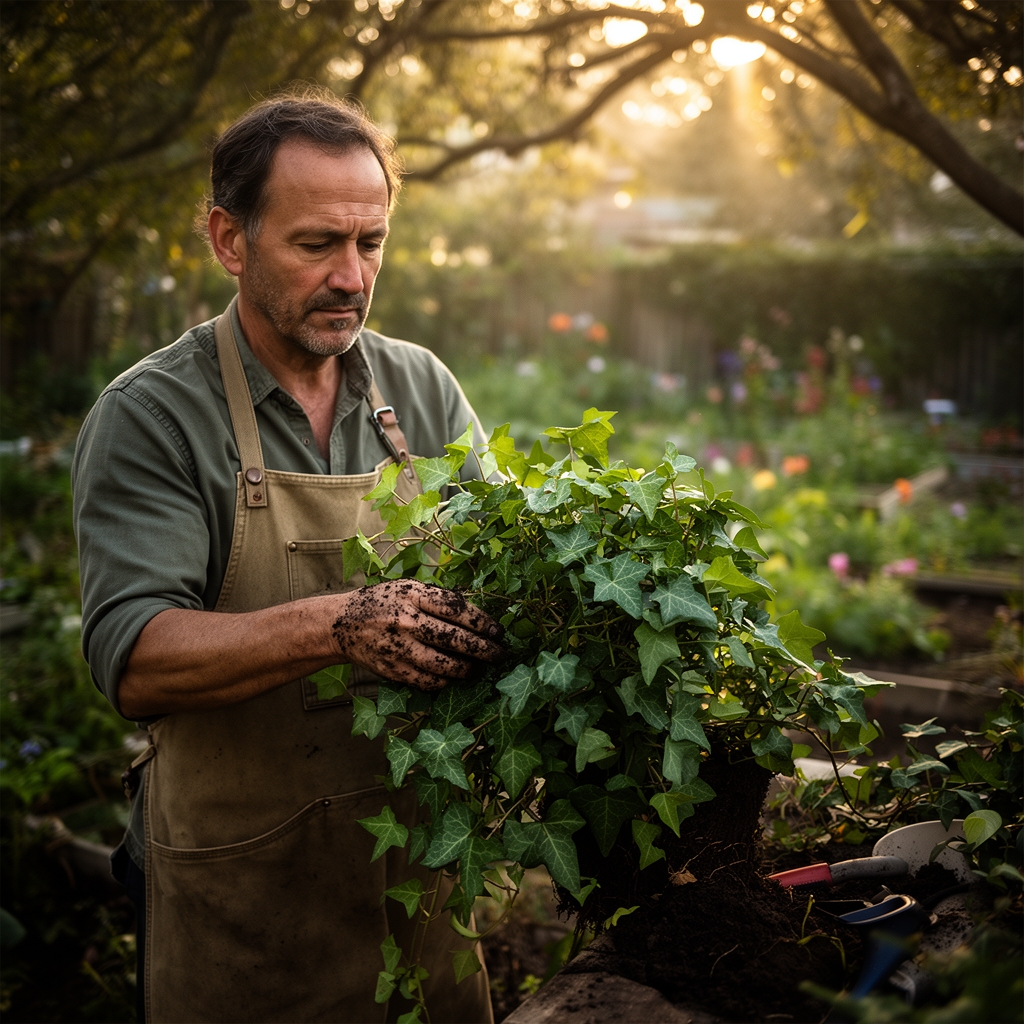
Initial Assessment: Examine the plant under direct light to identify the oldest, woodiest stems. These lignified sections produce fewer lateral shoots and should be removed first. Count nodes along each vine; mature ivy develops nodes every 2-3 inches. Mark cutting points 1/4 inch above nodes using a felt pen. Remove no more than one-third of total biomass in a single session to prevent shock.
Pro-Tip: Inoculate pruning cuts with mycorrhizal fungi solution (Glomus intraradices) to accelerate wound healing and enhance nutrient uptake through increased root surface area.
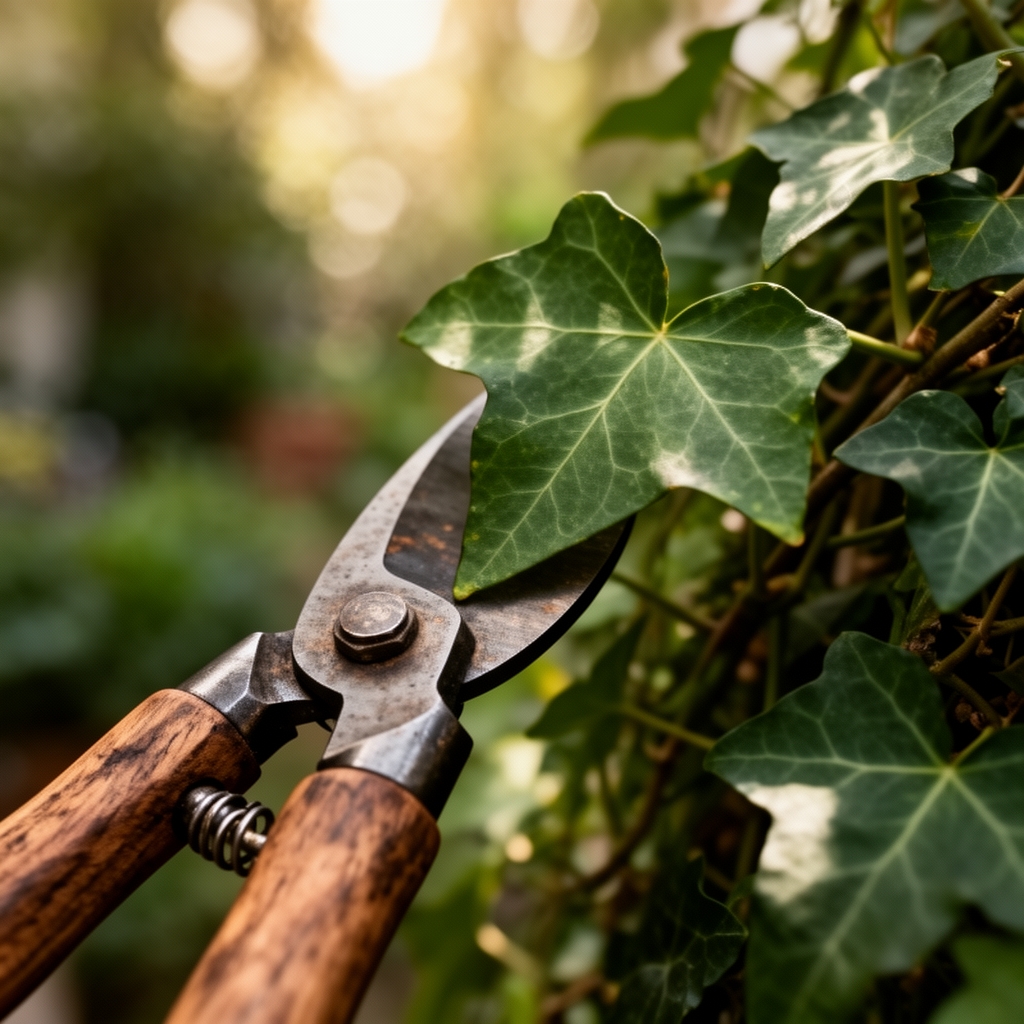
Strategic Cutting: Position pruner blades at a 45-degree angle just above selected nodes. The angled cut sheds moisture and prevents rot. Sever each stem in one decisive motion rather than sawing, which tears vascular tissue. Begin with the longest vines, reducing them to 4-6 inches from the soil line. This severe reduction breaks apical dominance permanently. Next, cut mid-length stems to half their original height. Leave the shortest, bushiest growth untouched to maintain photosynthetic capacity during recovery.
Pro-Tip: Make cuts 1/8 inch above nodes facing outward from the plant's center. This directional pruning guides new growth away from crowded interior sections, improving air circulation.
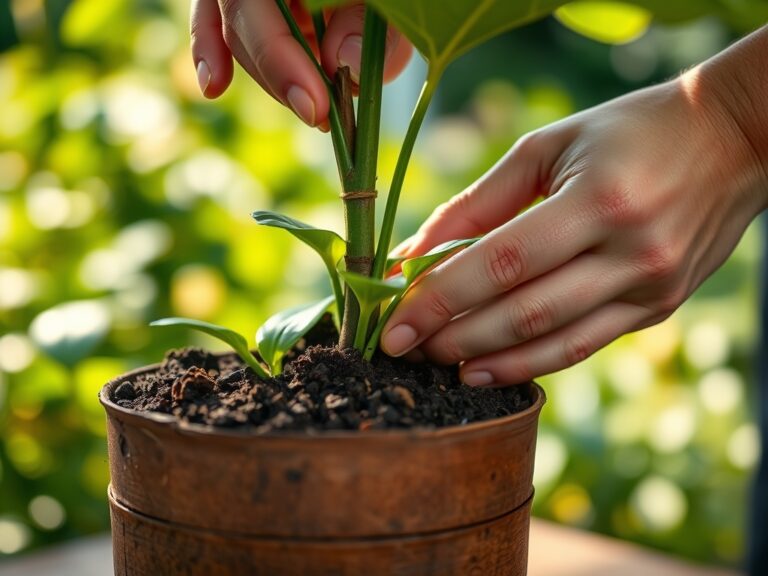
Propagation Phase: Strip leaves from the bottom 2 inches of pruned cuttings. Insert stems into prepared rooting medium at a depth of 1.5 inches. Maintain 75-80% humidity using a clear plastic dome or bag. Roots emerge from nodes within 14-21 days at 65-70°F. Once cuttings develop 1-inch root systems, transplant to individual 3-inch pots containing standard potting mix amended with 20% perlite for drainage.
Establishment Phase: Return the pruned mother plant to bright, indirect light measuring 200-400 foot-candles. New shoots emerge from cut nodes within 10-14 days. When these lateral branches reach 3 inches, pinch the terminal 1/2 inch to force secondary branching. Repeat this tip-pinching every 3-4 weeks for three months. Apply quarter-strength 10-10-10 fertilizer every 14 days to support rapid cell division without promoting vine elongation.
Pro-Tip: Rotate the plant 90 degrees weekly to ensure uniform light exposure, preventing phototropic lean that undermines bushy architecture.
Troubleshooting
Symptom: Yellowing leaves near cut sites with brown, crispy margins. Solution: Reduce watering frequency. Ivy requires soil to dry 1 inch deep between waterings. Overwatering post-pruning suffocates recovering roots, causing nutrient lockout.
Symptom: Black, sunken lesions on stems radiating from pruning cuts. Solution: Bacterial infection from contaminated tools. Remove affected stems 1 inch below visible damage. Sterilize all equipment and improve air circulation to below 70% humidity.
Symptom: New growth remains leggy despite pruning. Solution: Insufficient light intensity. Ivy requires minimum 200 foot-candles. Move within 3 feet of an east or west-facing window, or supplement with full-spectrum LED grow lights positioned 12 inches above foliage.
Symptom: No new growth 21 days post-pruning. Solution: Nitrogen deficiency or cold stress. Ensure ambient temperature stays above 60°F. Apply fish emulsion (5-1-1 NPK) diluted per label instructions to boost nitrogen availability.
Symptom: Spider mite webbing on new tender shoots. Solution: Prune-induced stress attracts pests to vulnerable tissue. Spray all surfaces with insecticidal soap (potassium salts of fatty acids at 1% concentration) weekly for three applications.
Maintenance
Water when the top 1 inch of soil feels dry to touch, typically every 5-7 days in standard indoor conditions. Apply 0.5 cups of water per 6-inch pot diameter until drainage appears. Feed every 14 days during active growth with liquid fertilizer at 1/4 the label concentration, providing approximately 50 ppm nitrogen per application. Maintain 40-60% relative humidity using a pebble tray filled with 0.5 inches of water beneath the pot. Pinch new growth every 3-4 weeks, removing the terminal 0.5 inches to suppress apical dominance. Monitor for aphids weekly by inspecting undersides of the youngest three leaves. Repot annually in spring using containers 2 inches larger in diameter, refreshing soil to restore cation exchange capacity depleted by root exudates.
FAQ
How often should I prune ivy for maximum bushiness?
Major pruning twice yearly in early spring and late summer, supplemented by monthly tip pinching, produces optimal density without stressing the plant.
Can I prune ivy anytime indoors?
Yes, but spring pruning from March through May yields fastest recovery due to elevated cytokinin levels and longer photoperiods stimulating cell division.
Why does my ivy stay leggy after pruning?
Light below 200 foot-candles triggers etiolation regardless of pruning. Move the plant closer to windows or add supplemental lighting at 12-16 hours daily.
Should I fertilize immediately after pruning?
Wait 7-10 days post-pruning. Damaged roots cannot efficiently absorb nutrients; premature feeding causes salt accumulation and root burn.
What do I do with pruned ivy cuttings?
Root in perlite-peat mix under plastic domes. Viable cuttings develop roots in 14-21 days and can replace the mother plant or expand your collection.