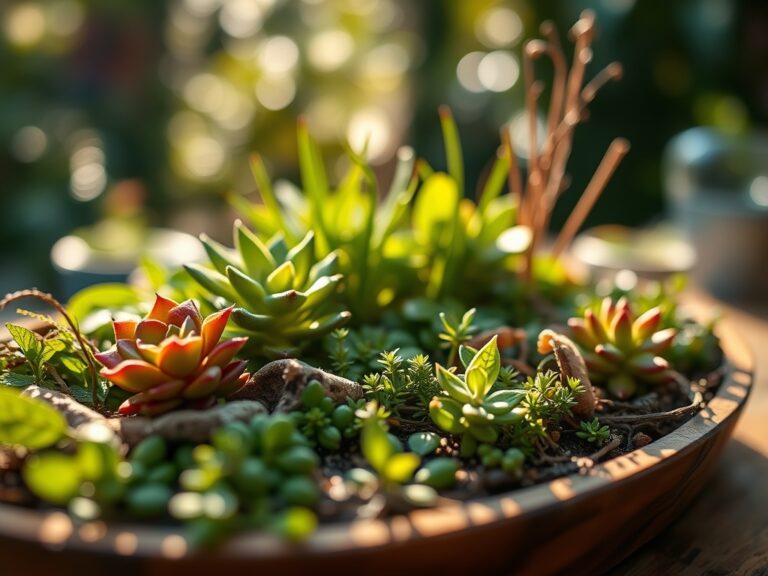
6 Flowering Steps to Prepare a Vibrant Plant Shelf
The smell of damp peat and the gritty friction of perlite against your palms signal the start of a successful indoor season. To maximize floral output, you must focus on the cellular integrity of the specimen. High turgor pressure within the vacuoles ensures a rigid stem capable of supporting heavy inflorescence. Understanding how to prepare a plant shelf for flowers requires a transition from casual hobbyist to a disciplined manager of microclimates. You are not just placing pots on wood; you are engineering a high performance rhizosphere within a vertical space. Success is measured in the density of the flower heads and the lack of internodal stretching. Proper preparation involves calibrating light intensity, humidity levels, and nutrient availability before the first seed touches the medium.
Materials:
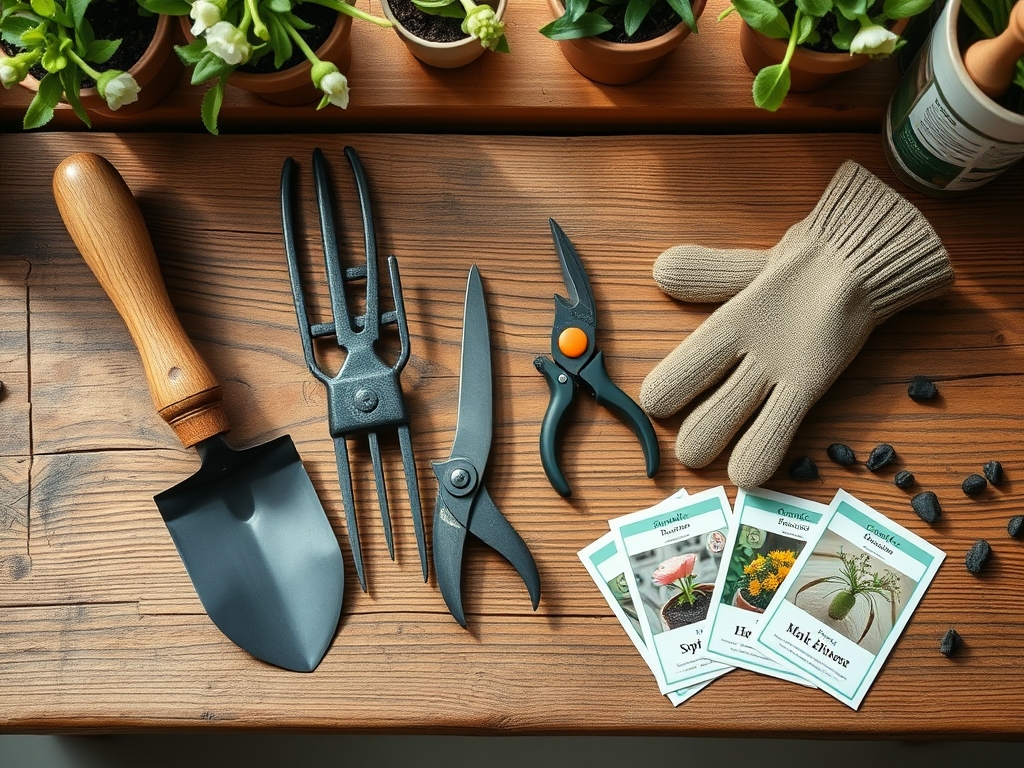
The foundation of any flowering shelf is the substrate. Avoid standard “potting soil” which often lacks the structural integrity for long term drainage. Aim for a **friable loam** consisting of 40 percent peat moss, 30 percent compost, and 30 percent inorganic aeration material like coarse perlite or pumice.
For flowering species, the soil pH must sit between 6.0 and 6.8 to ensure maximum nutrient bioavailability. If the pH drifts above 7.0, iron and phosphorus become chemically locked, leading to stunted buds. Your primary fertilizer should follow a specific NPK ratio based on the growth stage. During the initial leafing phase, use a 10-10-10 balanced mix. Once the plant reaches the reproductive stage, shift to a 5-15-10 high phosphorus formula to stimulate bud set. A high Cation Exchange Capacity (CEC) in your soil ensures that these nutrients remain available to the roots rather than leaching out during irrigation.
Timing:
Timing is dictated by the photoperiod and the hardiness zone of your specific cultivars. While indoor shelves are protected from the elements, the "Biological Clock" of the plant still reacts to external light cycles. Most flowering annuals require a 12 to 14 hour photoperiod to trigger the transition from vegetative growth to reproductive flowering.
In Hardiness Zones 5 through 7, begin your shelf preparation in late February to align with the increasing natural light. In warmer Zones 8 through 10, you can maintain a perpetual flowering cycle if you utilize supplemental LED lighting. You must monitor the frost date windows for your region if you plan to eventually harden off these plants for outdoor transition. The goal is to reach the "Bud Initiation" phase exactly 21 days before your target display date.
Phases:
Sowing and Germination
Place seeds at a depth exactly two times their diameter. Maintain a consistent substrate temperature of 70 to 75 degrees Fahrenheit using a waterproof heat mat.
Pro-Tip: Utilize a humidity dome to prevent the desiccation of the radicle. The Biological Why is centered on maintaining cellular turgidity; if the emerging root dries out for even sixty minutes, the plant loses the ability to transport auxins, leading to permanent stunting or death.
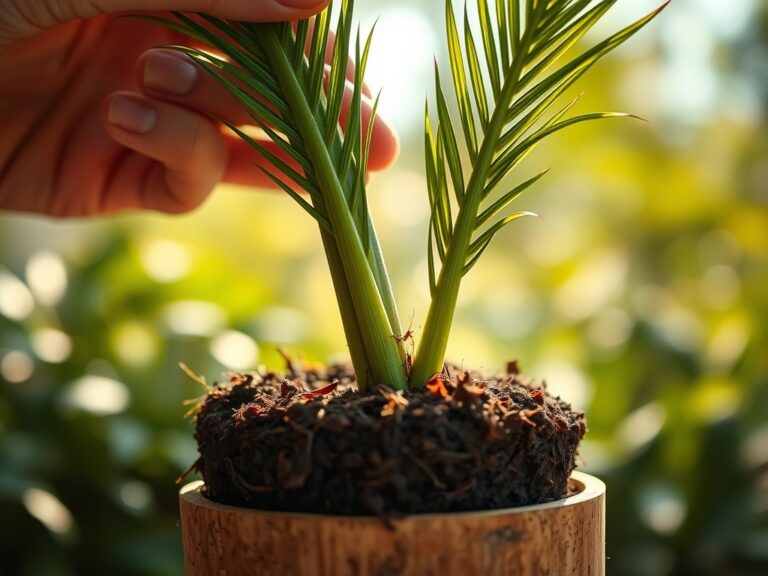
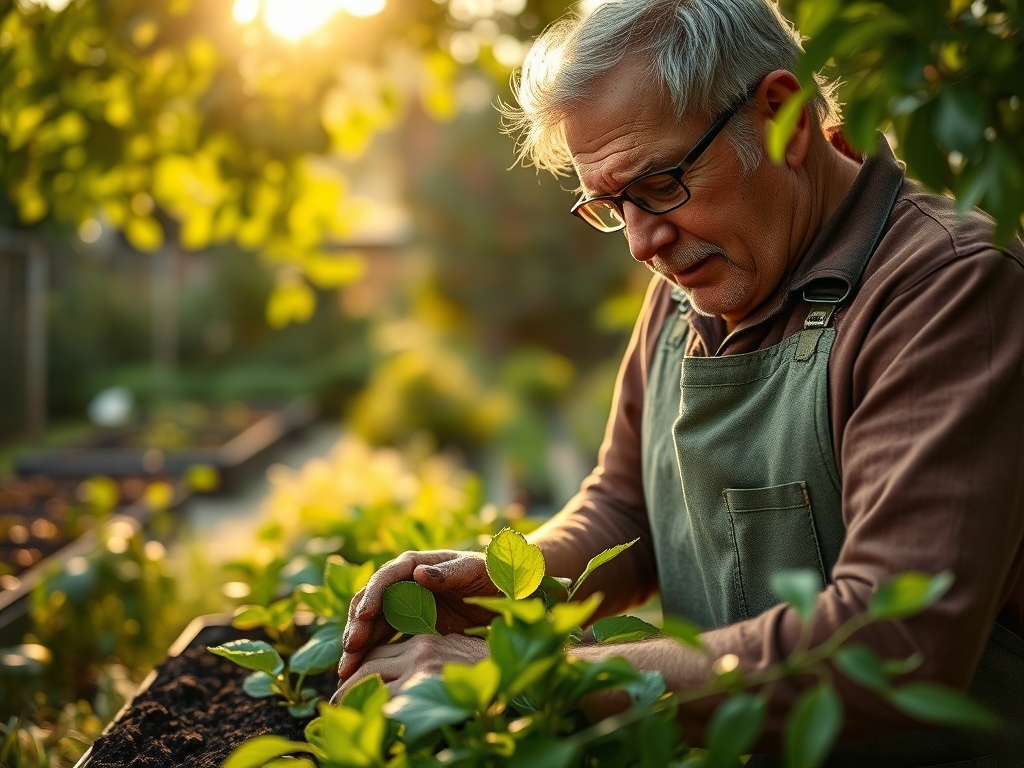
Transplanting and Root Development
Move seedlings to their permanent shelf containers once they develop their second set of true leaves. Use a hori-hori knife to tease out the roots if they have begun to circle the starter cell.
Pro-Tip: Dust the root ball with mycorrhizal fungi during the move. The Biological Why involves mycorrhizal symbiosis; these fungi extend the reach of the root system by up to 100 times, significantly increasing the uptake of phosphorus, which is the primary driver of flower production.
Establishing and Apical Dominance
Once the plant is 6 inches tall, you must manage its architecture. Use bypass pruners to remove the terminal bud of the main stem.
Pro-Tip: This process is known as "pinching." The Biological Why is auxin suppression. By removing the apical meristem, you stop the flow of auxins that inhibit side growth. This forces the plant to redirect energy to lateral buds, resulting in a bushier plant with more flowering sites.
The Clinic:
Physiological disorders often mimic pest damage but are usually rooted in environmental stress or nutrient imbalances.
Symptom: Interveinal Chlorosis (Yellowing leaves with green veins).
Solution: This indicates a lack of mobile iron or magnesium. Check the pH first. If the pH is above 7.0, the plant cannot "eat." Lower the pH using sulfur or chelated iron.
Symptom: Blossom End Rot or Bud Abscission (Buds falling off before opening).
Solution: This is caused by a calcium deficiency or inconsistent watering. Ensure the substrate stays consistently moist but not saturated to allow for steady calcium transport through the xylem.
Symptom: Tip Burn on new growth.
Solution: This is often "Nutrient Burn" caused by an Electrical Conductivity (EC) level that is too high. Flush the shelf containers with three times the volume of the pot in distilled water to leach out excess salts.
Maintenance:
Precision is the difference between a surviving plant and a thriving one. Use a soil moisture meter daily. Do not water on a schedule; water based on the volumetric water content of the soil. Most flowering species require the top 1.0 inch of soil to dry out before the next irrigation cycle.
Apply exactly 1.5 inches of water per week at the drip line, ensuring that 10 percent of the water exits the drainage holes to prevent salt buildup. Clean the leaves of your plants every 14 days with a damp cloth to remove dust. Dust blocks the stomata, reducing the rate of transpiration and slowing down the plant's metabolic "pump" that brings nutrients from the roots to the flowers.
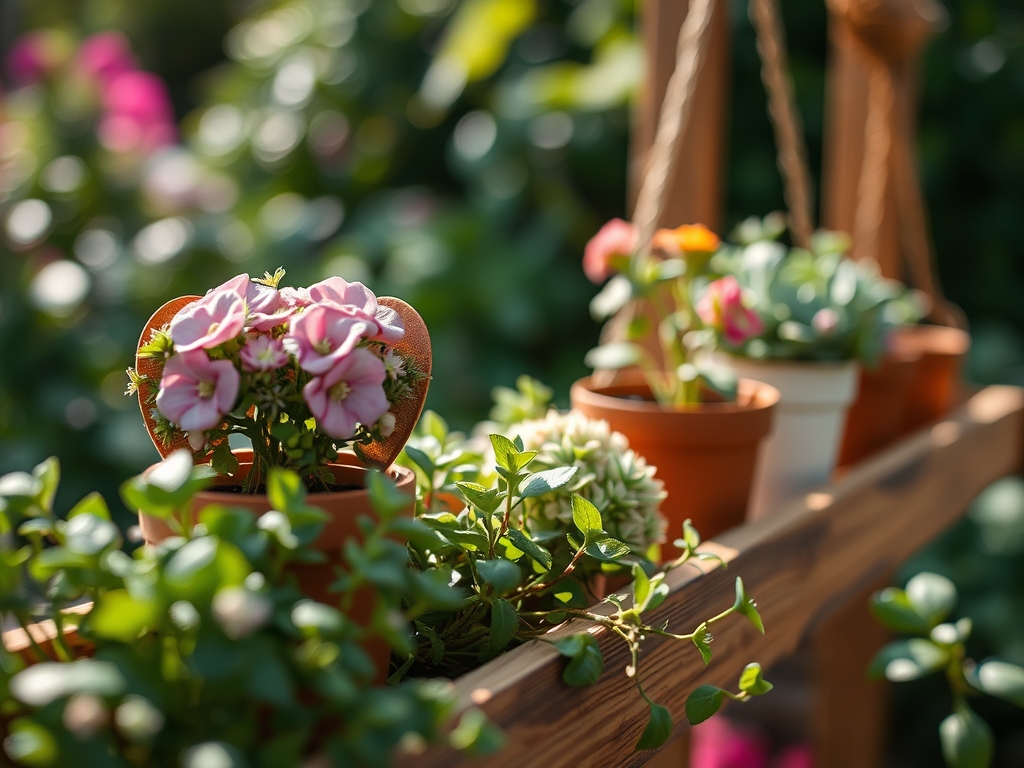
The Yield:
Harvesting flowers for display requires sharp tools and specific timing. Cut flowers in the early morning when the plant is at maximum turgidity. Use a bypass pruner to make a 45 degree angle cut. This angle maximizes the surface area of the xylem for water uptake.
For "day-one" freshness, immediately submerge the stems in 100 degree Fahrenheit water (tepid) and move them to a cool, dark area for two hours. This "hardens" the blooms by forcing a rapid intake of water before the vascular system can form an air embolism. If you are harvesting for seed, wait until the flower head has undergone senescence and the seed pods are brown and brittle to the touch.
FAQ:
What is the best light for a flowering shelf?
Use full spectrum LED grow lights that provide at least 30 to 50 watts per square foot. Ensure the light includes "Far Red" wavelengths to stimulate the phytochrome receptors responsible for triggering the flowering response in most species.
How often should I fertilize my shelf plants?
Apply a water soluble fertilizer every 14 days at half strength. Frequent, low dose feeding prevents the "boom and bust" cycle of nutrient availability, maintaining a steady Cation Exchange Capacity within the rhizosphere throughout the blooming period.
Why are my flower buds falling off?
This is usually bud abscission caused by ethylene gas buildup or rapid temperature fluctuations. Ensure your shelf has adequate airflow and is located away from ripening fruit or drafty vents that can stress the plant's vascular system.
Can I use garden soil on my plant shelf?
No. Garden soil is too dense and lacks the porosity required for container drainage. It also introduces pathogens and pests into your indoor environment. Stick to a sterile, peat or coco coir based professional potting mix.